I’m sure we all have similar memories growing up of standing with our backs straight against a wall while our parents marked our height with our names and the date, creating a timeline of childhood growth. While these places were often doorways or other out-of-sight locales, there was a slight problem with the practice. If you ever moved, that record was forever lost to the next homeowners, along with a little bit of innocence and plenty of nostalgia.
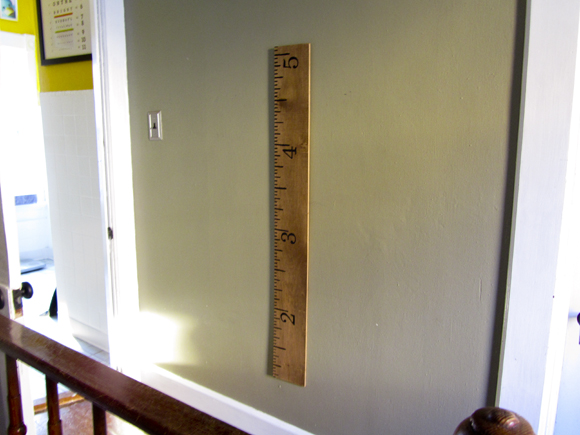
While gathering ideas from my favorite creative showcase Pinterest, I came across a really cute idea for making a giant ruler for this very purpose — bringing the height chart out of the corners of the house or the infantile nursery and right into plain view as decor, with the best part being it can move with you! So I set out to recreate the giant ruler with one caveat — I could only use what I had in my house, costing me $0 in the end. And I’m sharing this project so you too can make your own giant ruler height chart.
Here’s how to start to make your own giant ruler:
First, find a piece of wood to be your ruler. I knew I had an unfinished 1×4 of sizeable length in our random cuts pile in the basement, giving me something to make my “ruler” out of. You could easily cut down larger boards for this project, or for a very salvaged look, piece together smaller bits. The point is to not have to buy anything, so make it work. Don’t forget to gently sand it to open up the grain before you move on to the next step.
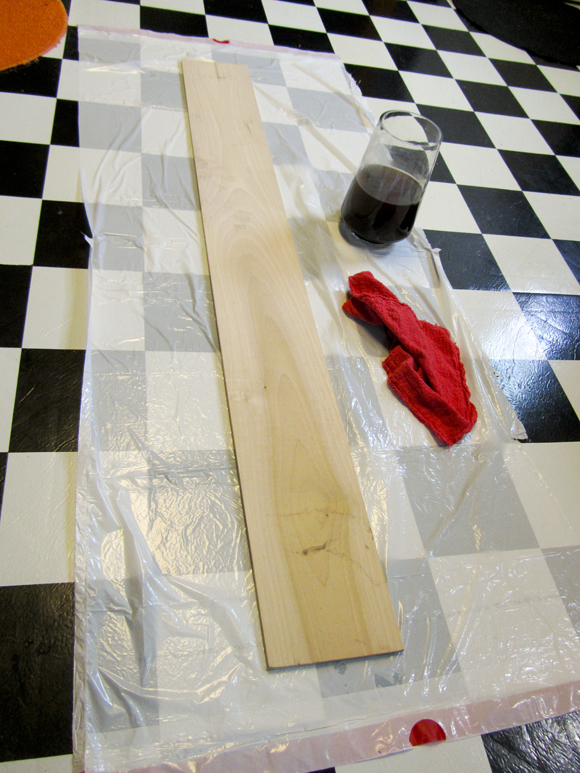
Second, you have to age your ruler. We’re fresh out of spare stain at our house, so I tried the coffee grounds stain posted a little while ago. I wanted a darker look than the initial stain gave me, so I actually ended up rubbing fresh grains straight on to the wood a couple of times, wrapping the plank in a large garbage bag to basically let it steep like a tea bag. If you don’t have coffee grounds or tea bags laying around, you can also accomplish a similar effect with garden soil.
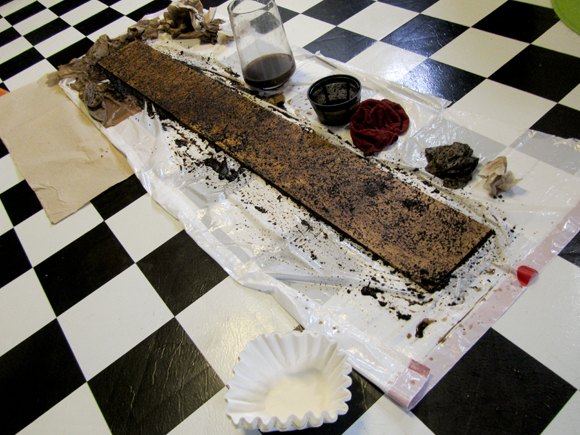
Once you get all that mess cleaned up (which is why I did this in my kitchen as it has the easiest floor to clean) you have to let it dry completely, so this would be a great time to round up the tools you need for the rest of this project — a pencil/fine pen, a measuring tape, a ruler, a fine paintbrush, and some dark (preferrably black) paint. I used a semi-gloss black with blue undertones (Behr’s Beluga if you’re curious) I found in our paint stash. I thought the off-black would give a more realistic aged look than a straight or glossy black, but again, use what you’ve got.
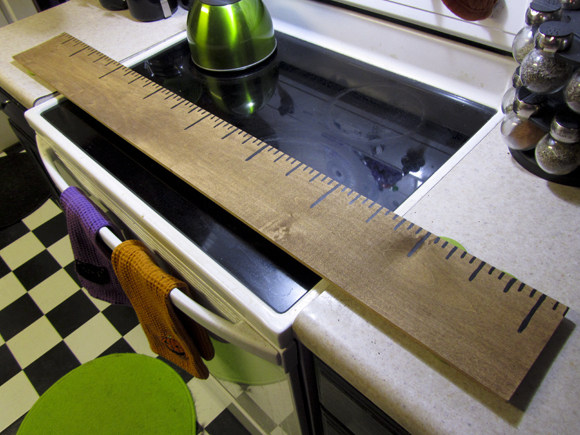
This is what my ruler looked like after it dried from staining:
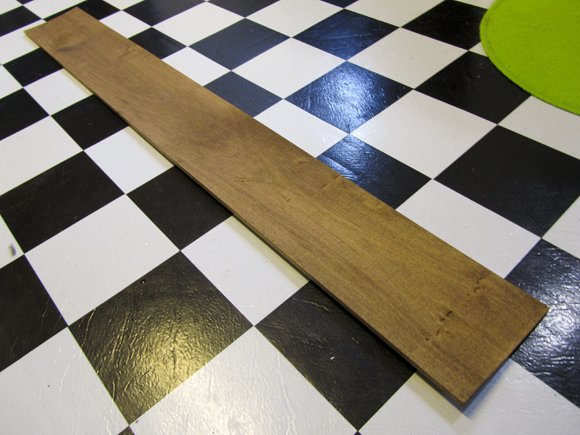
And it smells delicious to boot.
Now that your ruler is dry, you need to figure out how tall you’d like it to measure. Taking into consideration the length of your “ruler” play with holding it up at different heights on your wall to see what looks right and ends with realistic room to grow, as it were. My plank was 4′ even, and while I would have preferred it to go to 6′ tall having it that high on my wall looked fairly ridiculous, so I managed to get a little over 5′ out of it with it being hung at about a foot off the ground.
Using your measuring tape, start marking the feet on your ruler based on the height you just determined. I made the lines that denotated feet about 3″ long, the half-foot marks 2 1/2″ long, and so on, using an actual ruler for reference and a straight edge. I then traced over my markings with the paint, creating the marks of the ruler.
Now you need to make the numbers for the feet. I used Microsoft Word to find a font I liked (Century Schoolbook) and placed it at a 225 font size to print. I then roughly cut out the numbers, flipping them face down to color the back of the paper with pencil to create a transfer. Once I figured out where I wanted my numbers, I used the same pencil to trace the printed number’s outline on to the ruler, and then filled in the outline with paint.
After that was dry I took it outside to give it a once-over with some clear satin spray paint just to seal it. Use whatever you have, but I wouldn’t suggest anything too glossy or lacquered if you want to be able to write on the ruler at all.
About fifteen minutes later it was dry to the touch, and I attached a saw hanger from an old picture frame to the back at the proper placement to maintain our desired height.Et voila, your giant ruler! We hung ours upstairs by the kids’ rooms and the bathroom, but place yours wherever makes sense for you. The only thing I might add is some poster mount tape at the bottom to keep the ruler from swinging back and forth if we accidentally hit it.
I’d love to hear your thoughts about the giant ruler project, or other tips on how to make stuff with what you already own, so open up in the comments!


No Comments