I have been patching walls for a long time. I started the way most people do, with a hole behind a door and a tub of spackle, and I made every mistake you can make. I have sanded through paper, left ridges you could see from the driveway, and painted a patch that flashed like a billboard every afternoon when the sun came around.
Somewhere along the way I got good at the small stuff. I also got honest about the jobs that are not worth my Saturday. Drywall is one of those trades where the tools are cheap and the skill is not, so knowing where your line sits will save you more money than any gadget. Here is where mine is.
The Repairs I Always Do Myself
Nail pops and screw pops. These are the little bumps and crescents that show up a year or two after a house is built. I drive a new drywall screw into the stud an inch or two from the pop, set the old fastener just below the surface, and cover both with three thin coats of compound. Ten minutes of work, spread across an evening while the coats dry.
Dents, dings and anchor holes. Anything smaller than a quarter gets filled, sanded with a sponge and primed. The only trick is priming. Bare compound soaks up paint differently than the wall around it, and that is what makes a patch show.
Holes up to about the size of my hand. For a doorknob hole I cut a California patch: a square of drywall with the gypsum trimmed back so the face paper becomes its own tape. It sits flush, it needs no backing, and it disappears under two coats.
Hairline cracks at seams. I cut out the loose tape, bed new paper tape in setting-type compound and feather it wide. If the same crack comes back a second time, it stops being a patching problem, and I go looking for what is moving.
The Kit That Makes Small Repairs Easy
You do not need much, and none of it is expensive.
- A 6-inch knife for filling and a 12-inch knife for feathering
- A mud pan, because working out of the bucket ruins the bucket
- Setting-type compound in powder form for first coats, and a small tub of premixed for the last one
- Paper tape
- A sanding sponge and a pole sander
- A drywall saw and an oscillating multi-tool for clean cutouts
- A work light you can hold flat against the wall
That last one matters more than people think. Light raking across a wall at a low angle shows every ridge and hollow. If the patch looks flat under a work light held against the wall, it will look flat at four in the afternoon.
One note from the truck side of my life. A sheet of drywall is four feet by eight feet and it does not like to bend. It rides flat in a full-size bed. In a short bed it rides with the tailgate down and two straps on it, and I keep the trip short and slow. If you are folding a sheet into an SUV, have the store cut it in half first. A cracked sheet is a wasted sheet.
The Repairs I Think Hard About
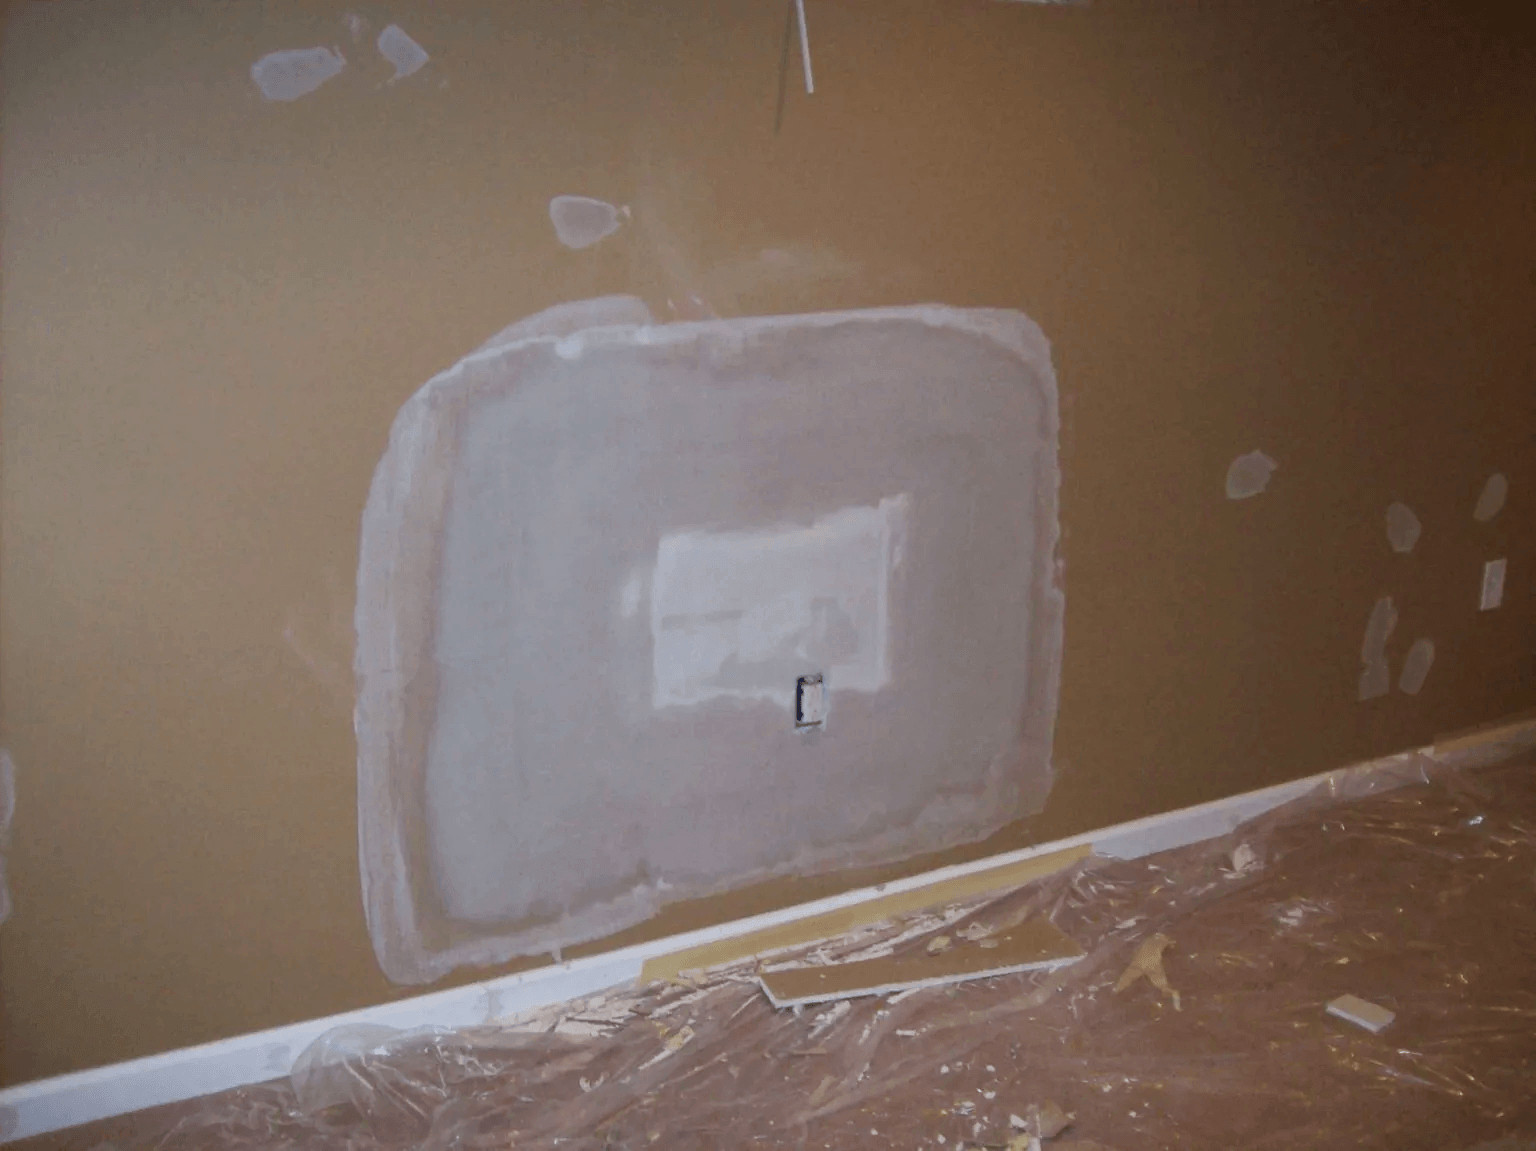
A patch bigger than a couple of square feet. At this size you need backing behind the edges, the seams have to land where you can finish them, and the finished area is large enough that the eye finds it. I still do these on walls. I take my time, and I prime and paint the whole wall instead of the patch.
Anything on a ceiling. Working overhead is slower, messier and harder on the shoulders, and a ceiling shows flaws more than a wall because light washes across it all day. A small ceiling patch is fine. A long seam overhead is where I start pricing help.
Texture. Orange peel, knockdown and skip trowel are all easy to spray and hard to match. The pattern depends on the mix, the tool, the pressure and the hand of whoever did it the first time. I can get close on a closet wall. In a living room, close is not good enough.
The Repairs I Hand Off
Water damage. If a ceiling has been wet, the stain is the small part of the story. There may be wet insulation, soft board and mold on the back side that you cannot see from the room. Someone has to find the leak, open the ceiling, dry the cavity and then rebuild. I will chase the leak myself. I let a pro handle the rest.
Old textured ceilings. Popcorn and some other textures applied before the 1980s can contain asbestos. Have a sample tested before anyone scrapes, sands or cuts it. If it comes back positive, bring in a licensed abatement contractor. It is not a weekend project.
Big finish work that has to be perfect. A long hallway, a stairwell wall, or any surface that gets strong side light or glossy paint needs a full skim coat, which the trade calls a Level 5 finish. I can do it. A good finisher does it in a third of the time and it looks better.
Whole rooms. Hanging and finishing a room of board is a production skill. A two-person crew will hang, tape and finish a room in the time it takes me to carry the sheets in from the truck.
When a job lands on this list, I call a drywall repair specialist and ask three things. Do you match texture, or just patch? Do you prime the repair before you leave? And will you tell me if you find something behind the wall that changes the price? The answers tell you who you are dealing with.
How I Decide
I ask myself four questions before I open the mud.
- Can I see it from the couch? The more visible the wall, the higher the standard.
- Is it overhead? If so, I double my time estimate.
- Is something wet, or moving? If so, the drywall is a symptom and the real repair comes first.
- What is my Saturday worth? A pro fixing three patches in a morning often costs less than the tools and the weekend I would spend learning on my own wall.
None of this means you should not learn. Start with the nail pops and the doorknob hole. Buy the two knives and the work light. By the third repair you will know exactly where your own line is, and you will be a lot better at spotting good work when you pay for it.