This is a sponsored post written by me on behalf of Arrow Fastener. All opinions are 100% mine.
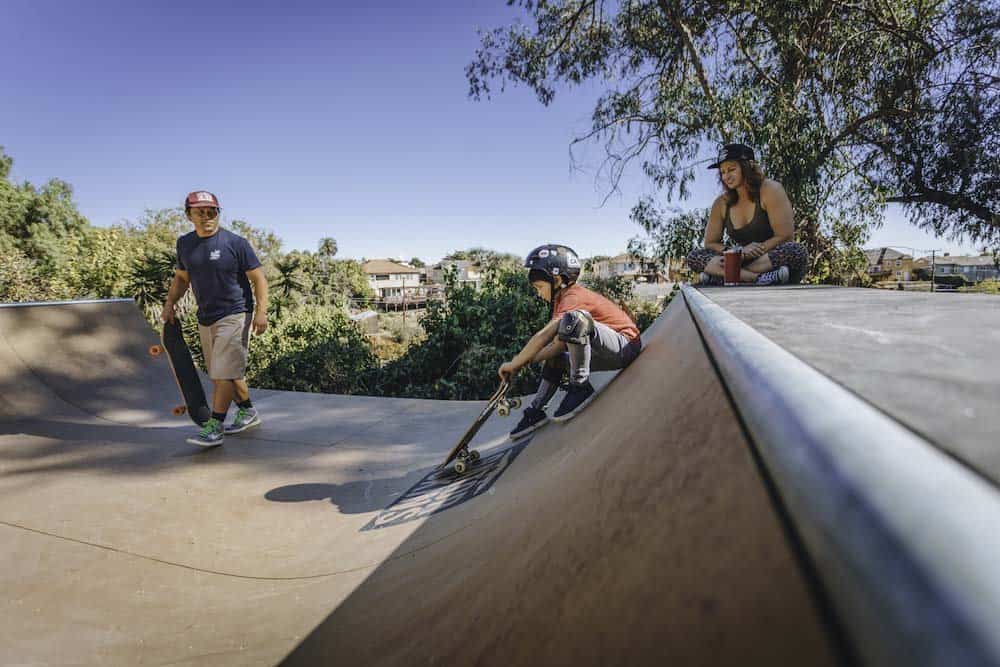
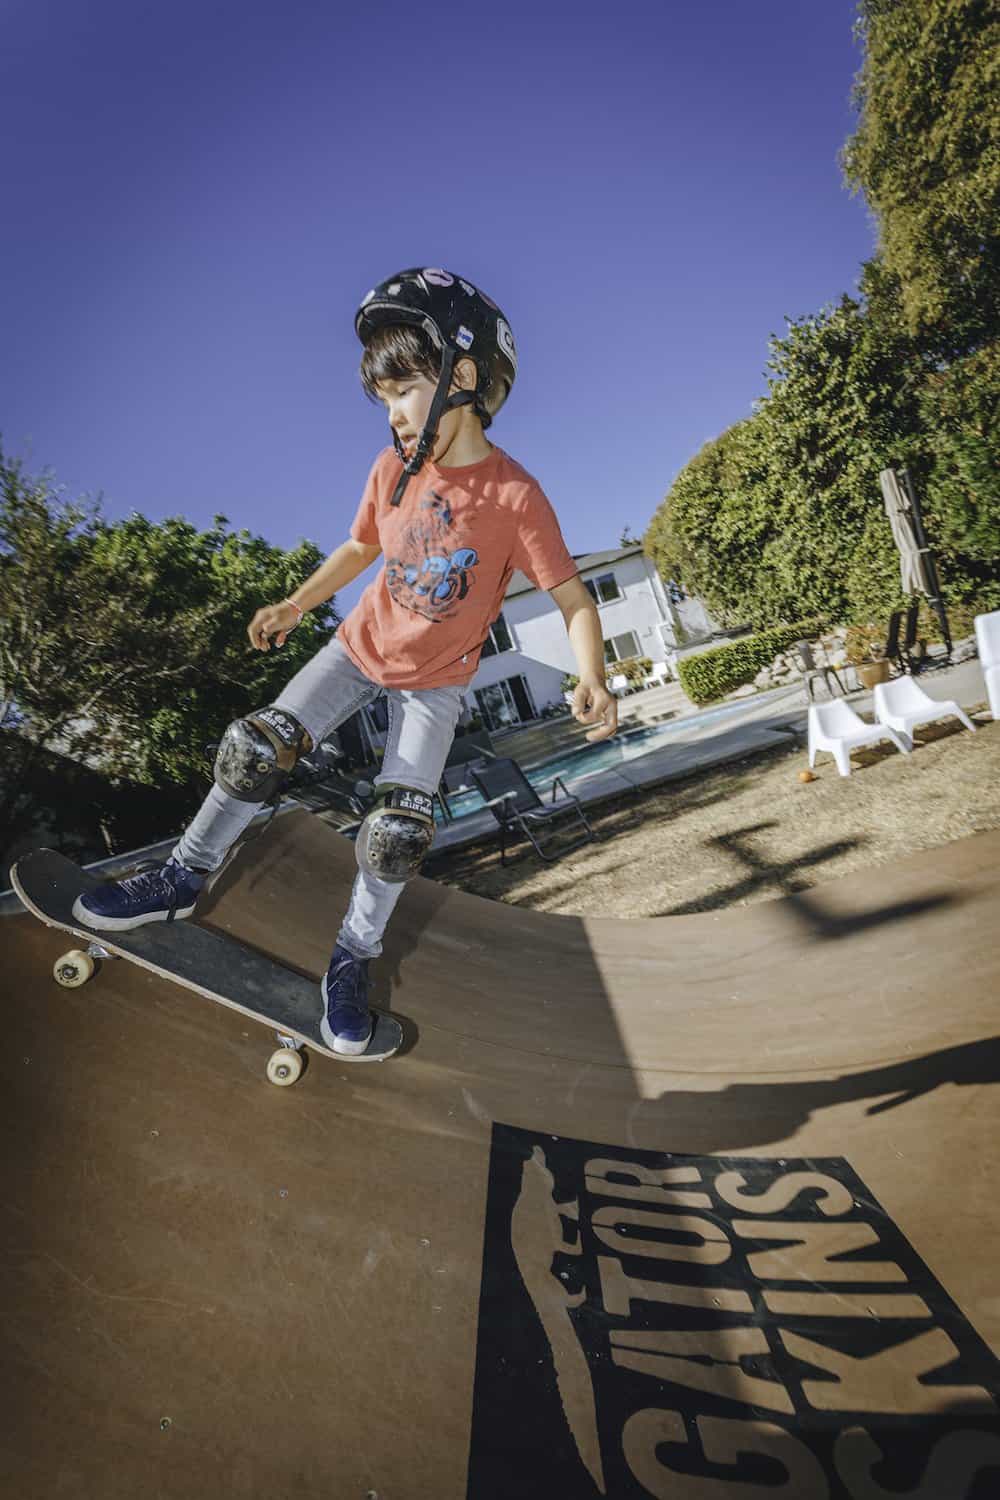
Christmas arrived a bit early at the Dahl House this year. Our 8-year-old son loves to skate and after breaking his leg this summer, he’s back with a vengeance. So instead of having him skate in the busy street, we built a half-pipe in the backyard for him and his friends to enjoy.
On the first day of skate camp this summer, our son crashed into another boy and broke his tibia. Sadly he was in a cast the entire summer, but that didn’t stop him from camping, swimming, and scooting all over the place.
As soon as the cast was removed he wanted to jump back on his board, and we wanted to encourage this so building a mini-ramp was the logical choice.
We’ve got a big backyard and have a lawn/dirt spot in the back that was large enough to fit a 12-foot wide mini-ramp. The first choice was to figure out the height we wanted. The taller the ramp, the steeper it is and more difficult to skate. Our son has been skating for two years at the skate park, but he has yet to really drop-in on anything more than a 2-foot tall ramp.
We went with a 3.5-foot tall ramp that has no vert but is something he can grow in to. We ordered the ramp in pieces from Keen Ramps. We saved a bit of money on installation, and we really wanted to experience building the ramp ourselves.
We happened to choose the hottest day in October to build the ramp and took our son out of school to help. We spent two and a half days building the ramp and finished it just in time for his birthday/Halloween party.
The ramp was a hit and although most of his friends don’t skate, the ramp was basically a kid magnet and served as a defacto slide and play structure.
We’ve shared a few ramp building tips on Built by Kids, but one of the biggest tips when building a skate ramp is to do as much as you can to protect it from the elements, mostly water and rain.
We started by elevating and leveling the ramp on cinder blocks. You need a level ramp to properly skate and by elevating it above the ground, you will protect the wood from rain and sitting in water which will quickly ruin it.
The next step in protecting your ramp from rain is to paint the sides and surfacing. We painted the sides black and the middle plywood surface. Paint provides added protection from any water that happens to seep through our top layer of Gatorskins ramp surfacing.
But we wanted to take it a step further, so we stapled roofing paper over the middle layer of plywood to provide another waterproof layer. This extra step will ensure that not only is the plywood protected, but the ramp frame and 2x4s underneath will also remain dry in the event of a rainstorm.
We used stainless steel screws to attach the plywood and ramp surfacing, but they would be overkill for the roofing paper. The ideal tool for this job is a heavy-duty utility stapler. We love our Arrow T50ELITE staple gun, but after hundreds of staples, our hand will tire.
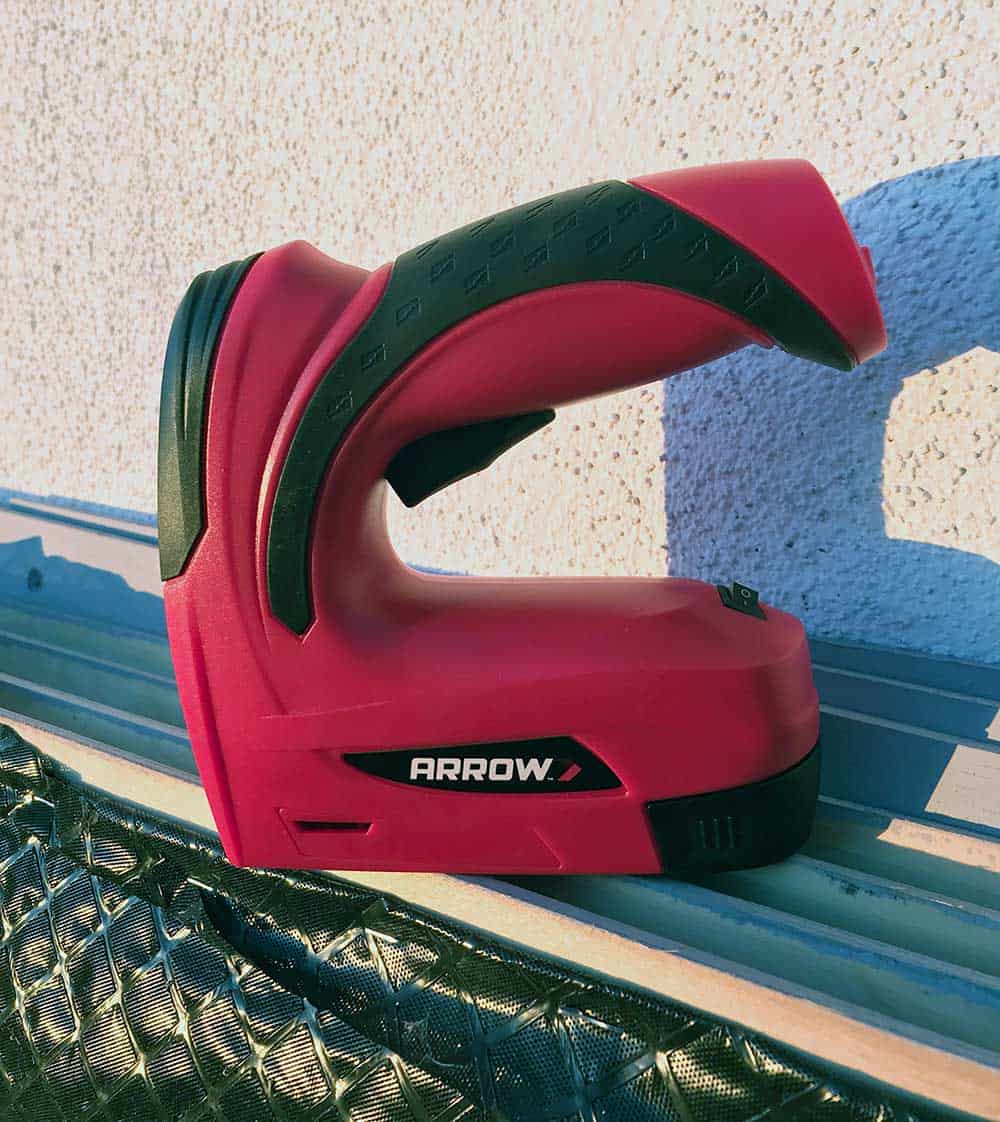
Arrow was kind enough to send over their new Arrow E21 Cordless Electric staple gun. This cordless stapler has a battery life of 3 hours, which was more than enough time to completely cover the skate surface.
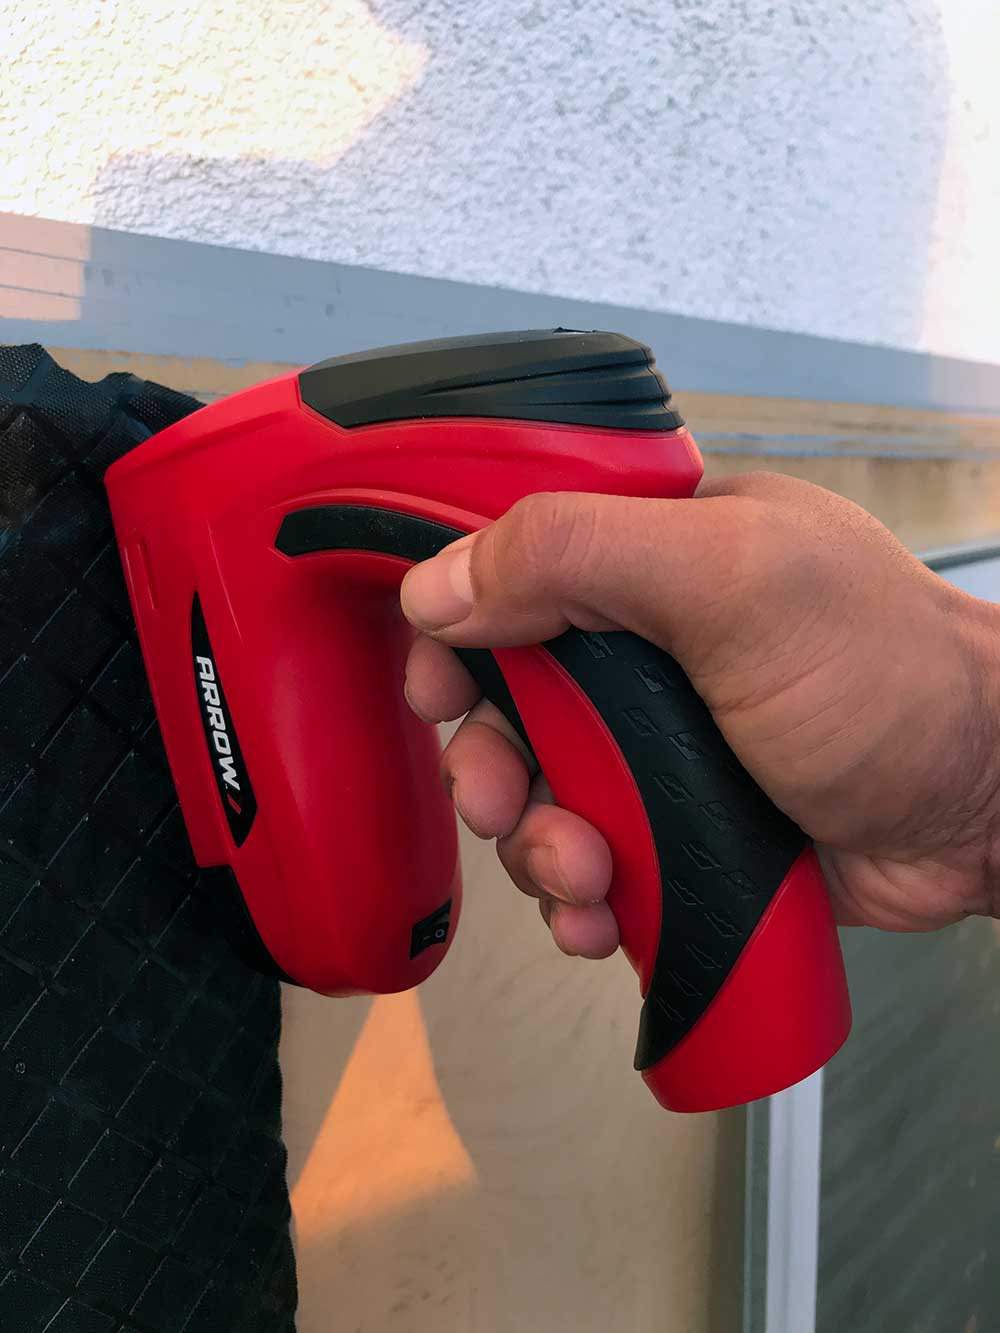
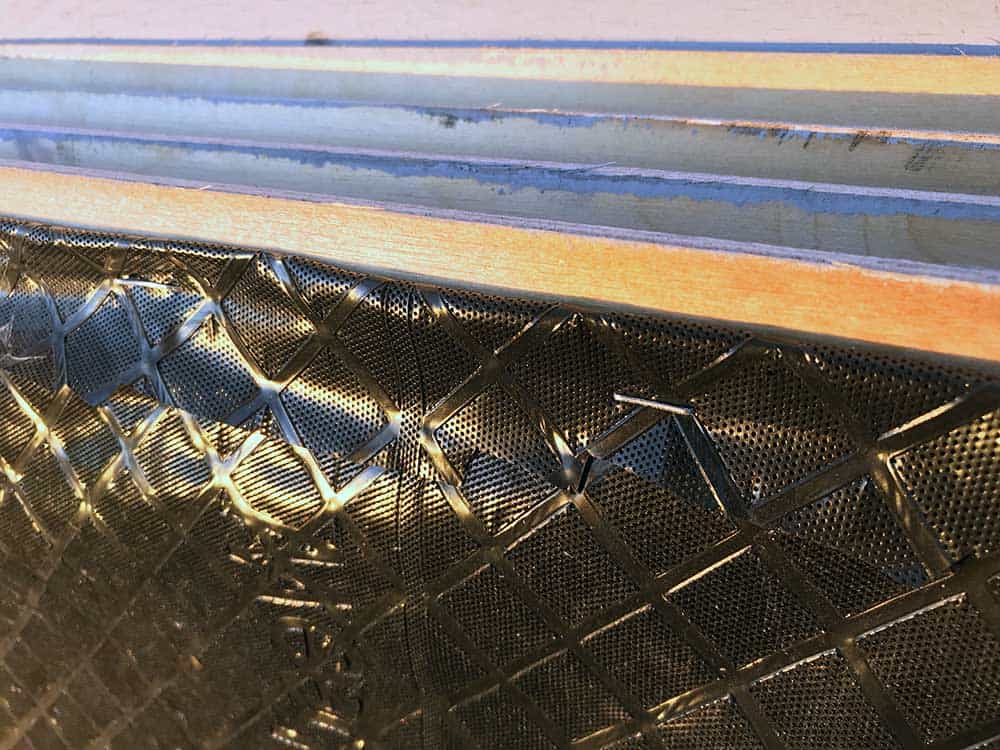
The Arrow E21 was strong enough to secure the roofing paper to the plywood and the simple trigger action saved our hands and wrists from the fatigue that a normal stapler would have wrought.
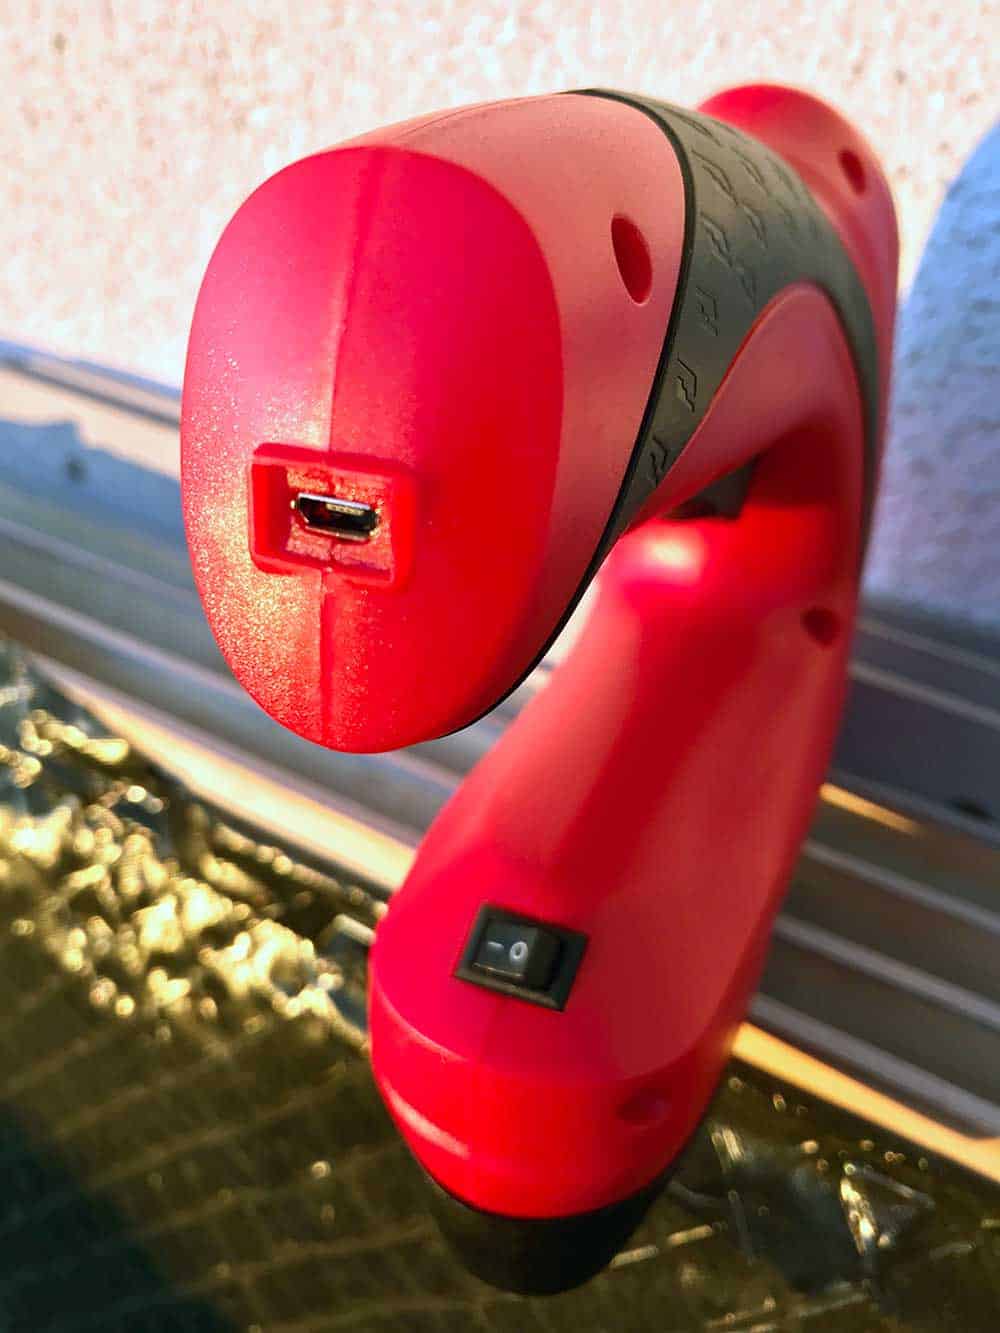
There is a handy battery life indicator located on top of the stapler, but our stapler held its charge throughout the project.
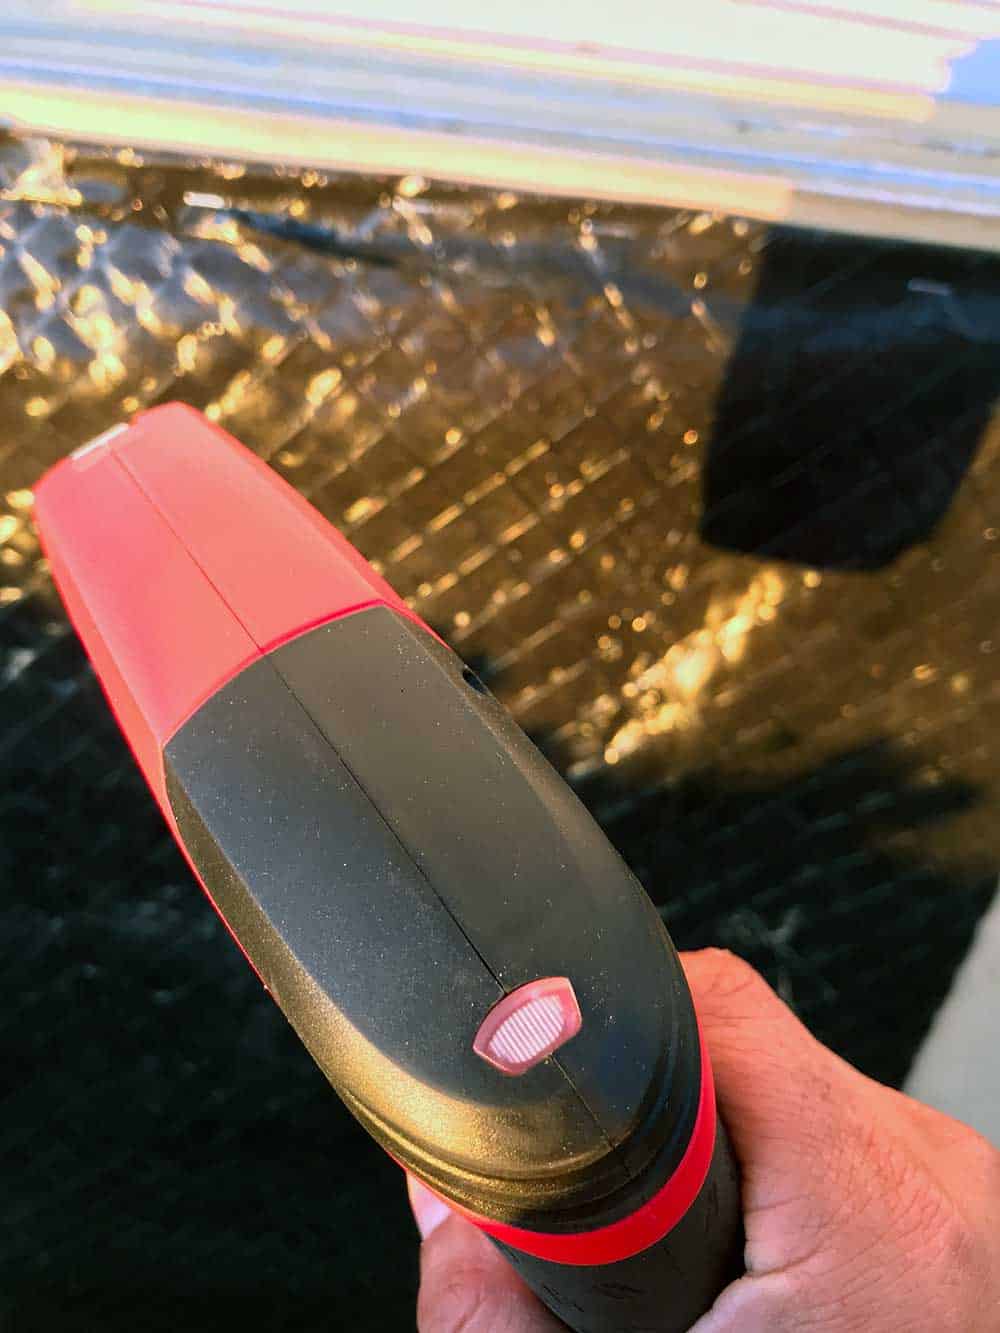
The Arrow E21 uses JT21 staples or 8-inch brad nails, which makes this Arrow E21 Cordless Electric Staple Gun even more useful. We envision using it for small woodworking projects where we would normally grab our pneumatic stapler, we’ll use the Arrow E21 instead.
We don’t get much rain here in Los Angeles, but there is plenty of moisture in the air, so taking these steps to protect the ramp from water damage will prove to be a sound investment.
Click here to check out other #MadewithArrow projects.

