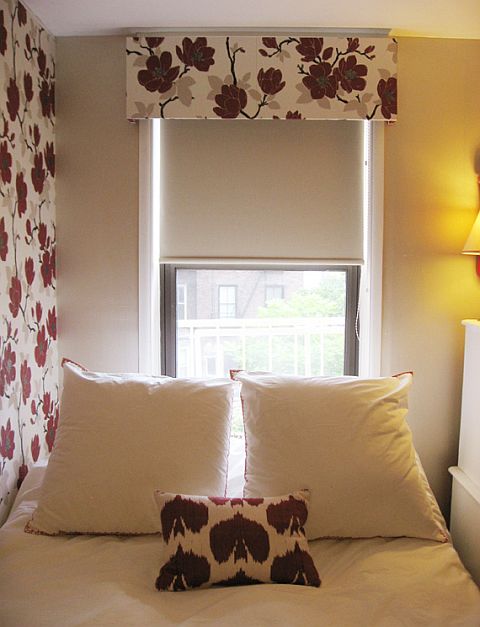
Thoughtful window treatments are a basic way to add style and panache to a room. Consider a valance at the top of the window that will coordinate with your fabrics–and the room’s color scheme–while adding a finished polish to your windows, especially if your window treatments consist of a basic element such as shades.
Anne and her fiance, Mike, blog at Seeing Design and recently posted their experience with creating a DIY window valance. The basic premise? Wood + wallpaper = valance.
First things first: measure your window. Anne and Mike opted to extend the valance three inches beyond the window frame on each side, which will create an illusion of a larger window.

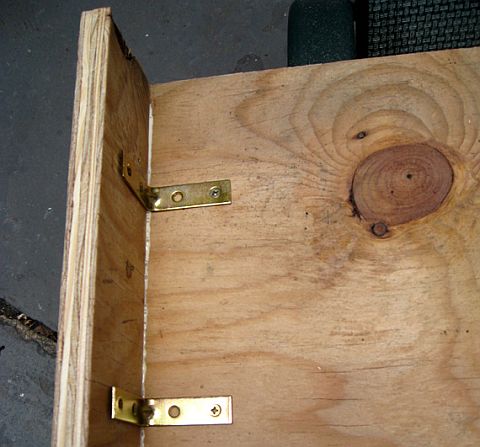
To ensure the valance would connect to the wall, the couple created a “table-like structure to sit over the top of the window frame.”
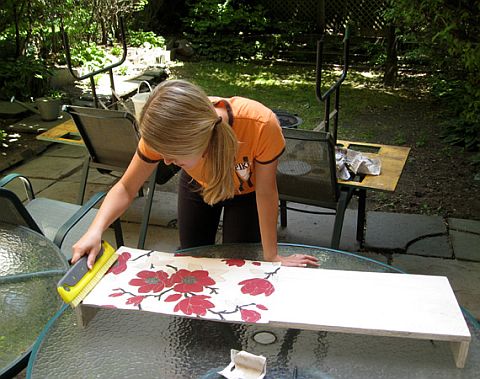
Once the wood is procured, cut the front panel and two side pieces with a circular saw (or have them pre-cut at your local hardware store.) Sand until smooth.

In order to coordinate with the room, Anne and Mike chose to cover the valance with wallpaper that matched an accent wall. You could also treat the valance like a chair or headboard and cover with a foam pad topped with a colorful or patterned fabric. If you do choose wallpaper, make sure to cover the valance’s surface with wallpaper primer, which will ensure the paper sticks to the wood.
Once the wood has dried, attach to the wall surrounding your window using L-brackets and step back to admire your DIY handiwork.
Are you a fan of a valance, or do you prefer another type of window treatment?
Photos courtesy of Seeing Design


No Comments