One of the cheapest ways to travel on your own is sleeping in the back of your truck. For safety and protection from the elements, having a truck cap, topper, or shell is advisable. But, what a truck cap provides in security for you and your gear, it often lacks in privacy. Here’s how to make durable DIY privacy window covers for your truck cap that keeps prying eyes out.
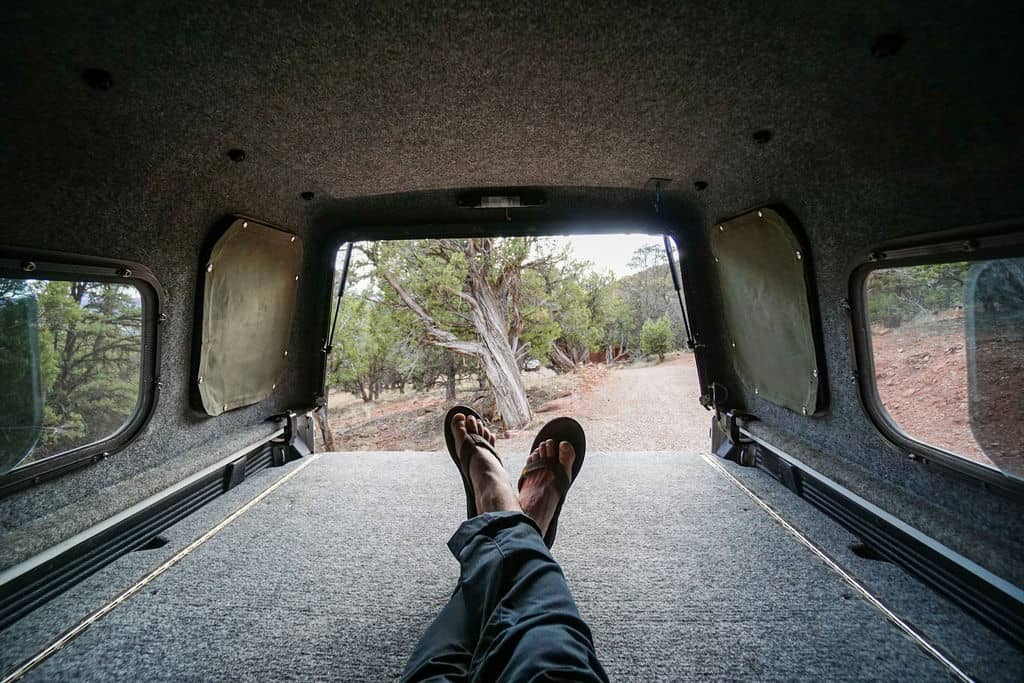
Car camping, overlanding, boondocking–whatever you call it, has exploded in popularity this past year. Vanlife continues to trend up, and RV sales are through the roof. Travelers have packed campsites, RV parks, and Walmart parking lots across the country, but many of these mobile homes suffer from the fishbowl effect once the sun goes down.
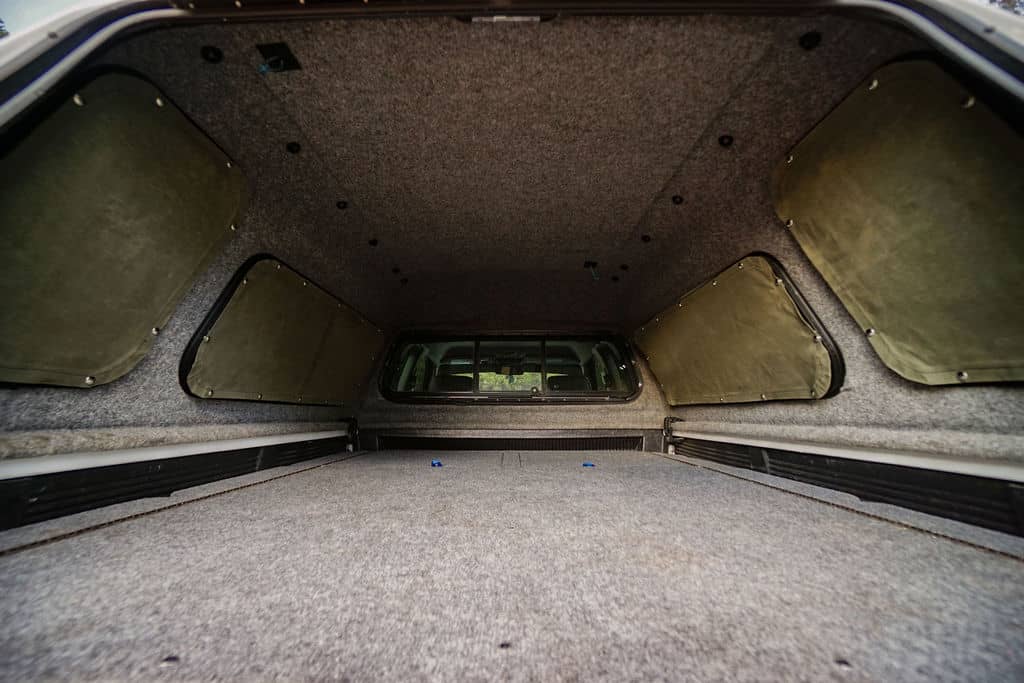
Privacy solutions are a challenge, as there are not many window coverings that are made to fit the odd-sized openings on truck caps. Eric Hockman experienced this issue first-hand as he was planning on boondocking through southern California and sleeping in the back of his Tacoma pickup truck.
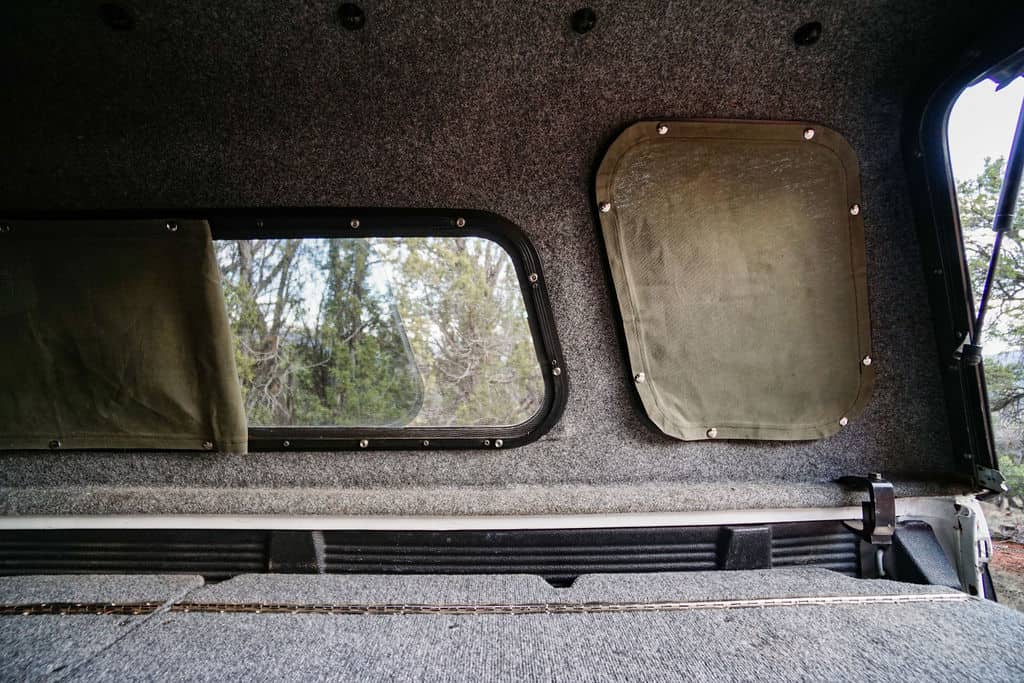
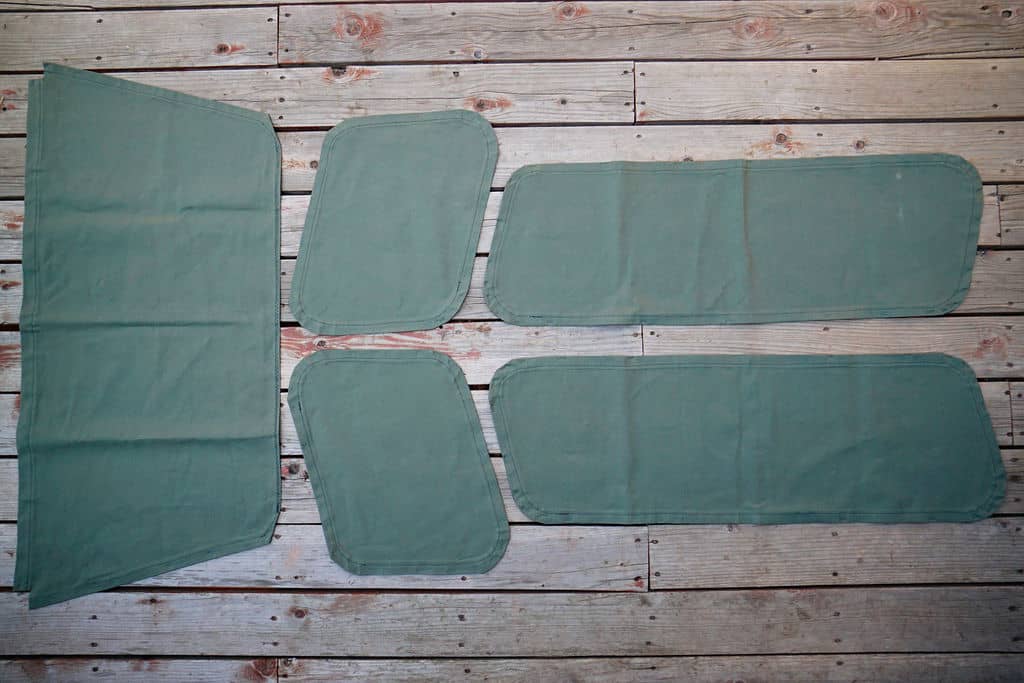
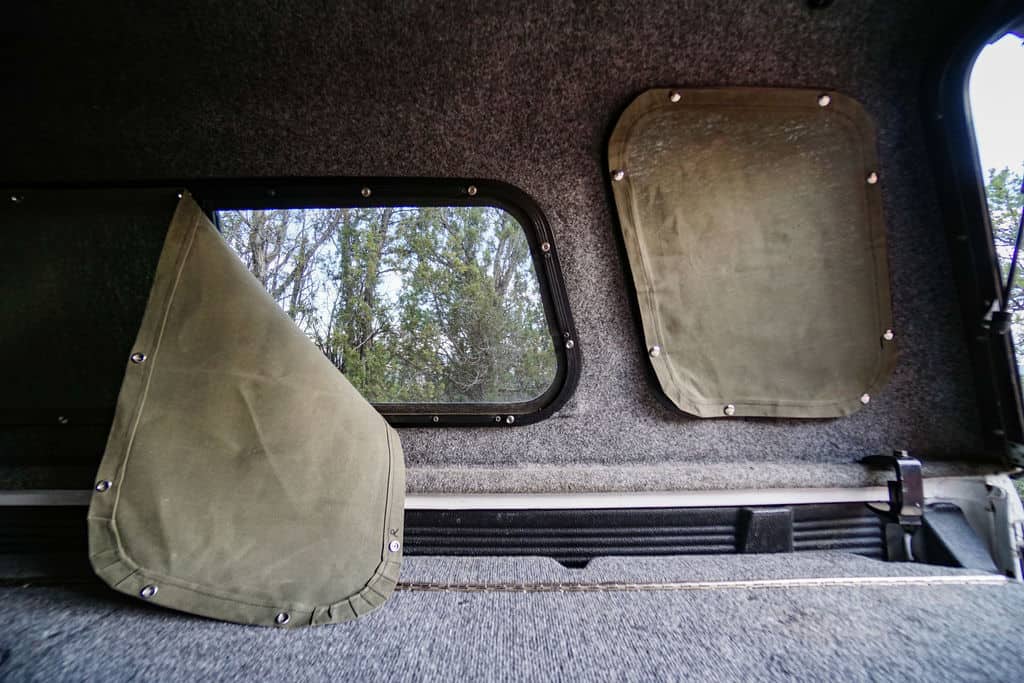
Eric decided to finally put his new sewing machine to use on this project, and designed custom privacy window coverings that are durable, easy to adjust, allow for window ventilation, and can be easily stored for transportation.
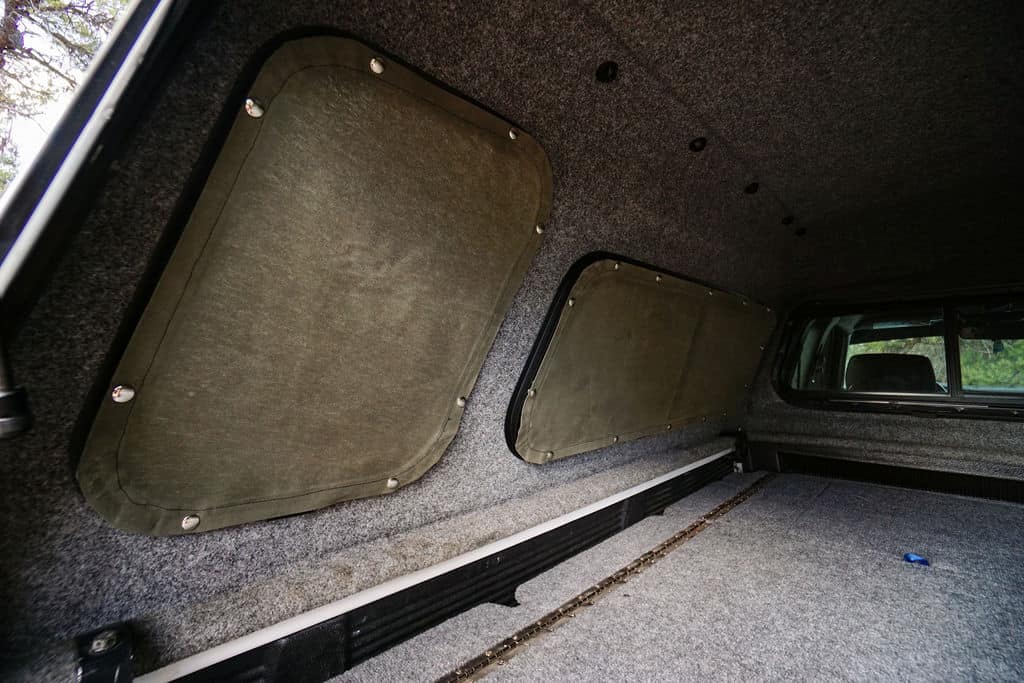
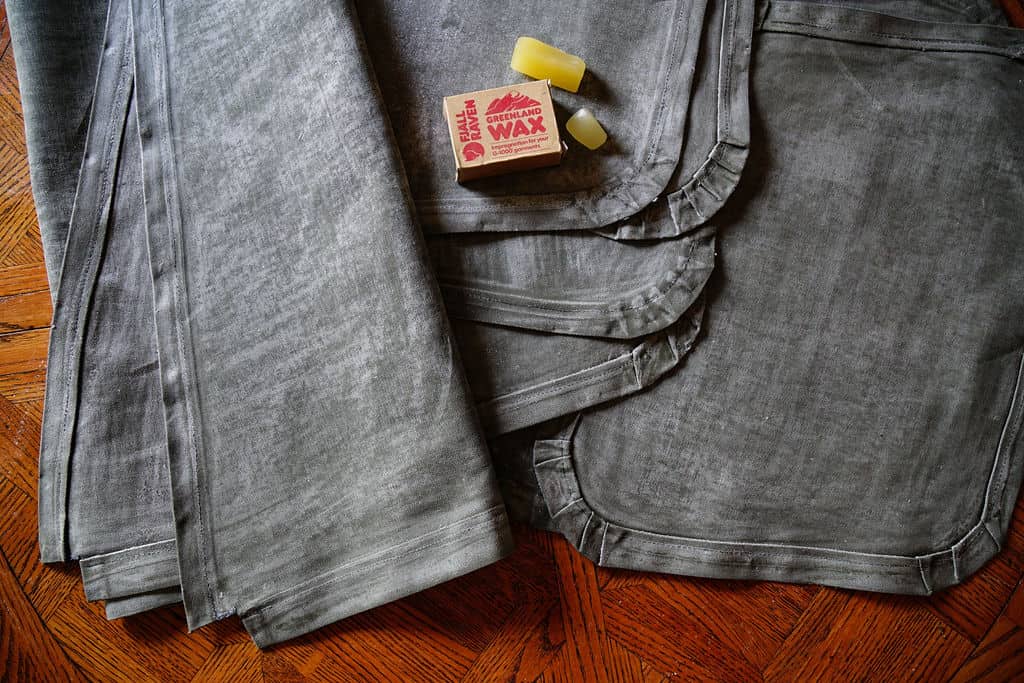
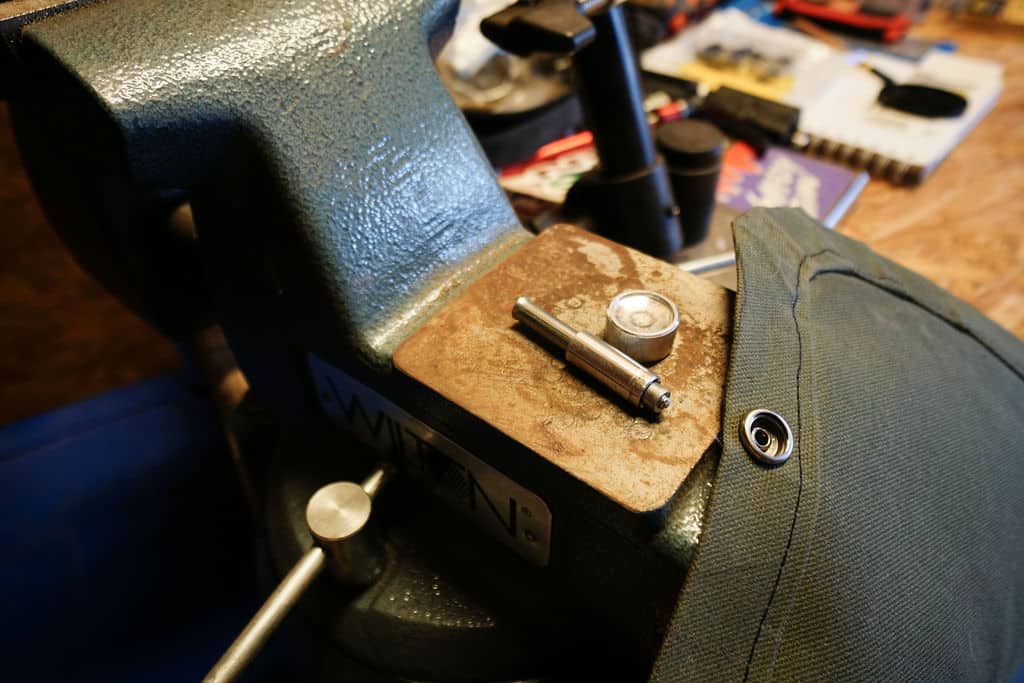
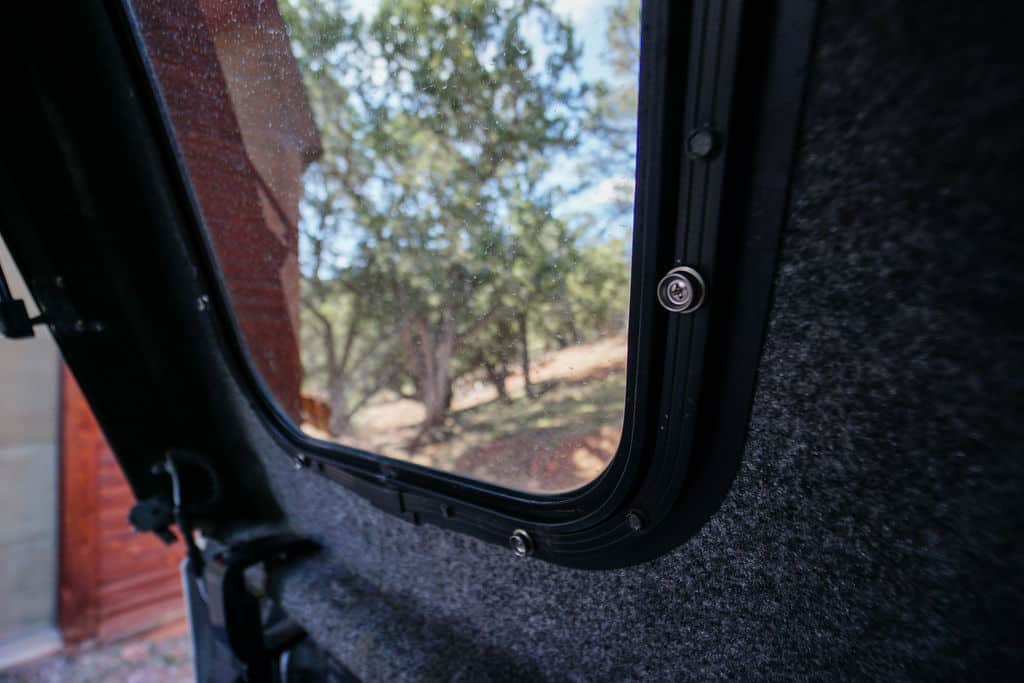
He made these window coverings using duck canvas and snaps to hold them in place. Velcro and magnets could also be used as an alternative to snaps. He also applied wax to the canvas to make them water-resistant, as they will often be used to cover windows that are slid open.
We love how these turned out! They look sharp, are quick to set up, and extremely effective at providing the privacy needed for a good night’s sleep. Eric’s technique can be applied for all types of vehicles and window sizes.
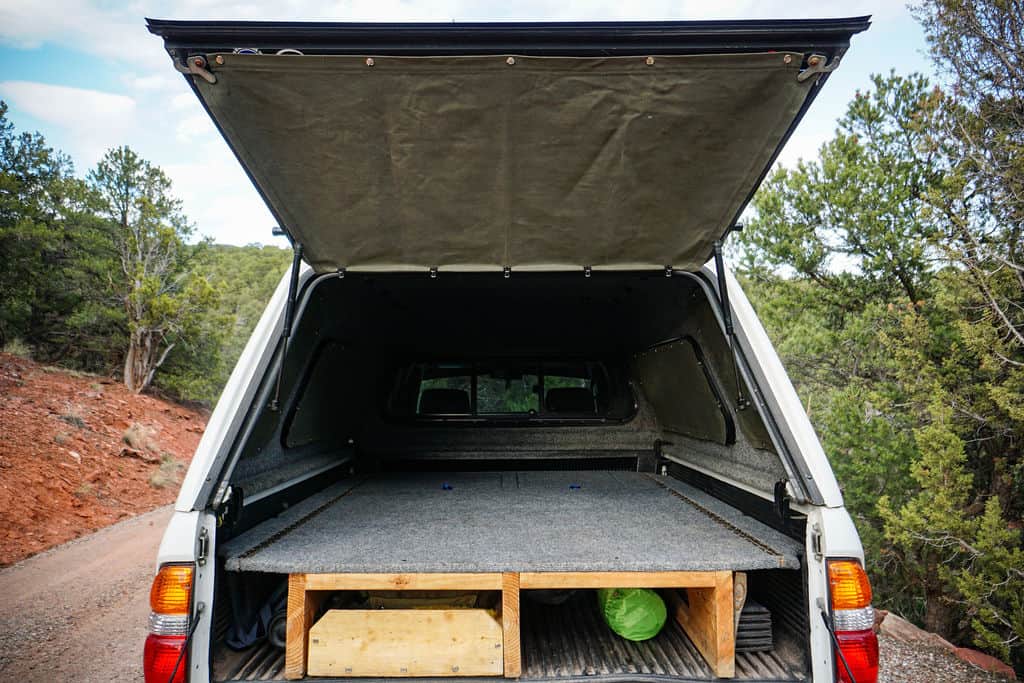
Check out Eric’s website for the full set-by-step instructions and take note of the highlights below for making your own privacy window coverings.
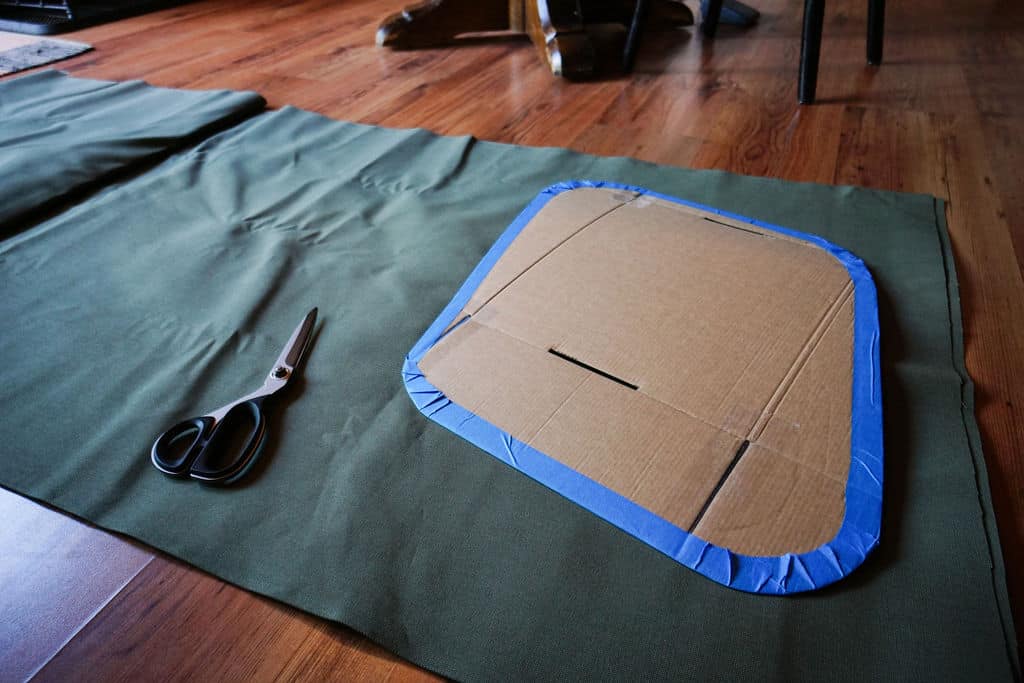
- Create cardboard templates of windows
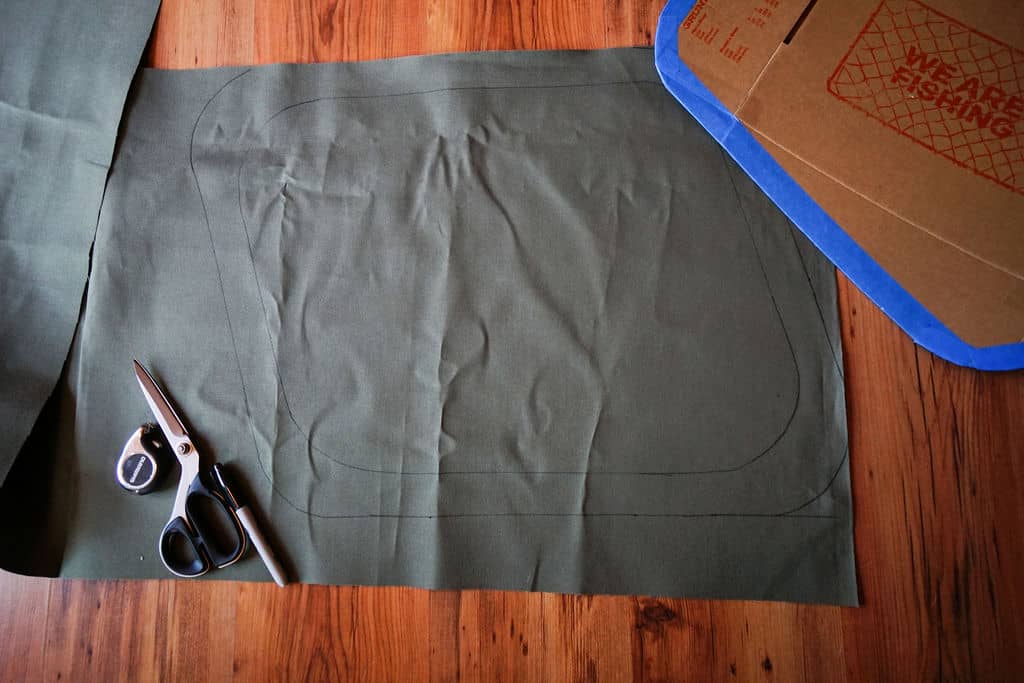
- Trace templates onto duck canvas
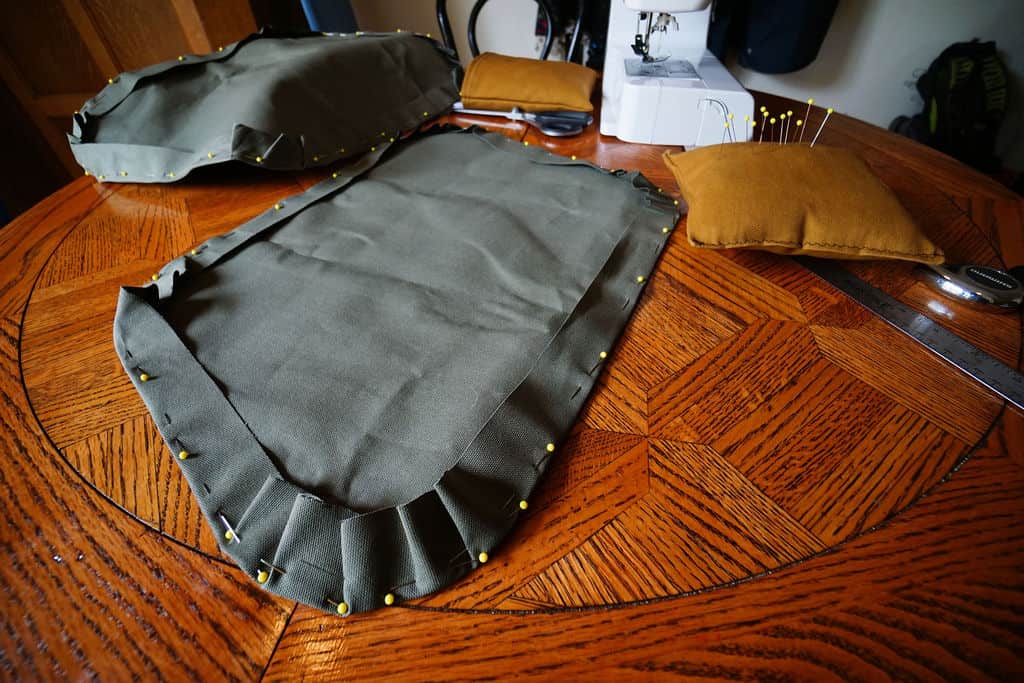
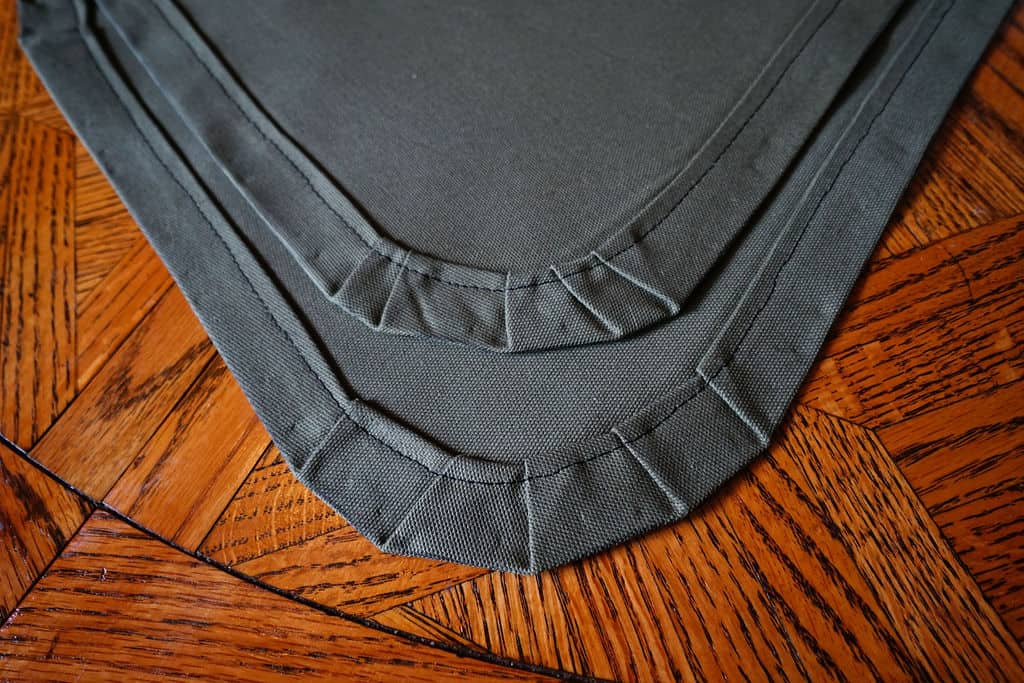
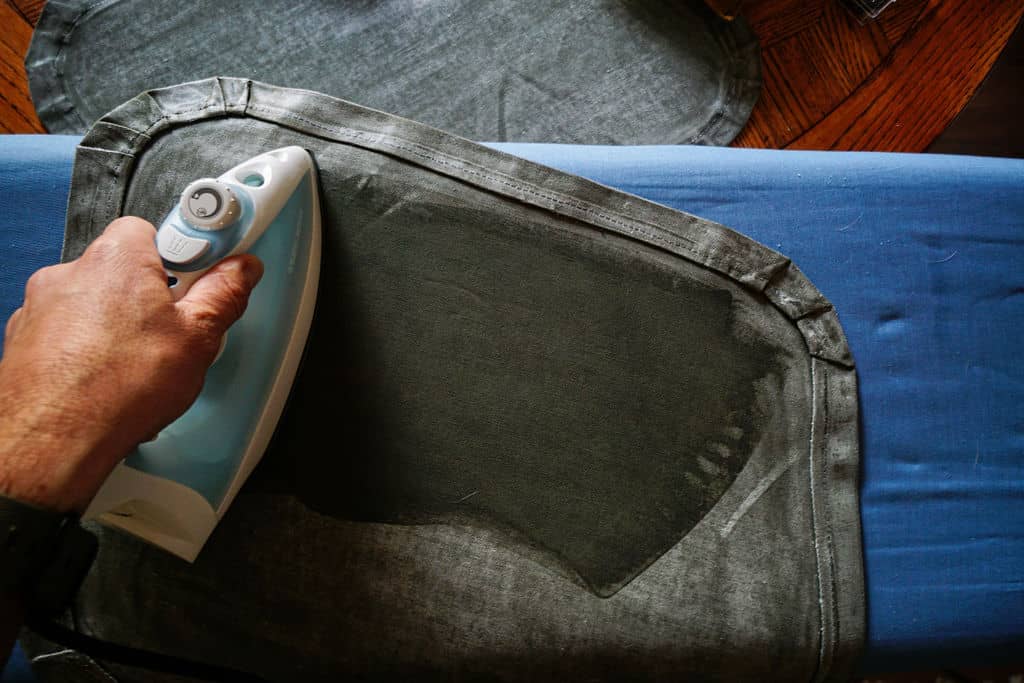
- Iron, dart corners, and pin
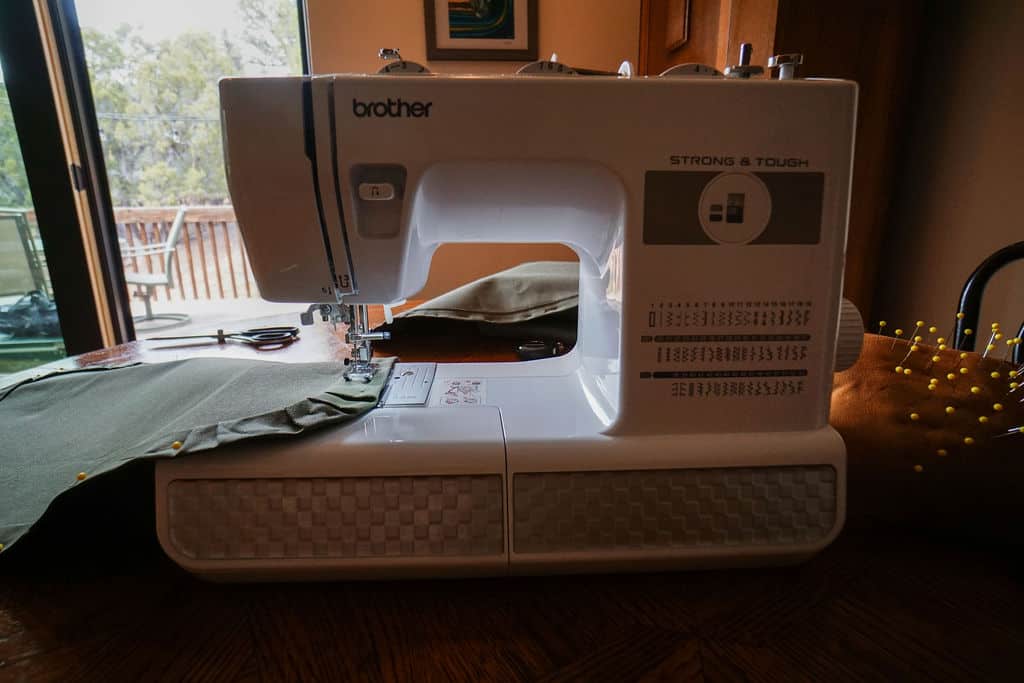
- Sew
- Wax
- Attach snaps
Thanks to Eric for sharing this awesome project!
Photos and project by Eric Hockman

