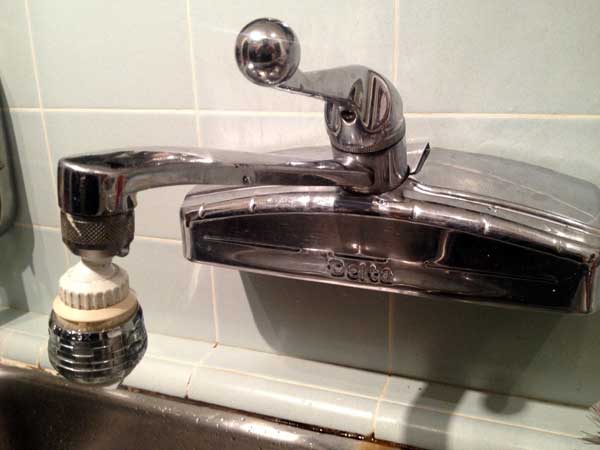
We’ve got a old Delta faucet in our kitchen that is wall-mounted and last month it started to drip. The faucet is probably original to when the home was built in the 50’s and fortunately our local hardware store carried replacement seats and springs for pre-1976 Delta faucets.
Replacing the seats and springs in the faucet will prevent water from leaking around the seals and if you can remove all of the hardware it only takes 10-15 minutes to complete this job which will save you money and frustration of a dripping faucet.
Here’s how to replace the seats and springs in your older faucet.
1. Turn off the hot and cold water supply to the faucet. There will be two knobs under the sink that you need to turn clockwise to turn off.
2. Using an allen wrench, partly unthread set screw and then pull-off handle.
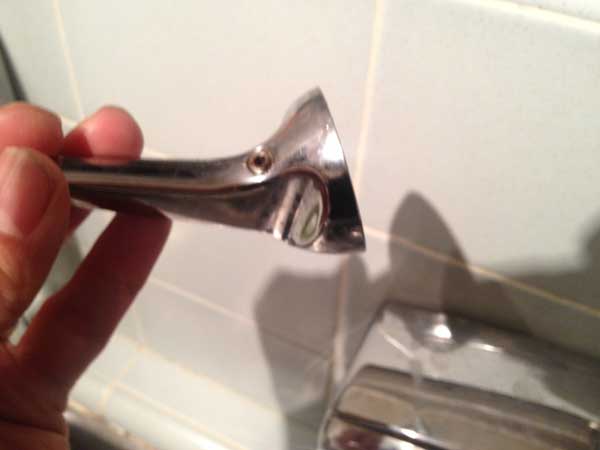
3. Unthread and remove cap assembly
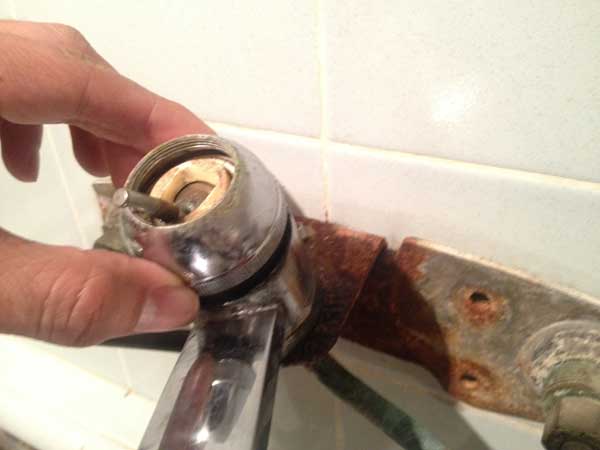
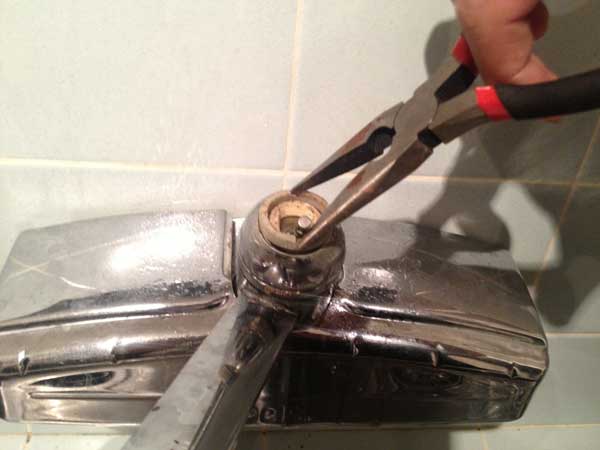
4. Remove ball and cam assembly by pulling up on the ball stem.
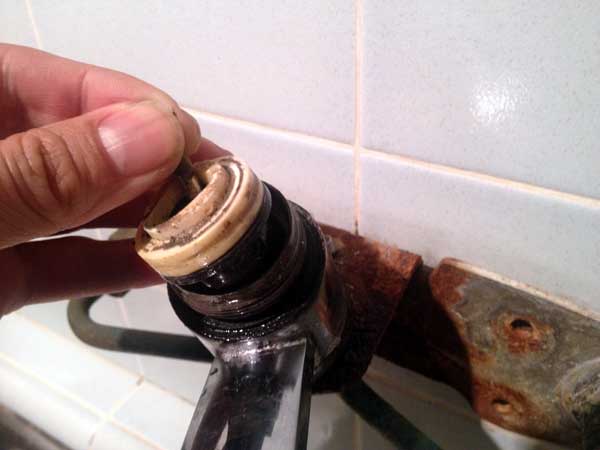
5. Remove old rubber seats and springs and discard. Replace with new seats and springs.
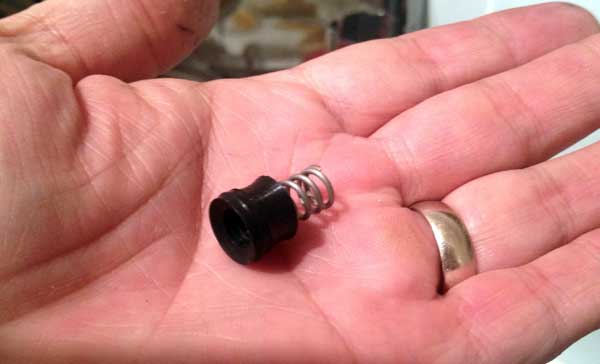
6. Reassemble faucet in reverse order. Make sure that slot in side of ball is inserted over pin inside body and that lug on side of cam is inserted into slot on side of body. Tighten cap securely.
7. Turn on water supply. Check for leaks.

2 Comments
Igor Leonidovich Kigel
May 17, 2025 at 9:37 pmHi
Where can I get faucet piece where errator installs. That faucet piece where you screw errator is not good.
Manuel Madrid
November 29, 2025 at 8:26 amWhere can I find this exact faucet