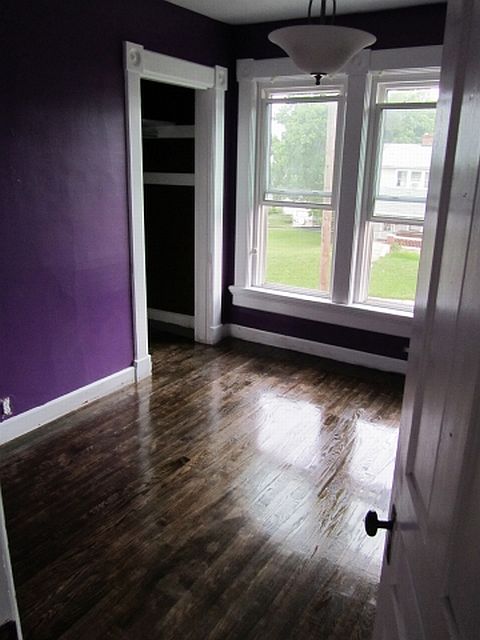
Recently, my husband and I embarked on an epic adventure in our home renovation. We — actually he and a friend, because I’m nine months pregnant and can barely bend at the waist — completely DIY’ed a hardwood floor for our impending daughter’s nursery.
In light of this post detailing how to lay hardwood and this one on how to refinish them (both tasks we’ve accomplished while living here), I thought I’d throw in my three cents on how it all actually went down, with some input from my husband and novice DIY’er, Kyle.
The room we wanted to lay hardwood in previously had wall-to-wall carpet that we replaced when we moved in three years ago, but thanks to our five cats and their insistence that the room was actually a giant litter box, the room had become near unusable. So we took a deep breath, saved up our pennies, and tore everything out down to the original subfloor (which was not affected by the cats’ activities, thank heavens for the absorption abilities of particleboard), making room for a brand new floor for our baby girl.
I was nervous about the whole process, because I’m the handy one in my marriage. And although I haven’t let pregnancy slow me down too much, I knew I had to leave this one up to Kyle and his friend — two guys with a lot of confidence and not a lot of experience. However, they pulled it off in roughly four days, and believe me, if they managed such a beautiful floor, you can too.
Here are Kyle’s tips on laying hardwood floor for the first time (with some observations from me):
Tip #1: Get a friend to help you
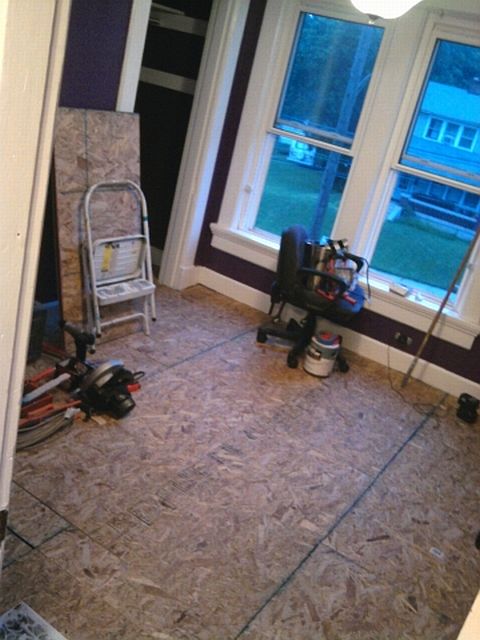
Kyle’s friend had previously handled subfloor before, so having him around was super helpful for the parts he had experience with. Having two sets of hands making cuts for the subfloor and the hardwood planks along with the installation parts made the process go much faster and seemed more fun for the two of them. They devised a system based on each other’s strengths, and it made what could easily become a daunting task quite simple and streamlined.
Tip #2: Don’t Be Easily Intimidated
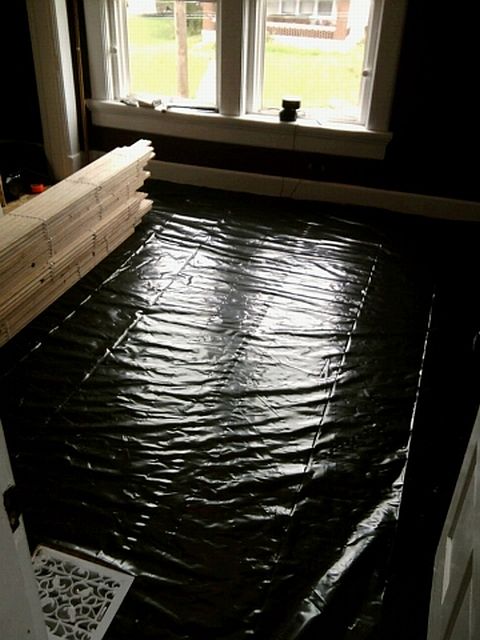
Kyle said that there are a lot of parts that can be downright scary throughout the whole process. From purchasing the wood, to getting the right tools, to deciding on how to finish the floors, he thinks a great deal of people’s trepidation is just the enormity of the project. He suggests breaking down into smaller tasks and taking a break when you accomplish each task.
For purchasing the wood, he says to comparison shop. Big box stores like Lowes and Home Depot offer comparison pricing (usually with an extra 10% off to boot), which can ease the sticker shock of buying the wood. He said we saved nearly $200 on our 10×10 room’s floor by doing this.
As for picking the right tools for a first-timer, he says to forgo the fancy tools at the rental shop. All you really need is a circular or table saw, a drill, a hammer, and the right nails. Get comfortable using basic tools before you bust out the pneumatic nailer — inexperience with power tools can lead to more irreparable mistakes and injuries than just muscling it out with the basics, but with the added bonus of really getting a feel for what it takes to get a floor down. It can also save you upwards of $100 in rental fees.
And for finishing the floors, I suggest weighing your options before committing to anything. I oscillated between paint and stain, eventually going with stain because you can always paint over it. And know that you’re not confined to the basic, pre-mixed colors on the shelf. Most stains are formulated to be mixed, and doing so will not only make your floors reflect your personal design aesthetic, but give them a more custom feel as well. You also don’t need all the fancy floor refinishing tools — just the lambswool brush and a couple of old (clean!) t-shirts.
Tip #3: Take Your Time
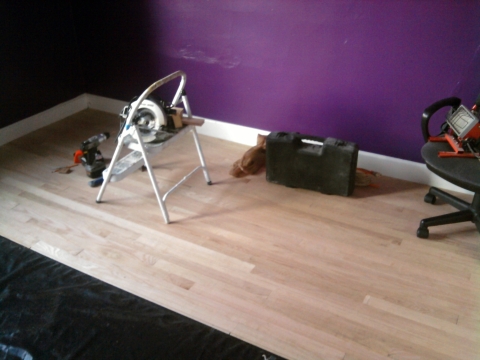
You want your floors to be gorgeous and durable, right? So why rush putting them down? With every aspect of laying hardwood, you should take your time, according to Kyle — the whole “measure twice, cut once” mentality. He suggests that when you’re ready to start nailing, to actually lay down three or four rows of planks without nailing them down to get the feel of how the floor will look, and how you’ll have to match everything up. He thinks it’s easiest to start at the wall that will need the most cuts because putting the planks down is like putting together a puzzle, and you want the ends to all match up at the walls without gaps.
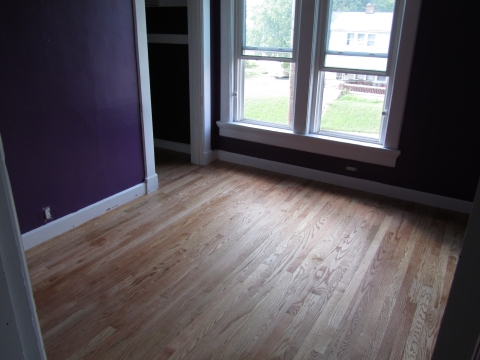
He also was pretty adamant about using as much as possible of your materials. He said to not be afraid to use your cut pieces to help that puzzle along. When it comes to bent planks, he said nothing should be discounted — you can cut them down to reduce the bend, or if you have the strength and extra nails, you can bend them into place. When you go to lay the stain, he said thin coats are imperative. The last thing you want after all your hard labor is to jack it up with uneven stain and bubbly polyurethane. So really take your time with it, wait the allotted drying times, and be just shy of meticulous in your application. All in all, Kyle said there will be obstacles, but don’t let them freak you out. You can always figure out a way to work with what you’ve got if you give yourself a minute to think about it.
Tip #4: You Will Get Dirty, And That’s Okay
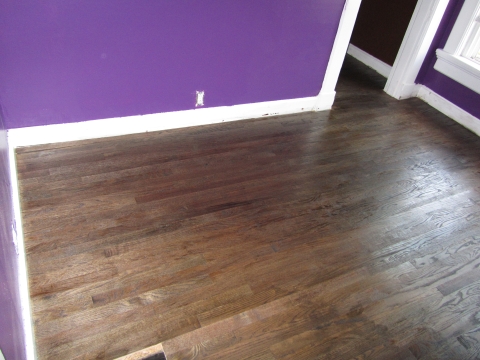
I know, I know, most DIY requires you to get your hands dirty, but this can be an especially gross job. It doesn’t help that Kyle is much more of a neat-and-tidy person than me, so the dirt factor really got to him at times. From the sawdust and splinters to the stain, poly, and mineral spirits, it’s high on the list of messy projects. Kyle suggests wearing appropriate clothing to cover yourself, such as jeans and closed-toe shoes, but to not have them be anything you’d like to hold onto later. Chances are, they will be ruined beyond being salvageable, so make sure it’s stuff you can throw in the trash without shedding a tear. Also, it’s stinky towards the end, so get yourself a mask and ventilate the space before you destroy brain cells. Our son, our pets, and I were generally safe from the stench downstairs, but we took extra precautions by having our son sleep downstairs in our room instead of upstairs in his own room (across from the under-construction room) for a few days post-project until the smell dissipated.
After all’s been said and done, Kyle said there’s nothing like the feeling of knowing he laid a hardwood floor from start to finish without any previous experience. Our daughter will have a beautiful nursery to come home to when she makes her debut, and that is largely in part to her daddy’s hard work, determination, and belief in himself and his abilities (not to mention help from an amazing friend).
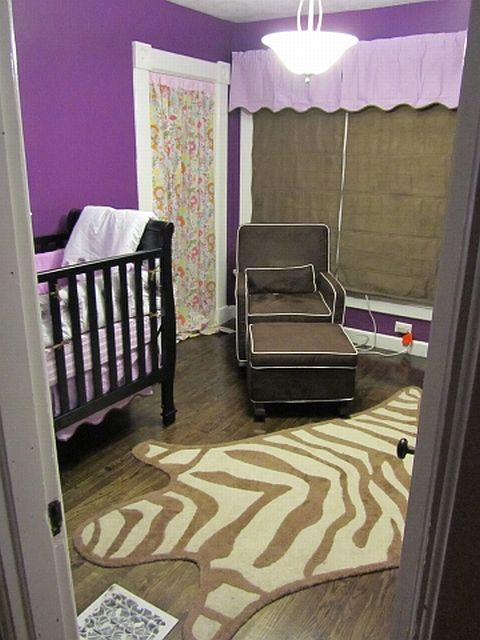
So do you think you could tackle laying your own hardwood floor? Or have you, and you have some tips as well? Let loose in the comments and we can compare battle stories.

No Comments