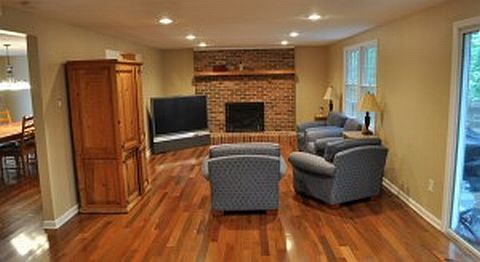
Whether you opt for light or dark, new or reclaimed, installing hardwood floors in all or a portion of your home is a surefire way to introduce a completely new aesthetic–and test your DIY prowess.
It may seem daunting, but installing hardwood floors is certainly feasible as a DIY project. Considering taking the flooring plunge? Familiarize yourself with this extensive tutorial from One Project Closer.
The guide is based on the installation of 3/4-inch solid, tongue-and-groove Brazilian Walnut hardwoods. The first step? Planning, of course. After determining the material of your subfloor (plywood or OSB) and its width, you’ll decide in what direction you want to lay the hardwoods. If you’re installing the floors over a concrete slab, opt for engineered lumber over solid hardwoods.

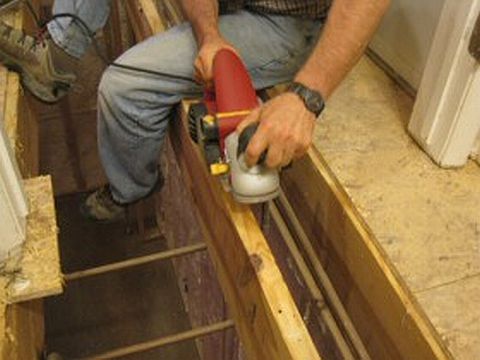
Next, prep your subfloor to ensure its level. Click over to One Project Closer for detailed information on how to fix an uneven floor, including leveling the subfloor using asphalt shingles or, if the subfloor is high in just a few locations, pulling the subfloor up to plane the crowning joist, as pictured above.
The next step is arguably the easiest. Lay the hardwoods in the space for 7 to 10 days, which allows the materials to acclimate. One Project Closer recommends hardwood installation during spring and fall so that you’re not fighting excess humidity or extreme temperatures.

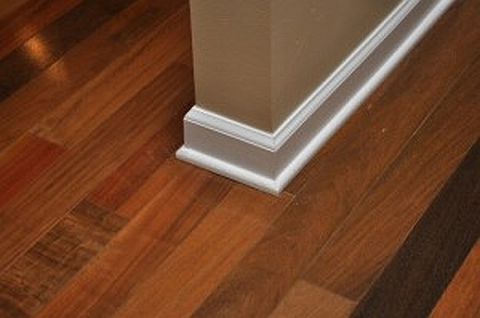
What remains is laying the first and subsequent boards, as well as creating transitions to adjacent rooms and installing baseboard and shoe molding as a means to frame the room.
The authors at One Project Closer conclude the post with several tool recommendations, including the DuoFast Floormaster 200-S Hardwood Stapler and DuoFast Floormaster 250BN finish nailer, as well as a list of low-cost hardwood flooring tools.
Tell us what you think–are you ready to tackle DIY hardwood flooring installation? Let us know if this project is on your home renovation radar, or if you’ve already completed a successful installation.
Photos courtesy of One Project Closer


No Comments