DIY Dust is Everywhere!
I love weekend projects in my shop, but it inevitably brings sawdust into the house. Add in pollen season, gear from off-roading, and general house dust, and there’s a lot of particles that can hit your air intake vents in the house. It’s very easy to not care about the HVAC system, but maintaining a good filter is one of the easiest ways to protect it and your wallet.
Based on data from the Department of Energy, swapping out a dirty filter to a clean one improves your HVAC system’s energy efficiency by 5% to 15%. But more importantly, I’ve seen systems get damaged when filters aren’t changed properly. When filters are stressed and when they don’t seal properly, dust can get into places inside the system where it shouldn’t, especially onto the blower motor, and it causes undue damage and wear as it fights against simple restrictions in airflow.
This is why I don’t just guess; I actually follow a schedule and perform visual checks and combine that with what I describe below as the main maintenance method that keeps the system in good shape without stressing it so much.
The Simple Baseline Rule (and Adjusting from There)
First of all, before I discuss how to set a specific schedule at your home, realize that the baseline rule must be that the filter swap schedule is about the surface area of the filter, not calendar days! Many people are vague and are like, “yeah, it’s every few months,” but the type of filter really matters.
Here’s why:
- 1-Inch Fiberglass Filters: A typical fiberglass filter that’s about 1 inch thick might need to be changed every 30 days or so because the surface area is very limited. When it fills up with dust, it limits airflow a lot.
- Pleated Filters: By comparison, a pleated filter might last longer, say 90 days because there’s more surface area to capture dust particles and it won’t restrict airflow as quickly.
The 90-day rule is a rough baseline, but then there’s adjustments as environmental factors in the home such as pets.
Are you remodeling? Is there lots of outdoor pollen? Does the HVAC run all the time? These all can shorten and lengthen that baseline swap schedule to both overall protect the system as well as cost savings.
The Real Swap Schedule is Pick Your Lane
The filter change schedule isn’t really a strict standard. It’s a flexible schedule based on environmental factors that I’ll discuss. So pick the lane based on your environmental usage and kick it off month to month or repeat check at those intervals. The lanes might be something like: Heavy Load Lane, Moderate Lane, and Light Load Lane.
The Heavy Load Lane (Check often, every 20-45 days)
If your household has high particulate rates coming into the system, or otherwise sensitive air quality needs, then consider a tighter schedule maybe every 30 days or less.
Also consider the following heavy load factors:
- Allergies or asthma: If people in the house have allergy/asthma related conditions, then usually a tighter check schedule say every 20-45 days actually.
- Pets & Smoking: Are there pets? Is there indoor smoking?
- Occupancy & Usage: Is there a lot of occupancy? Is the system run frequently with the fan on high all the time? These all increase particulate intake.
- Firewood: Dusty firewood burning in the chimney?
The Moderate Lane (Check every 60 days or so)
This is the default lane that many active homeowners find themselves within. Let’s say you have a pet, but no one has allergies, and otherwise a typical home environment. This is the generally right interval as an average to fit the particulates and environmental factors that comes from the home.
The Light Load Lane (Check every 90 days or so)
Let’s say you are a typical non-pet owner, smaller household occupancy, and generally average usage of the HVAC system. This is probably the standard environmental baseline. Plus smaller homes, less people, less overall dust.
General comment: In all these lanes, naturally, when there’s construction, wildfires, or any kind of dust event outside, check monthly and swap more frequently. This is an external factor that loads filters rapidly.
5 Signs That it’s Time Now
Don’t wait on the schedule if the system is indicating otherwise. The visual/inspection checks are where I put the most trust, along with physical cues. Here are some direct signs that you should swap out the filter immediately, no matter what:
- The Light Test: Take the filter out. Does it look gray/matted instead of off-white? Swap it. Is it hard to pass light through? Then air also struggles to pass through.
- Visible Debris: Is the dust buildup around the house higher than usual? Is the airflow at vents lower than usual? Might be a sign of more restriction.
- Odors: Is there a musty/smoky smell on startup, particularly during or after smoke events? Often this means the filter is holding onto odor atoms and particles.
- Temperature Spikes: Are there uneven temperature zones forming in the house, indicating that the blower can’t push air effectively due to restriction?
- Long Cycles: Is the HVAC running longer than usual on cycles? (It might be compensating for lower airflow).
1-inch Filters vs. 4–5-inch Media (Whole-House) Filters
If you want to move to less frequent maintenance, consider switching to the AprilAire Air Filters type whole-house media filters if your HVAC system can support it. The idea is that by going thicker with the filter (more surface area), then they can capture more dust and particles over a longer period of time without restricting airflow too quickly. The usual 1 inch filters might be ~30-60 days in practice, but 4-5 inch media filters can often go 6-12 months.
However, you cannot just install these at random. Your HVAC system has to have a ready-made media filter cabinet that is meant to take these thicker and longer depth filters. A lot of what happens with improper filters is improper sealing, which will just let air bypass the filter and defeat the whole purpose (and might actually cause dust ingress problems on HVAC components).
So the real thing is to work from whatever the media cabinet you have, figure out the exact filter size it is meant to take, then order the tight fitting filter. Measure the housing depth by hand to verify it. Don’t install something that causes gaps. Sometimes you might need to get foam weatherstripping or HVAC foil tape to seal well around the edges of the frame/filter door but not across the filter face—stuff like that. This is what I do.
My 5 minute DIY Filter Change Routine
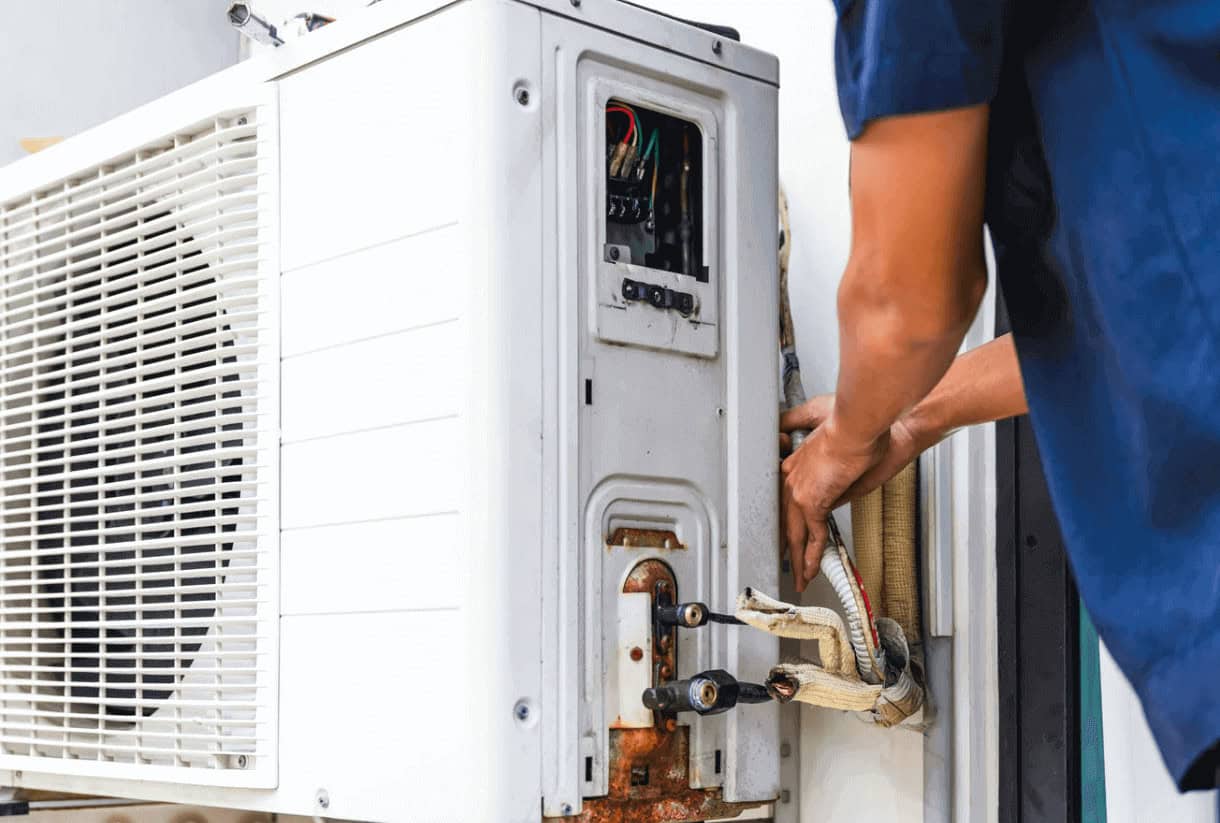
Here is my routine for How to Change Your Home Air Filters fast to minimize issues and keep the system sealed:
- Power Down: Turn the system off so the blower doesn’t pull dust/parts into the system during the swap.
- Locate: Locate the filter rack on the return side of the system (pre-blower motor).
- Check Direction: Check that the air flow direction on the old filter and new filter points towards the equipment (towards the furnace/blower).
- Clean the Slot: Slide the old filter out. I also try to vacuum the slot and surrounding area with a vacuum to remove debris that might affect sealing. If there’s fine dust involved, I consider using a HEPA vacuum for safety.
- Seal: Put the filter in so that it’s well seated. Even gaps can allow surprising amounts of air to bypass, so seal well. If it’s loose, work to seal it, add foam weatherstripping or approved foil tape around the edges of the frame/filter door but not the filter itself, etc. Seal well.
- Log the Date: I use a sharpie and write the date on the filter frame so it’s always known.
More Pro Tips From A Dusty Workshop House:
- Construction: Construction cleanup, drywall sanding, and similar events are terrible for filters and loading sets in fast. Good housekeeping includes vibing the filter swap fast in these cases.
- Cleaning Returns: When cleaning near returns and vents, avoid blasting dust up into the air framing. Use a vacuum with good filtration (ideally HEPA if ash/drywall/etc. are involved) to suck up debris and avoid re-suspension.
- Surface Area is Queen: Calendar days are good as a baseline but the pleats are queen. If they start to look gray and packed, swap fast even if the calendar says otherwise.
- Avoid High Restriction: Be anti highly tight upgraded filters with very high MERV ratings that might be over restricting airflow and counterproductive if the system/ducting is already borderline restricted. Here try to go moderate, and swap regularly, and use these tight filters at your own peril as they may decrease system performance and stress it.
Final Recommendations:
- Pick your lane: 30 days heavy/allergy, 60 days for most pet owners, 90 days for typical usage, but adjust based on observations.
- Trust the tests: Trust the light test and pleats if gray and packed, swap.
- Don’t over restrict: Upgraded filtration can be counter-productive; try to find the right thickness/amount and schedule to swap regularly.
- Seal well: Mine that media cabinet and make sure there’s no big gaps.
- Take Action: Go look at your filter now; if gray/fuzzy/packed, swap it out to protect the system.