Have you ever handed back the keys to a rental property feeling confident, only to receive a call weeks later about a bond deduction for something you thought was already clean? Final inspections catch far more renters off guard than most people expect, not because they were careless, but because the standard property managers actually apply is often stricter and more specific than tenants assume going in.
Getting a property genuinely ready for that final walkthrough is less about frantic last-minute scrubbing and more about understanding exactly what is being checked and working through it methodically. For Melbourne renters, preparing thoroughly before the final inspection can make a significant difference in avoiding unnecessary disputes, protecting their bond, and ensuring the property is returned in the condition expected by landlords and property managers.
Understanding the Actual Standard You Need to Meet
Many renters assume the property needs to look brand new, while others assume a quick surface clean will be enough. Neither assumption holds up. According to Tenants Victoria, which explains the official Consumer Affairs Victoria guidelines, the legal standard for a rental property at the end of a tenancy is “reasonably clean,” meaning free from marks, dirt, cobwebs, stains and dust, measured against community standards rather than a spotless or showroom finish.
Importantly, that standard is also compared against the condition report from when you first moved in, so you are not expected to leave the property cleaner than it was when your tenancy began. Understanding this benchmark upfront removes a lot of the guesswork and anxiety that tends to build up before an inspection.
Start With the Areas Property Managers Check Most Closely
Certain parts of a rental property receive much closer attention during a final inspection than others, so focusing on these areas first can make the cleaning process more efficient and improve your chances of getting your bond back.
Pay particular attention to:
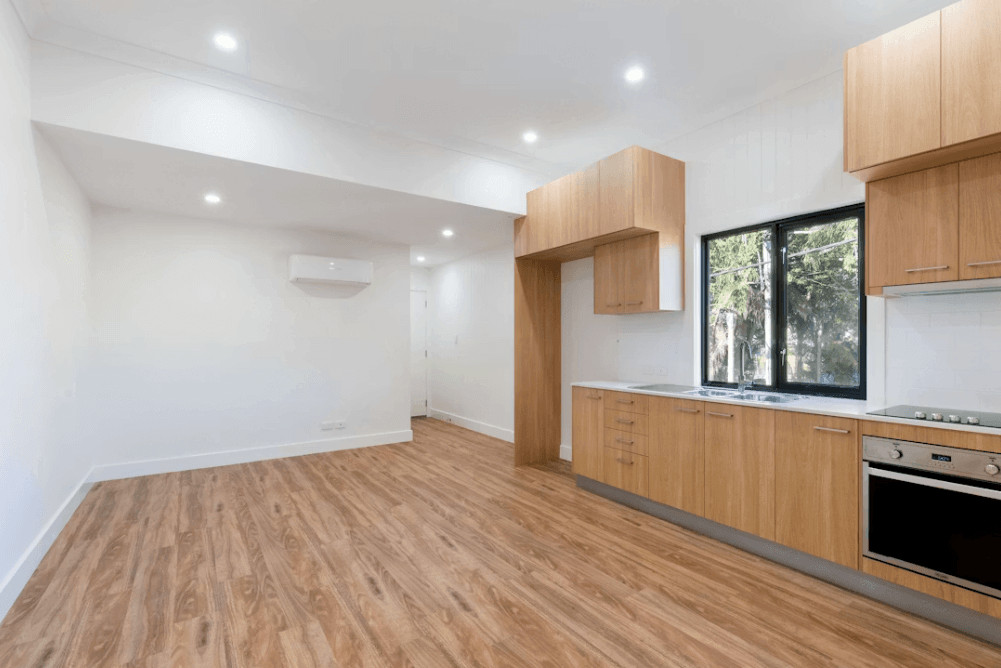
- Kitchen appliances such as the oven, stovetop, and rangehood filter, where grease buildup is one of the most common inspection issues.
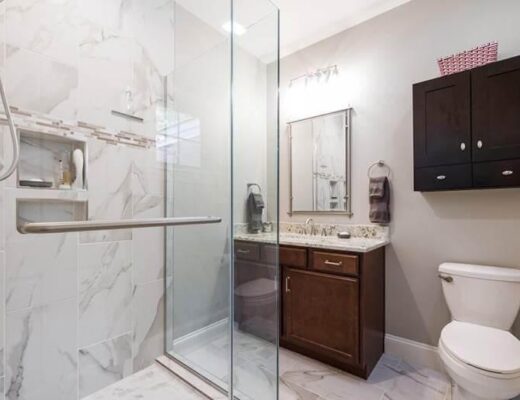
- Bathrooms, including shower screens, grout, taps, and exhaust fans, with any signs of soap scum or mold likely to attract attention.
- Skirting boards and door frames, where dust and scuff marks often become noticeable during inspections.
- Window tracks and sills, which frequently collect dirt and debris that routine cleaning can miss.
- Corners, edges, and hard-to-reach spaces, where cobwebs, dust, and accumulated grime are easy to overlook.
- Floors and carpets, ensuring they are thoroughly cleaned and free of stains, debris, or excessive wear where possible.
Prioritizing these high-attention areas before moving on to the rest of the property helps create a more inspection-ready finish and reduces the likelihood of avoidable issues being identified during the final walkthrough.
Build a Room-by-Room Checklist Rather Than Relying on Memory
Trying to clean an entire property from memory almost always means missing something, especially under the time pressure of a move. A written, room-by-room checklist keeps the process organized and reduces the risk of overlooking a detail that later shows up as a bond deduction.
A solid checklist typically covers wiping down all surfaces and cupboards inside and out, cleaning the inside of windows and any accessible window tracks, vacuuming and mopping every floor, dusting light fittings and skirting boards, and clearing out any rubbish or leftover belongings before the final walkthrough. Working through the list methodically, room by room, also makes it far easier to spot when professional help might genuinely be needed for a specific task, like carpet stains or built-up bathroom grime, rather than trying to force a DIY fix that ultimately falls short.
Know When Professional Help Makes the Difference
Some cleaning tasks are genuinely difficult to bring up to inspection standard without the right equipment, particularly built-up oven grease, deep carpet stains, or bathroom mold that has settled into grout over time.
This is exactly the gap that professional end of lease cleaning Melbourne services are designed to fill, since these providers focus specifically on the areas property managers inspect most closely rather than treating the job as a generic clean.
An inspection-ready property requires attention to the areas tenants often overlook, which is why PG Cleaning Group follows a detailed cleaning process that includes kitchens, bathrooms, window tracks, and skirting boards.
The Best Time to Complete Your Final Rental Clean
Cleaning too far in advance risks dust resettling before the actual inspection, while leaving it until the very last moment leaves no room to fix anything that gets missed. A clean completed one to two days before the scheduled inspection, ideally after all furniture and belongings have already been removed, tends to strike the right balance.
This timing also matters for professional cleaning services, since most companies recommend booking once the property is fully vacated so every surface, including areas normally blocked by furniture, can actually be reached and cleaned properly.
Final Thoughts
Getting a rental property ready for a final inspection comes down to understanding the actual standard expected, focusing effort on the areas that draw the closest scrutiny, and working through the property methodically rather than relying on memory under time pressure.
Recognizing which tasks are realistic to handle yourself and which genuinely benefit from professional attention can make the difference between a smooth bond return and an unexpected deduction. A little planning and the right approach go a long way toward making the final inspection feel like a formality rather than a source of last-minute stress.