
How to Hang Wall Art so It Looks Right (And Stays Put)
A blank wall can make a room feel unfinished. The fix is simple: hang something that adds color, mood, and a little story. But the difference between “nice” and “nailed it” comes down to planning, leveling, and using the right anchors.
This guide walks you through a clean, no-stress way to hang wall art with solid results. It also covers common wall problems like uneven studs, crumbly drywall, and frames that refuse to sit straight.
Tools and supplies
You do not need a shop full of gear. Gather these basics:
- Tape measure
- Pencil
- Painter’s tape
- Level (a 2-foot level is great, but any works)
- Stud finder (optional but helpful)
- Hammer or drill/driver
- Picture hangers or wall anchors rated for your frame weight
- Two rubber bumpers (for the bottom corners of the frame)
- A clean microfiber cloth
Tip: Check the back of your frame. A wire needs different hardware than a sawtooth hanger. A metal hanger bracket (D-rings) often hangs best with two hooks.
Step 1: Pick the right height
Most art looks best when the center sits at eye level.
A simple rule:
- Center of the art at about 57 inches from the floor is a good starting point.
If you are hanging art above furniture, use this rule instead:
- Keep the bottom edge 6 to 8 inches above a sofa, console, or headboard.
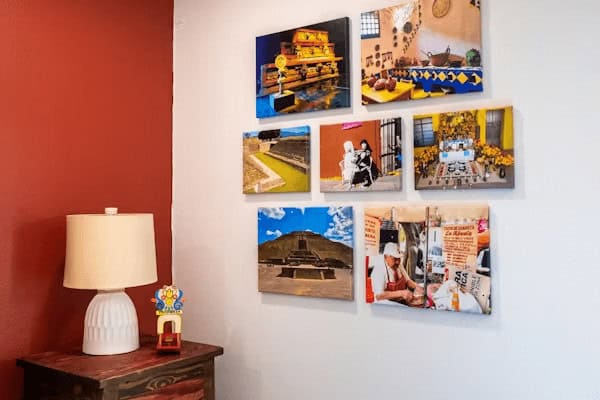
Step 2: Mark your placement without making holes
This is the easiest way to avoid “Swiss cheese wall.”
- Put painter’s tape on the wall where you think the top corners will land.
- Step back 6 to 10 feet.
- Adjust until it looks balanced with the room.
If the piece is heavy or wide, grab a helper. A second set of hands saves a lot of frustration.
Step 3: Find studs or choose anchors that hold
If you can hit a stud, do it. It is the strongest option.
- Use a stud finder or tap the wall to locate a stud.
- If the hook is not on a stud, use a drywall anchor rated above the weight of your frame.
Do not guess on weight. If the packaging says “up to 20 lbs,” do not hang a 20 lb frame on it. Go up a size.
Step 4: Measure the hanger, not the frame
This is where many people slip up.
If your frame has a wire:
- Pull the wire up tight like it will sit on the hook.
- Measure from the top of the frame to the highest point of the wire.
If your frame has D-rings:
- Measure from the top of the frame down to the center of each ring.
- Measure the distance between rings so you can place two hooks.
Transfer those measurements to the wall using pencil marks on painter’s tape.
Step 5: Hang it and level it
Install your hook(s), hang the frame, then place the level on top of the frame.
If it is not level:
- Nudge it on the hook, or
- Adjust one hook slightly (for two-hook setups)
Once it is level, add two rubber bumpers to the bottom corners. This keeps the frame from shifting and protects the wall.
Step 6: Fix common problems fast
The frame keeps tilting
- Add bumpers.
- If the wire is too loose, tighten it or move it up one notch.
The frame is “level” but looks crooked
- Your ceiling or floor may be out of level.
- Use the furniture line as your visual guide instead of the level.
Drywall is crumbly
- Use a larger anchor or a toggle-style anchor.
- Avoid reusing the same hole.
You want a gallery wall
- Lay it out on the floor first.
- Make paper templates for each frame and tape them on the wall.
- Keep spacing consistent, about 2 to 3 inches between pieces.
Picking art that fits the room
Art is personal, but scale matters.
- Small wall: one medium piece or a tight set of 2–3 frames
- Large wall: one large piece or a wide row of frames
- Narrow spaces (hallways): vertical pieces or a simple grid
Also think about lighting. If the wall gets strong sun, choose finishes that will not fade fast, or add UV-filtering glass.
A quick way to change the vibe of a room
Wall art is one of the fastest “weekend wins” you can do. It adds color without paint and personality without a full remodel. If you are looking for something bold for a game room, office, or reading nook, you can browse fantasy wall art online and build a theme around it with a few simple touches like a matching lamp shade, throw blanket, or shelf styling.

Final checklist
Before you put away your tools, confirm:
- The hooks match the hanger type
- The anchor rating is above the frame weight
- The frame is level (or looks level in the room)
- Bumpers are installed
- The wall has been wiped clean around the frame
That is it. Clean lines, fewer holes, and art that stays put.
