As our appetite for larger television screens continues to increase, the issue of how to mount these behemoths becomes more important. The worst case scenario is spending hundreds or thousands of dollars on a new television, only to have it unsecured and fall off of a piece of furniture and not only damage itself but anything below it. Here’s how to mount a curved LCD TV safe and securely.
The Plan
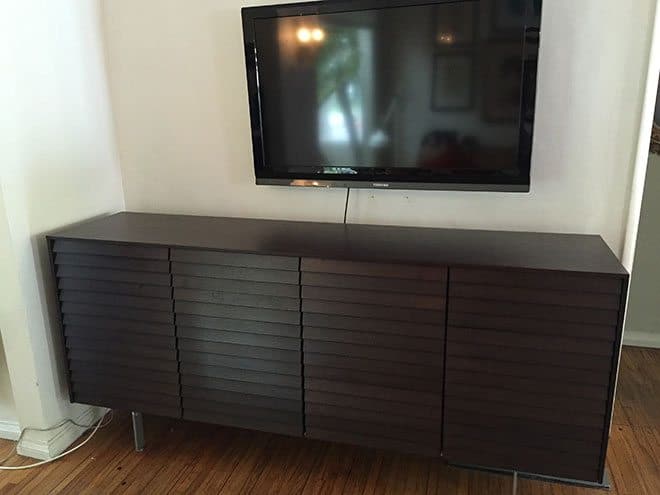
Our current setup consists of a 45-inch Toshiba flat panel LCD TV that is mounted on a swing out arm above our Design Within Reach credenza and Sonos Soundbar. The picture is adequate for a 7-year-old TV but we’ve been pining for something slightly larger. When SANUS reached out to us about checking out a new 55-inch Samsung curved LCD TV and their curved television mount, we couldn’t resist.
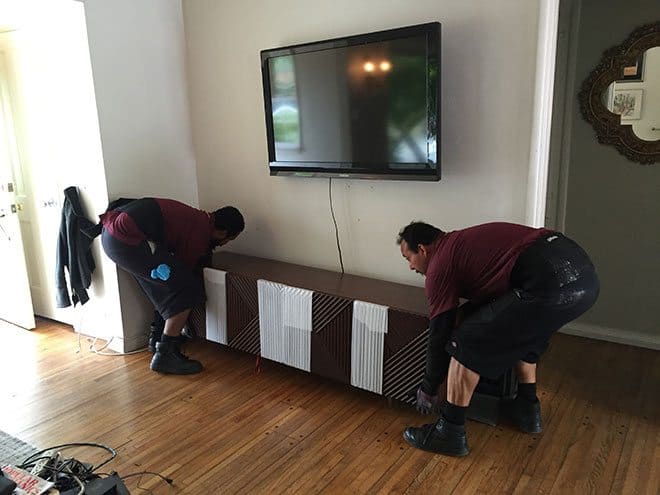
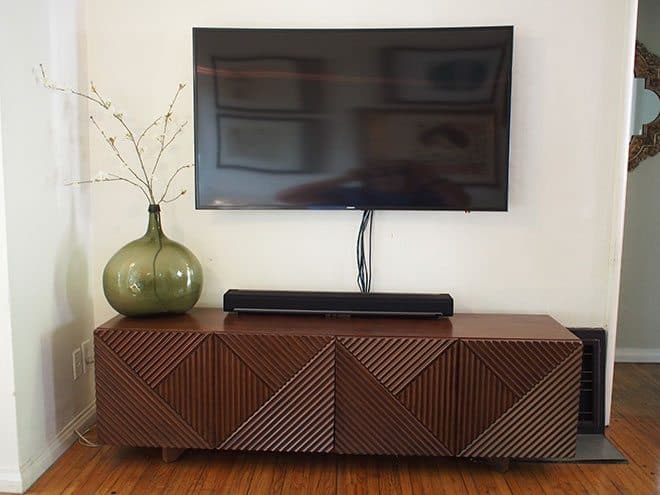
We’ve been wanting to switch out our DWR credenza for something smaller. It was a holdover from our office space in New York, that fit well in a large loft studio, but not so great in our LA bungalow. We found a West Elm media center that was the perfect size and allowed us to lower the television for a better viewing angle.
Installation
The first step was moving the DWR credenza and setting up our new media cabinet, as well as removing the other TV and mount from the wall. With the new cabinet in place we could properly align and space the location for the television.
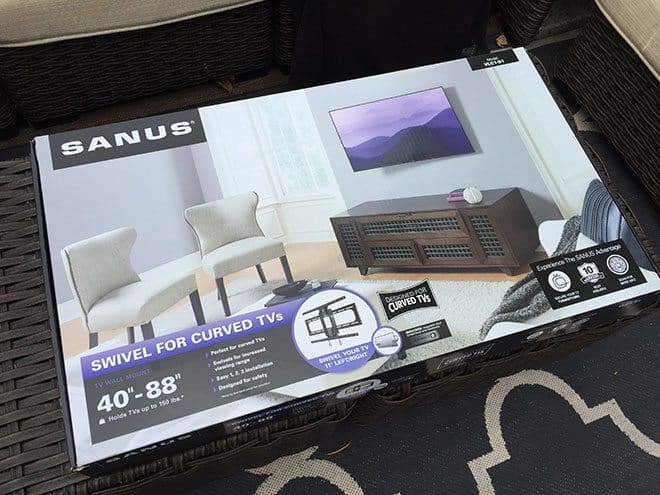
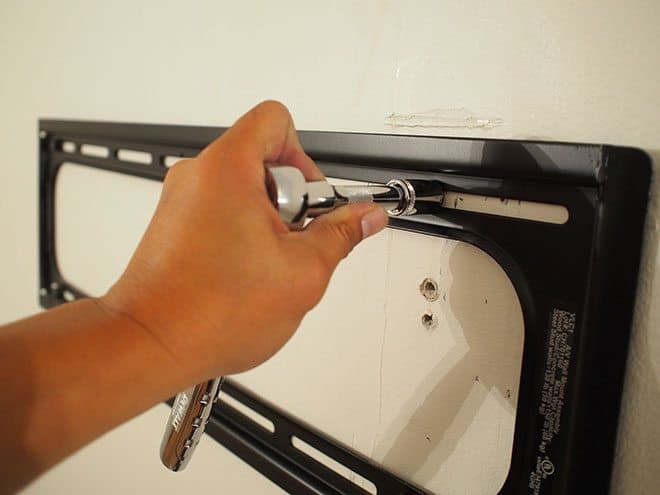
The SANUS TV mount is curved and specifically made for installing curved televisions. While they’re other mounts work with curved TVs, this mount allows me to swivel the TV – perfect for getting the immersive experience everyone talks about. The toughest part of the install (which wasn’t hard at all), was determining the height we wanted the TV. Once we figured that out, we mounted the wall plate using a spirit level and four lag bolts.
These bolts need to be attached to wall studs and the mount comes with a handy pin tool for locating the studs. Because we had a previous wall mount we just used that as a reference and counted 16-inches from each side to locate the adjacent studs.
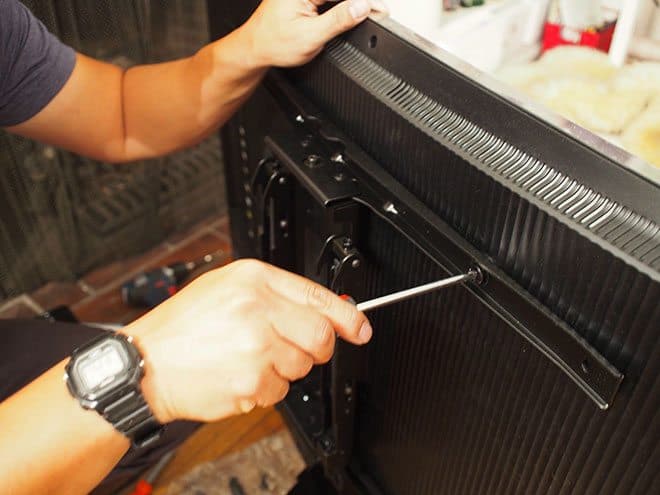
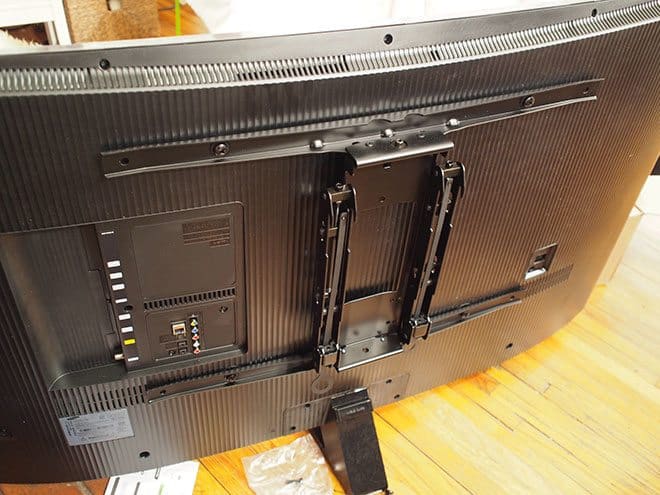
The curved attachment attaches to four anchor points on the television, and then the TV is lifted and mounted onto the wall plate. The Samsung TV is very thin and we had concerns of not being able to access the cables behind it, but the curved sides and rotating mount allowed for enough room.
Once the TV is mounted, you can fine tune the height and level by accessing two adjustment screws located on the top of the mount. This is a great feature to have in case your original mounting location is slightly off-kilter.
Final Design
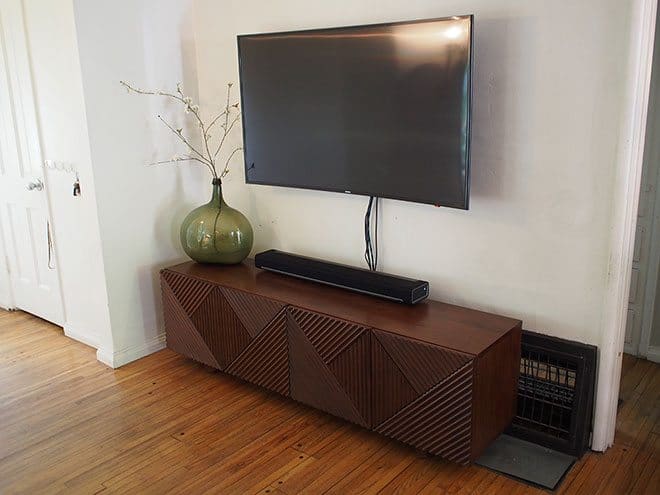
Our new television looks great in our space and our fears of it being too big were quickly washed away as we enjoyed an episode of Game of Thrones in full gory detail. The slim mount gives the impression that the television is just glued to the wall as there is no visible hardware that detracts from the profile of the television. We do need to hide the cables either behind the wall or use a guide—both of which Sanus has available, but otherwise we are extremely happy with how it all turned out.
The curved mount also makes it possible to turn the television up to 11 degrees in each direction, so a viewer can maintain an ideal position despite not sitting directly in front of the TV.
We’re happy we waited to install both the television and media center at the same time, as they work together to inform the design of the room.
If you are considering a larger television but have fears of mounting it, you can hire a professional, but the better and money-saving choice is to mount it yourself using the proper SANUS mount that is recommended for your TV.
Here’s a great video from Sanus that provides more information and details about using the mount to attach your curved LCD TV to your wall.


No Comments