Installing a shower enclosure in a small or awkward bathroom may seem challenging, but with proper planning, it is a manageable weekend project. The right enclosure can improve layout, increase usable space, and give your bathroom a clean, updated look. Additionally, it’s worth taking a moment to review your home insurance coverage so you have peace of mind in case anything unexpected comes up during the renovation.
Before you start, take time to measure carefully and choose a design that fits your layout. Whether you are working with a tight corner, sloped ceiling, or narrow floor plan, smart planning and the right tools will help you complete the job with confidence.
Here are some tips for installing shower enclosures that will help you make the most of small or awkward areas.
Understanding Your Space
Before diving into the selection and installation of a shower enclosure, it’s essential to assess the layout of your bathroom. Consider the following:
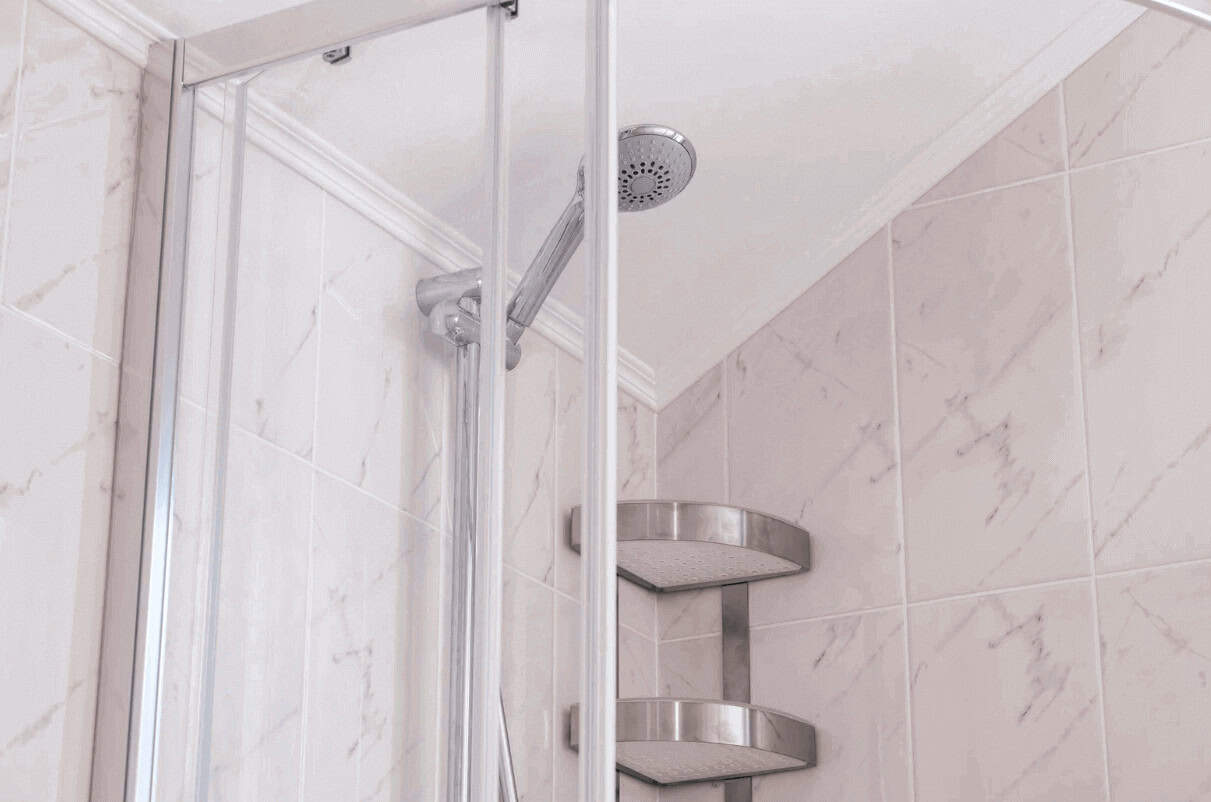
1. Measure Up
Accurate measurements are the foundation of any renovation project. Measure the total area where you intend to install the enclosure. Pay attention to:
- Ceiling height
- Surrounding elements like windows, doors, and even plumbing fixtures
- Walls that may extend into what seems like available space
2. Identify Flow Patterns
Think about how the bathroom is used daily. A well-planned flow will make the space feel larger. Ensure the door can swing open without obstruction, and check that there’s enough floor space for movement, especially if you have additional fixtures.
3. Explore Design Options
With your measurements and flow patterns noted, it’s time to explore design options. Choosing the right type of enclosure can make all the difference. Sliding doors are an excellent choice for small bathrooms, eliminating the need for additional clearance space, while corner enclosures can save significant square footage.
For more on various design choices, consider resources on optimising small bathroom space with enclosures. These provide not just aesthetic inspiration but practical insights on maximizing each inch.
Selecting the Right Shower Enclosure
Choosing the right enclosure involves balancing style, function, and practicality. Here are a few types to consider:
1. Quadrant Shower Enclosures
Ideal for tight corners, quadrant enclosures often incorporate curved designs that soften the look of the bathroom while maximizing available floor space. They can fit neatly into a corner, allowing for the rest of the space to remain open.
2. Bi-fold Shower Doors
If space is truly at a premium, bi-fold doors might be the answer. These fold back neatly against the wall, providing a larger opening compared to traditional hinged doors. They’re especially useful in narrower bathrooms where door swing is limited.
3. Walk-In Showers
For those willing to undergo a more extensive remodel, converting a bathtub or awkward nook into a walk-in shower can be an excellent choice. By using clear glass panels, you can create an illusion of openness, making your bathroom feel lighter and roomier.
Installation: Step-by-Step Guide for Small Bathrooms
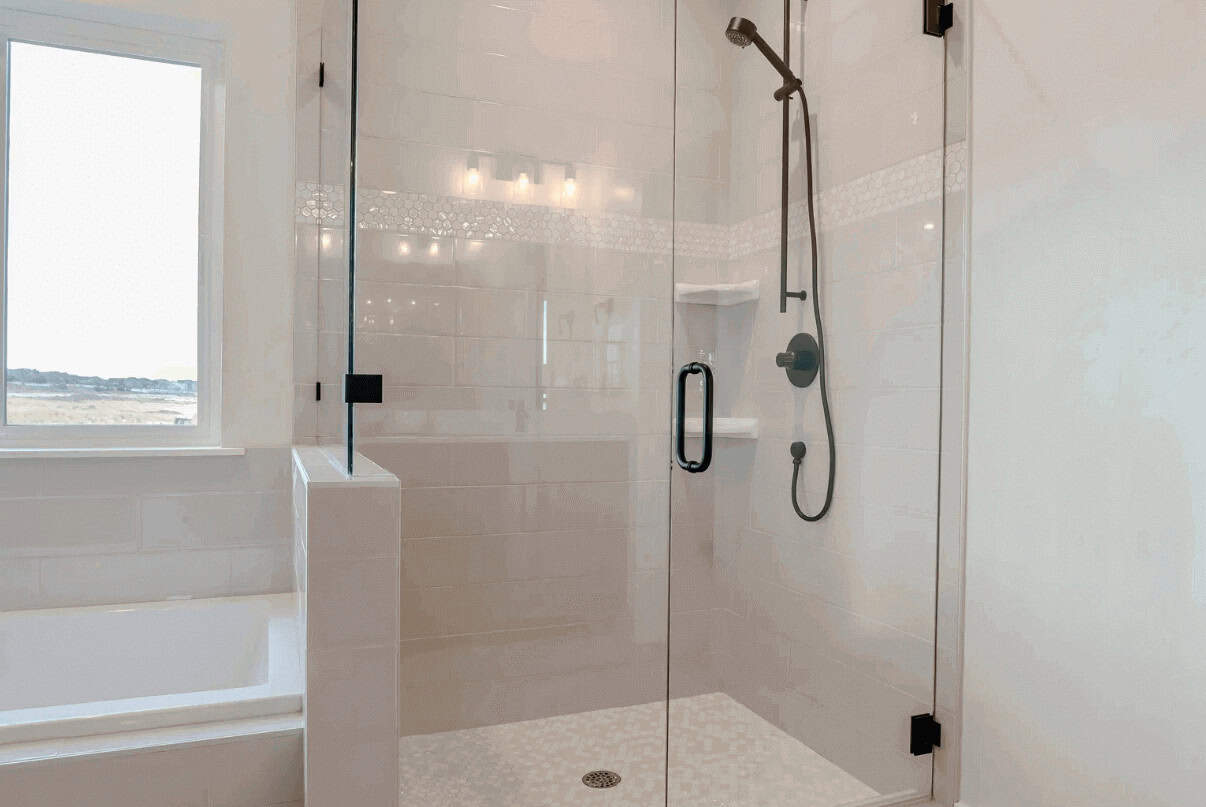
Installing a shower enclosure in a tight space requires precision. Rushing leads to leaks, misaligned doors, and long-term damage. Take your time and follow each step carefully.
Tools and Materials You Will Need
- Tape measure
- Level
- Drill and masonry bits
- Screwdriver
- Silicone sealant and caulking gun
- Stud finder
- Pencil for marking
- Safety glasses
Always confirm what hardware comes with your enclosure before starting.
Step 1: Prep the Area
Remove the old shower or tub completely. Clean the area and inspect the walls and floor.
Check for:
- Water damage
- Mold
- Uneven subfloor
- Loose tiles
Repair any issues before installing the new enclosure. A solid base prevents movement and future leaks.
If the floor is uneven, use a leveling compound to create a flat surface.
Step 2: Confirm Drain Position and Slope
Proper drainage is critical in small bathrooms. Water pooling will damage grout and flooring over time.
Make sure:
- The drain lines up with the shower tray
- The floor slopes slightly toward the drain
- The waste pipe connections are tight
If the slope is incorrect, correct it before moving forward. Do not rely on the enclosure to solve drainage problems.
Step 3: Dry Fit the Shower Tray
Place the shower tray into position without adhesive first. Use a level to check all sides.
If it is not level:
- Adjust the feet if it is a raised tray
- Shim carefully if required
Once level, secure it according to the manufacturer’s instructions. Allow any adhesive or mortar to cure fully before continuing.
Step 4: Install Wall Profiles
Mark your drill holes carefully using a level. In small spaces, even slight misalignment will be noticeable.
Before drilling:
- Use a stud finder
- Avoid plumbing lines
- Apply masking tape over tiles to prevent cracking
Secure the wall profiles firmly but do not overtighten. This can warp the frame.
Step 5: Install Glass Panels and Doors
With help from another person, lift the glass panels into place. Never install glass alone in tight spaces.
Slide panels into the wall profiles and secure them according to the instructions. Check alignment before tightening screws completely.
Test the door:
- It should open smoothly
- It should not rub or drag
- Seals should sit flush
Step 6: Seal All Edges
Apply silicone sealant along:
- The base of the tray
- Vertical wall joints
- Exterior edges only unless specified otherwise
Do not seal inside drainage channels. Follow manufacturer guidance carefully.
Allow the sealant to cure for at least 24 hours before using the shower.
Common Mistakes to Avoid
- Skipping the level check
- Sealing before testing door alignment
- Ignoring small leaks during initial water test
- Installing without confirming wall support
Small bathrooms leave little room for error. Precision matters.
Final Checks and Small-Space Upgrades
After installation, do a few finishing steps that make the shower work better long-term.
Water Test
After the sealant cures, run the shower and check:
- Corners and frame joints
- The bottom edge of the door
- Any spots where water could escape
Wipe everything dry and recheck in 10 to 15 minutes for slow leaks.
Add Storage Without Crowding the Space
Skip bulky floor units. Use vertical space instead.
- Corner shelves inside the enclosure
- A recessed niche if you are retiling
- Wall-mounted organizers that do not require drilling through tile
Improve Lighting for Safety
Small bathrooms often have shadows near the shower. Better lighting helps with daily use and cleaning.
- Recessed lighting above the shower zone
- A bright, moisture-rated fixture if recessed lighting is not possible
Final Tip on Installing Shower Enclosures
Installing a shower enclosure in a small bathroom requires careful measurements and attention to detail, but the payoff is worth the effort. With the right enclosure style and proper installation, you can make even an awkward space feel efficient and well planned.
Approach the project step by step. Measure twice, confirm drainage and wall support, and follow manufacturer guidelines closely. With patience and preparation, you can turn a tight or uneven bathroom layout into a functional, modern shower space that works better for everyday use.