Home remodeling creates substantial debris, from torn-out drywall to broken ceramic tile. Without a solid cleanup plan, even a straightforward project can quickly become cluttered and difficult to navigate. Old materials stack up fast once demolition begins, while scrap wood, broken tile, and heavy concrete can block walkways. Dust, loose nails, and discarded materials add another layer of risk.
Whether you’re handling demolition yourself or hiring contractors for the bigger jobs, figure out where the debris is going before the first wall comes down. A little planning at the start can save you a lot of cleanup headaches later.

Set Clear Waste Goals Before Demolition Starts
Tearing down walls or removing old flooring can produce a surprising amount of material in just a few hours. Before demolition begins, think about what can be recycled, donated, reused, or discarded.
Clean lumber, metal, fixtures, and certain architectural materials may have another life. Drywall, broken tile, damaged cabinetry, and other debris will need somewhere to go.
You don’t need an exact calculation. Look at what you’re actually removing, whether that’s a room full of cabinets, several hundred square feet of flooring, or a stack of old drywall. That should give you a reasonable starting point for choosing a container and planning pickups before the mess gets ahead of you.
Select the Right Disposal Container for the Project
Renting a bin that matches your project size eliminates hassle. A tiny 10-yard container can fill quickly during a kitchen tearout, while a massive 40-yard unit may take up far more driveway space than a smaller renovation requires.
If you’re renovating in the Dallas–Fort Worth area, for example, securing a reliable Colleyville dumpster rental can prevent debris from overflowing during a high-volume demolition. Wherever you live, a local hauler should be able to recommend a container based on the amount and type of material you’re removing.
Don’t overlook weight limits. Masonry, brick, concrete, and wet plaster get heavy surprisingly quickly, and a container that isn’t physically full can still exceed its allowed weight. Ask about weight restrictions and prohibited materials before delivery so you’re not surprised by an overage charge later.
Designate Specific Waste Zones on the Jobsite
Once demolition gets going, it’s tempting to drop debris wherever there’s an open spot. A few designated collection areas make it easier to keep the places where you’re actually working clear.
A simple setup might include:
- Color-coded trash cans for drywall and wood scrap
- Heavy plastic totes for loose hardware and fasteners
- Designated flat pallets for stackable cardboard boxes
Keep containers close enough to the work area that people will actually use them, but don’t put them where they block entrances or active work zones. Clear walking paths matter when you’re carrying tools, lumber, boxes, or awkward pieces of demolition debris through the house.
There’s no need to turn the garage into a miniature recycling center. A few obvious places for trash, salvage, and recyclable material are usually enough.
Sort Materials Progressively During Every Phase
Waiting until the end of a renovation to sort one enormous pile of mixed debris creates a job nobody wants. It’s much easier to separate materials as they come out of the house.
Keep clean lumber, metal, cardboard, general trash, and anything intended for recycling or donation separate when it makes sense. Don’t bury bulky but lightweight debris under chunks of concrete or masonry. Separating the two makes loading easier and gives you more usable space in the container.
Small, daily sorting habits add up when demolition stretches across several days or weekends. Spending a few minutes cleaning up before you quit for the day is far easier than sacrificing an entire Saturday to a mountain of mixed construction debris.
Separate Salvageable Building Supplies for Reuse
Not everything pulled from a home belongs in a landfill. Old solid wood doors, copper pipes, and vintage light fixtures may still have practical or resale value.
Common items worth saving or donating include:
- Undamaged kitchen cabinets and solid wood trim
- Working electrical fixtures and copper plumbing pipe
- Intact architectural details and solid brass hardware
Set reusable materials aside before they get mixed with broken drywall and general construction debris. A clean, dry corner of the garage or another protected staging area usually works well.
Check what architectural salvage businesses, donation centers, recycling facilities, or scrap yards in your area will accept before making a trip. And before giving something away, consider whether it might work elsewhere in your own home. An old door, cabinet, or piece of trim may be useful for another project.
Schedule Timely Waste Pickups to Keep Work Moving
An overflowing dumpster can bring demolition to an unexpected halt. Once there’s nowhere to put the next load of drywall or flooring, the driveway and yard tend to become temporary storage instead.
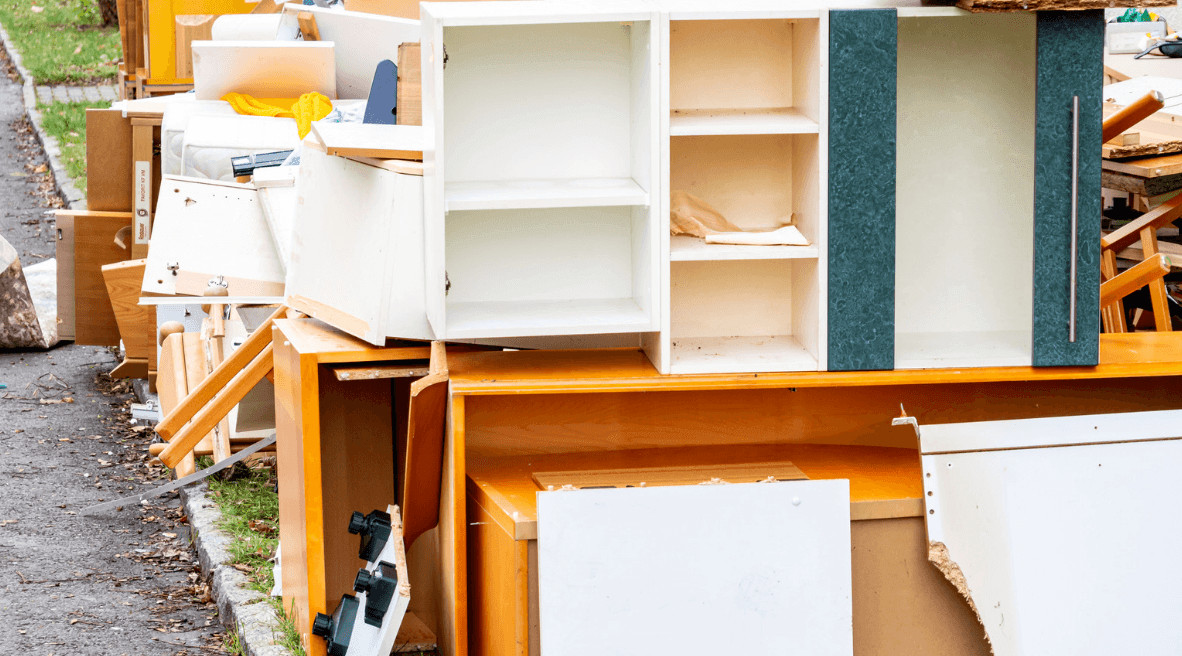
Kitchen demolition, bathroom tearouts, flooring removal, and structural work usually produce the biggest piles. If you know one of those stages is coming up, check how much room is left in the container beforehand rather than discovering the problem halfway through demo day.
Having an empty container ready is a lot easier than trying to find space for six cabinets and a pile of old countertops after the dumpster is already full. Arrange a pickup or exchange early enough that the old container isn’t holding up the next stage of work.
Make Sure Everyone Knows the Cleanup Plan
Things get confusing quickly when you’re doing some of the renovation yourself while different trades come and go. Someone sees a pile near the dumpster, assumes it’s trash, and suddenly the cabinet door or trim you planned to save is gone.
If you’ve got a plumber, electrician, and your own DIY work happening in the same week, point out the waste and salvage areas before everyone gets started. It takes a minute and reduces the chance of reusable materials ending up in the dumpster.
Simple labels are usually enough to distinguish general debris, metal, recycling, and anything you’re keeping.
At the end of each workday, take a quick walk through the renovation area. Pick up loose screws and nails, move scraps out of walkways, and deal with sorting mistakes while they’re still small. Tomorrow’s work is easier when you aren’t starting the morning by clearing yesterday’s mess.

Handle Dangerous Construction Materials with Care
Older homes can contain materials that require more caution than ordinary construction debris. Depending on the home’s age and previous renovations, demolition may uncover lead-based materials, asbestos-containing products, old chemicals, or other substances that shouldn’t simply be tossed into a general waste container.
If you suspect asbestos, lead-based materials, or another hazardous substance, avoid disturbing it until you know what testing, removal, and disposal requirements apply. Some materials are best assessed and handled by qualified professionals rather than treated as a DIY cleanup job. It’s also worth reviewing broader home renovation safety before demolition continues.
Paints, solvents, batteries, oils, and similar products may have their own local disposal requirements. Keep them out of the general renovation debris and check with your local waste authority or disposal facility to find out where they should go.
Keep the Renovation Cleaner From Start to Finish
Renovation debris has a way of taking over whatever space you give it. Decide where it’s going before demolition starts, set aside anything worth saving, and don’t wait for the dumpster to overflow before scheduling a pickup.
Whether you’re doing most of the work yourself or coordinating several contractors, spend a few minutes cleaning up at the end of each day. You’ll start the next morning with clear walkways, fewer hazards, and one less mess competing for your attention.
You probably won’t keep a renovation spotless, and that’s not the goal. Keeping the debris under control is.