Plan your room in 3D, at true scale, before you order cabinets or book demolition. An afternoon spent modeling the room and its furniture from your own tape measurements catches the fit and clearance problems that get expensive once materials show up on the driveway. I work on a 3D room planning tool, and the layouts homeowners bring to it tend to fail in the same few places.
Most renovators already put in months of planning. In the 2026 U.S Home Study, kitchen renovators reported 9.5 months of planning and 5.8 months of construction, and planning outlasted building for every project type Houzz tracked.
The same study put the median 2025 kitchen renovation spend at $24,000. Some of those planning months should go into a scaled model, because a mood board can’t tell you whether the island fits.
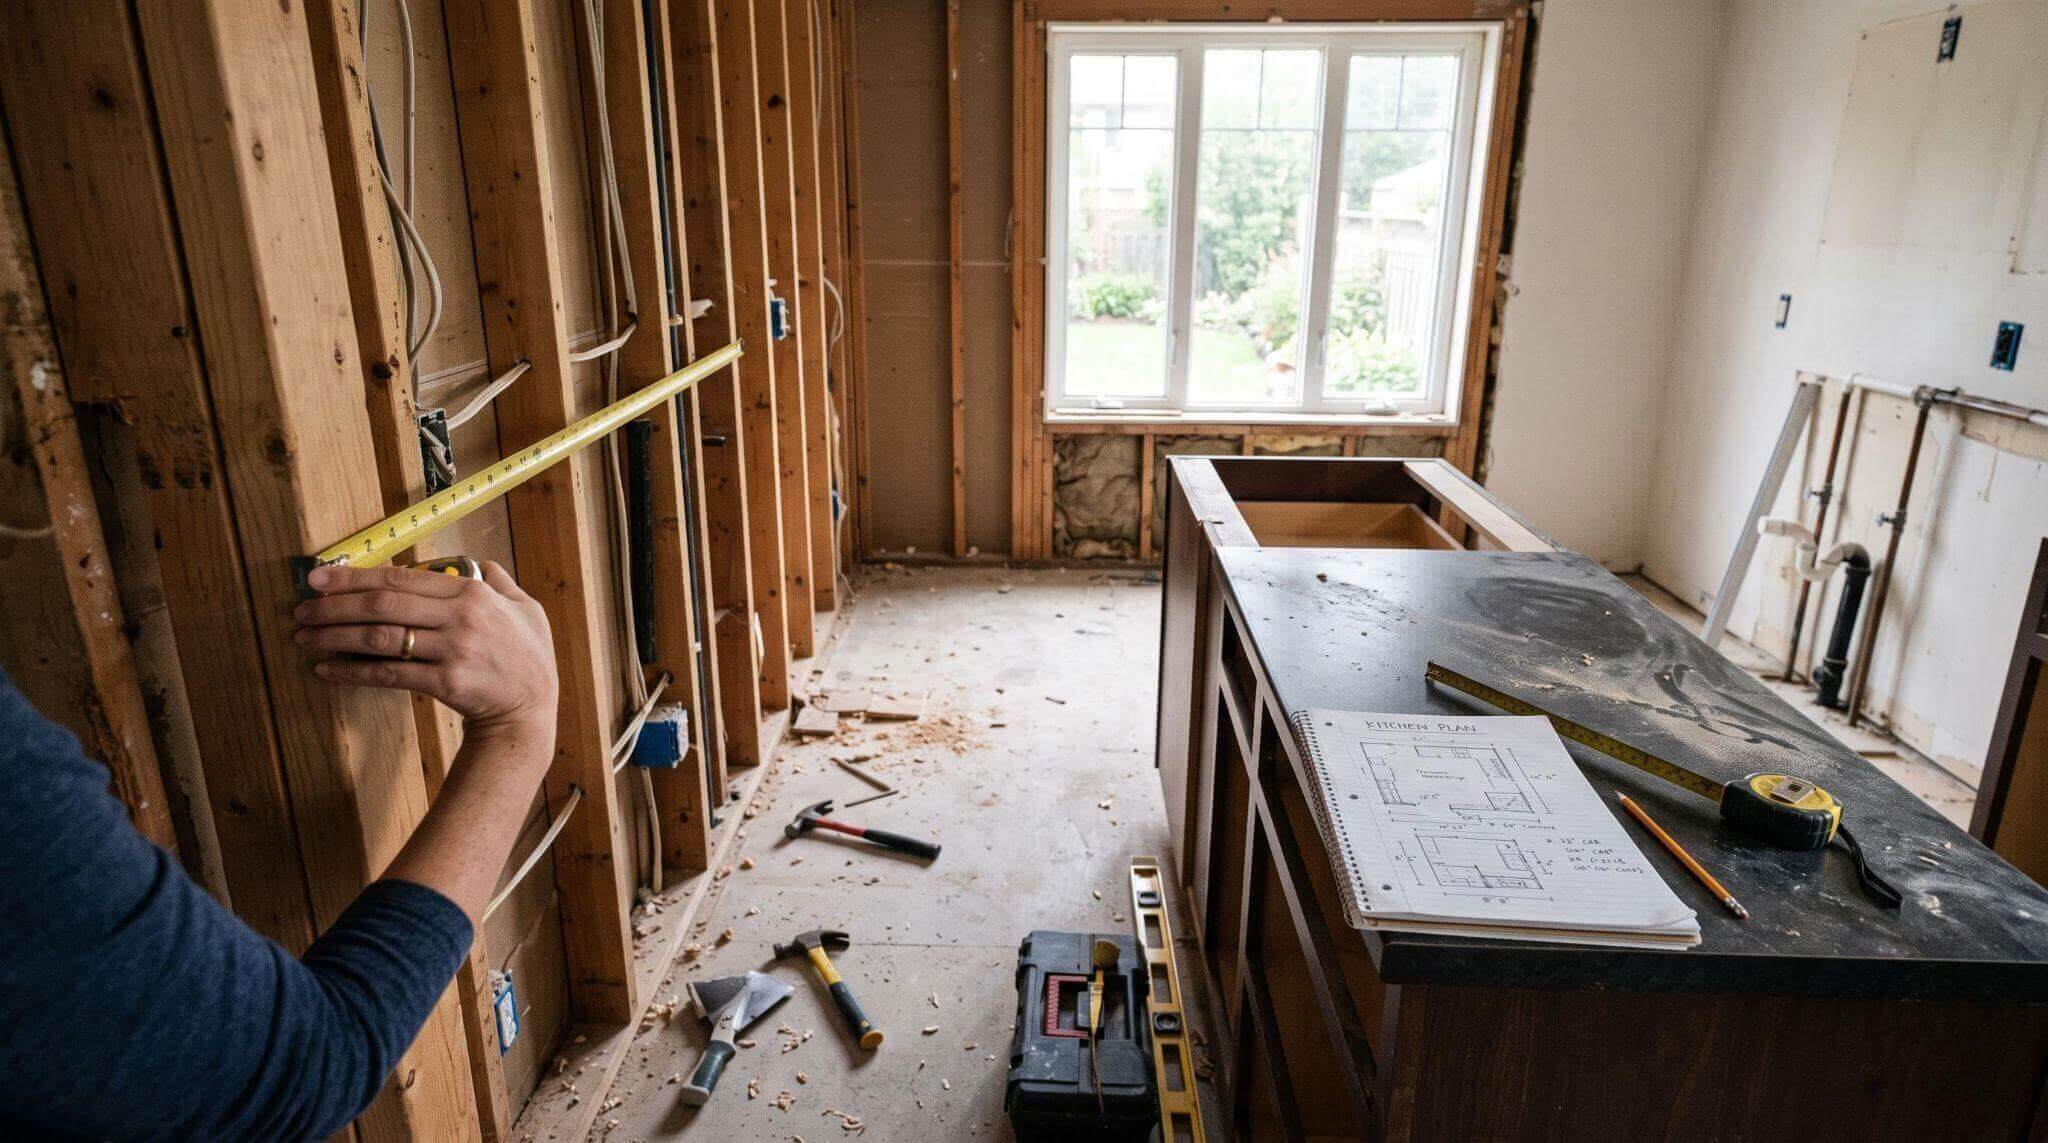
Why paper sketches miss the expensive problems
A paper sketch shows footprints, and most costly layout mistakes happen above the floor or when something moves. A 3D room plan is a scaled digital model built from your measurements that you can view from above or walk through at eye level. That second view is where problems show up.
On graph paper, a dishwasher is a rectangle against the wall. In a model you can drop the door and see it fold roughly 2 feet into the aisle, right where someone stands to unload the sink. Paper also hides heights. An upper cabinet can clash with a window casing, or a tall wardrobe can sit inches from a ceiling fan blade, and neither shows on a floor plan.
The mistakes a 3D plan catches most often
These come up again and again in first-time layouts.
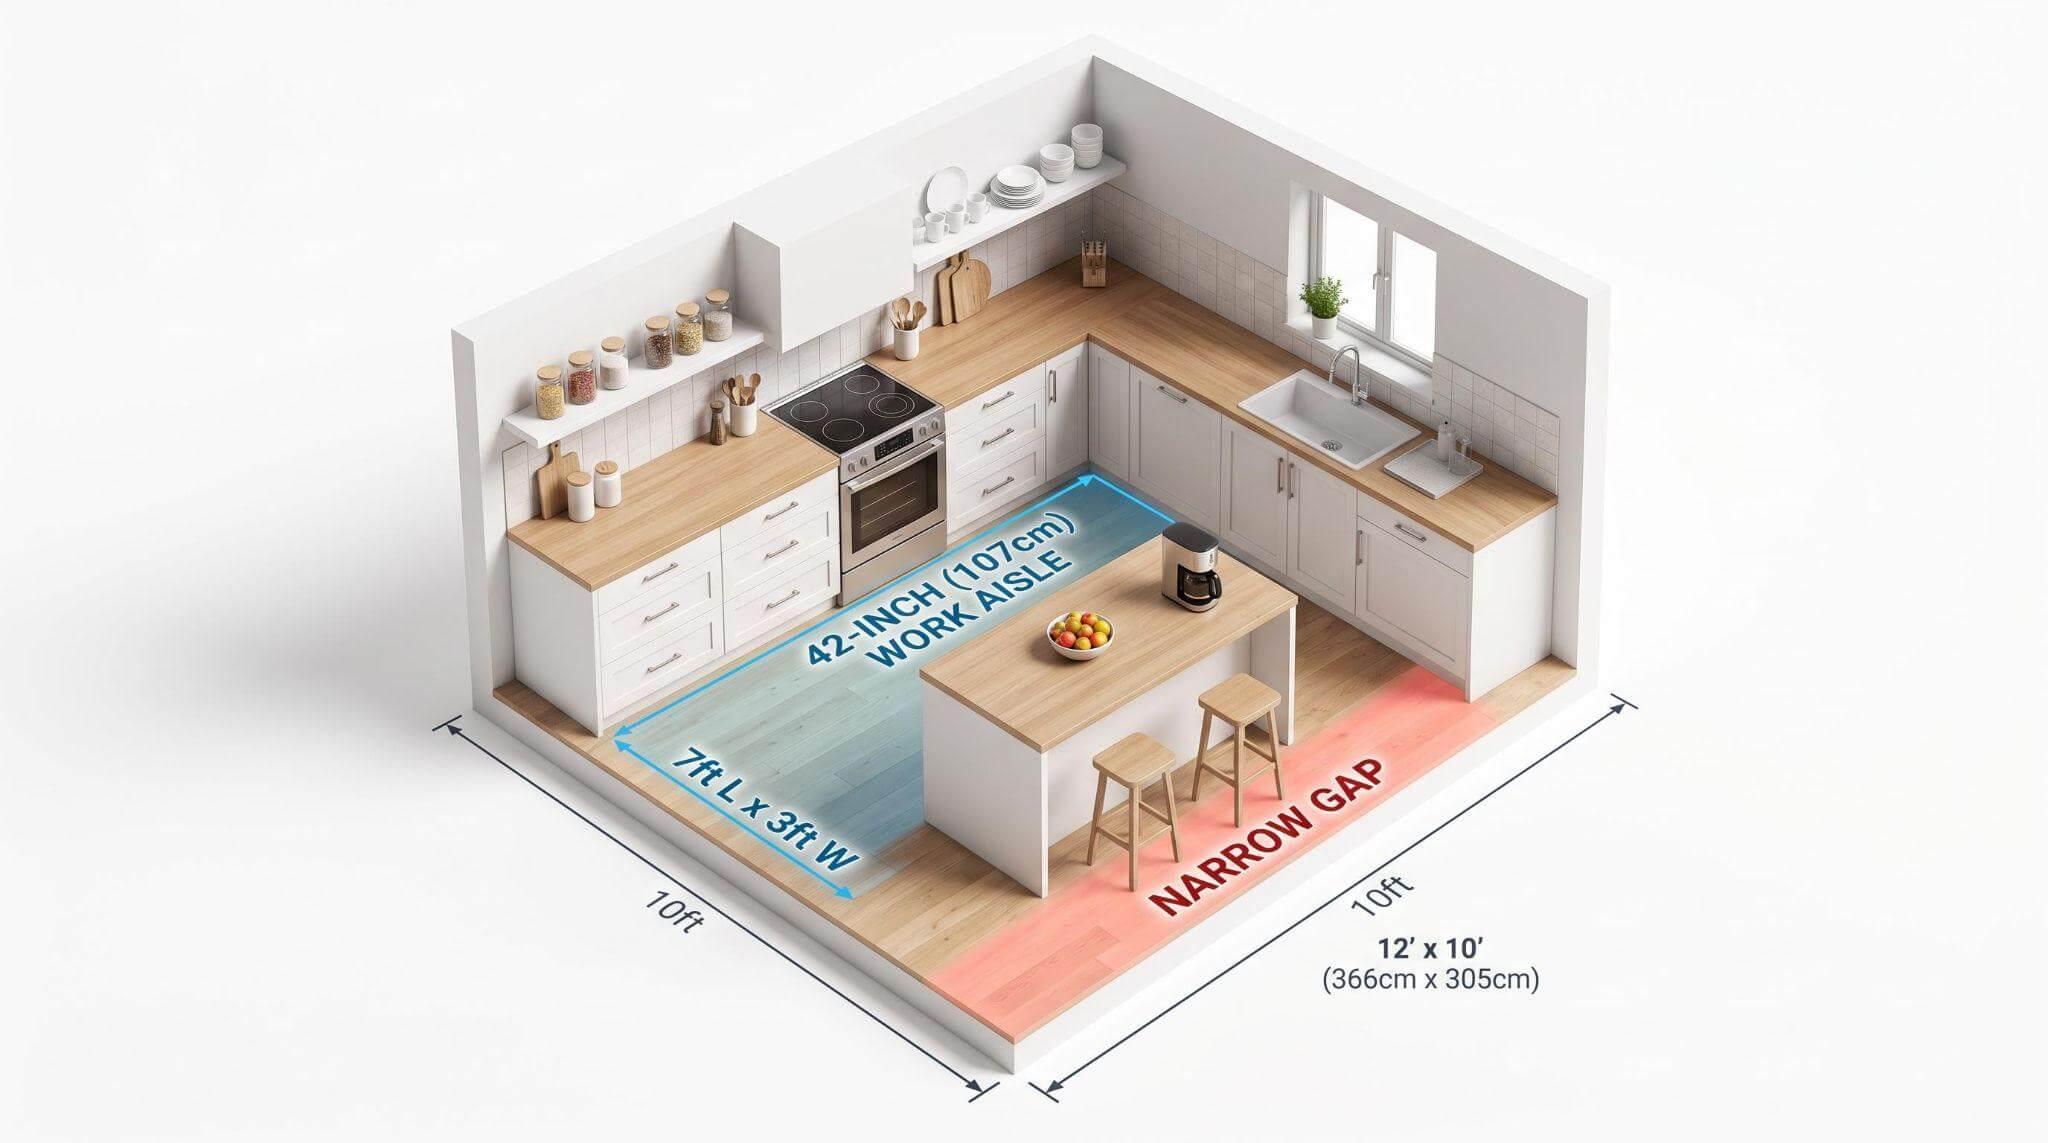
Aisles that are too tight. The National Kitchen & Bath Association’s Kitchen Planning Guidelines recommend a work aisle of at least 42 inches for one cook and 48 inches for two or more, with walkways of at least 36 inches. Measure aisles from whatever sticks out farthest, usually a countertop edge or an appliance handle.
Doors and drawers that collide. A refrigerator tucked against a wall return may not open far enough for the crisper drawers to slide out. A bedroom door can swing into the corner of a dresser. Both are obvious the moment you open them in a model.
Furniture that fits the floor and blocks the room. A 96-inch sofa fits a 12-foot wall on paper. In 3D you notice it covers the floor vent and leaves a 20-inch squeeze past the coffee table.
Switches, outlets and fixtures in the wrong spot. Move an island 8 inches and the pendant boxes no longer center over it. Light switches end up behind a door swing. Settle fixture positions in the model before rough-in, the stage when the electrician runs wiring through open framing. The Charles & Hudson guide on when to choose lighting during a home renovation covers that timing in more detail.
Height conflicts. Check upper cabinets against window heads and open shelving against sloped ceilings. A floor plan treats both as if the room had no height at all.
Measure properly before you plan your room in 3D
A 3D plan is only as accurate as the numbers you feed it. Measure to the nearest quarter inch, and take more measurements than you think you need.
- Sketch the room by hand and number each wall so your notes match the drawing.
- Measure every wall at floor level and again at about 4 feet high. Older walls bow, so if the numbers differ, model the smaller one.
- Measure both diagonals, corner to corner. If they don’t match, the room is out of square, and a long run of straight cabinets will leave a tapered gap at one end.
- Record each door’s width and which way it swings, plus each window’s width, sill height and head height.
- Mark the things you can’t easily move. That means outlets, switches, vents, radiators, plumbing stubs and the ceiling height at a few points.
- Photograph each wall with the tape measure visible so you can check a number later without re-measuring.
A laser distance measurer saves time on long walls. I still check short runs with a tape, because a laser reading off a baseboard instead of the wall is an easy half-inch error.
Once the numbers are in, build the model in the same order you measured. Draw the walls first and check that the diagonals match your notes. Add doors and windows next, with their swings and sill heights. Place the fixed items such as the fridge, range and radiators before any furniture, and switch to the eye-level view after each big addition instead of waiting until the end. It is easier to trace a problem when you have only changed one thing since your last look.
Example scenario with a 12 by 10 foot kitchen
Example scenario. A homeowner has a 12 by 10 foot kitchen, 144 by 120 inches, with base cabinets along one 12-foot wall. Their sketch shows a 36-inch-deep island with stools on the far side.
Run the numbers. Base cabinets plus countertop take about 25 inches, which leaves 95 inches across the room. Subtract the 36-inch island and 59 inches remain for both sides. Give the cook NKBA’s 42-inch work aisle and only 17 inches are left behind the island, less than half the 36-inch walkway minimum and nowhere near enough for stools.
The 3D walkthrough makes it plain. Stand at the sink with the dishwasher open and the work aisle shrinks to under 2 feet. Walk behind the island and you are turning sideways.
| Option | Island depth | Work aisle | Space behind island |
| Original sketch | 36 in | 42 in | 17 in |
| Centered island | 36 in | 29.5 in | 29.5 in |
| Meets both NKBA minimums | 17 in | 42 in | 36 in |
A 17-inch-deep island is too shallow to work on, so in this room the better answer is a movable cart or a small table. Finding that out in the model costs nothing. Finding it out after the cabinets arrive means a reorder or a bottleneck you live with every day.
Choosing a 3D Room Planner That Gives You Usable Numbers
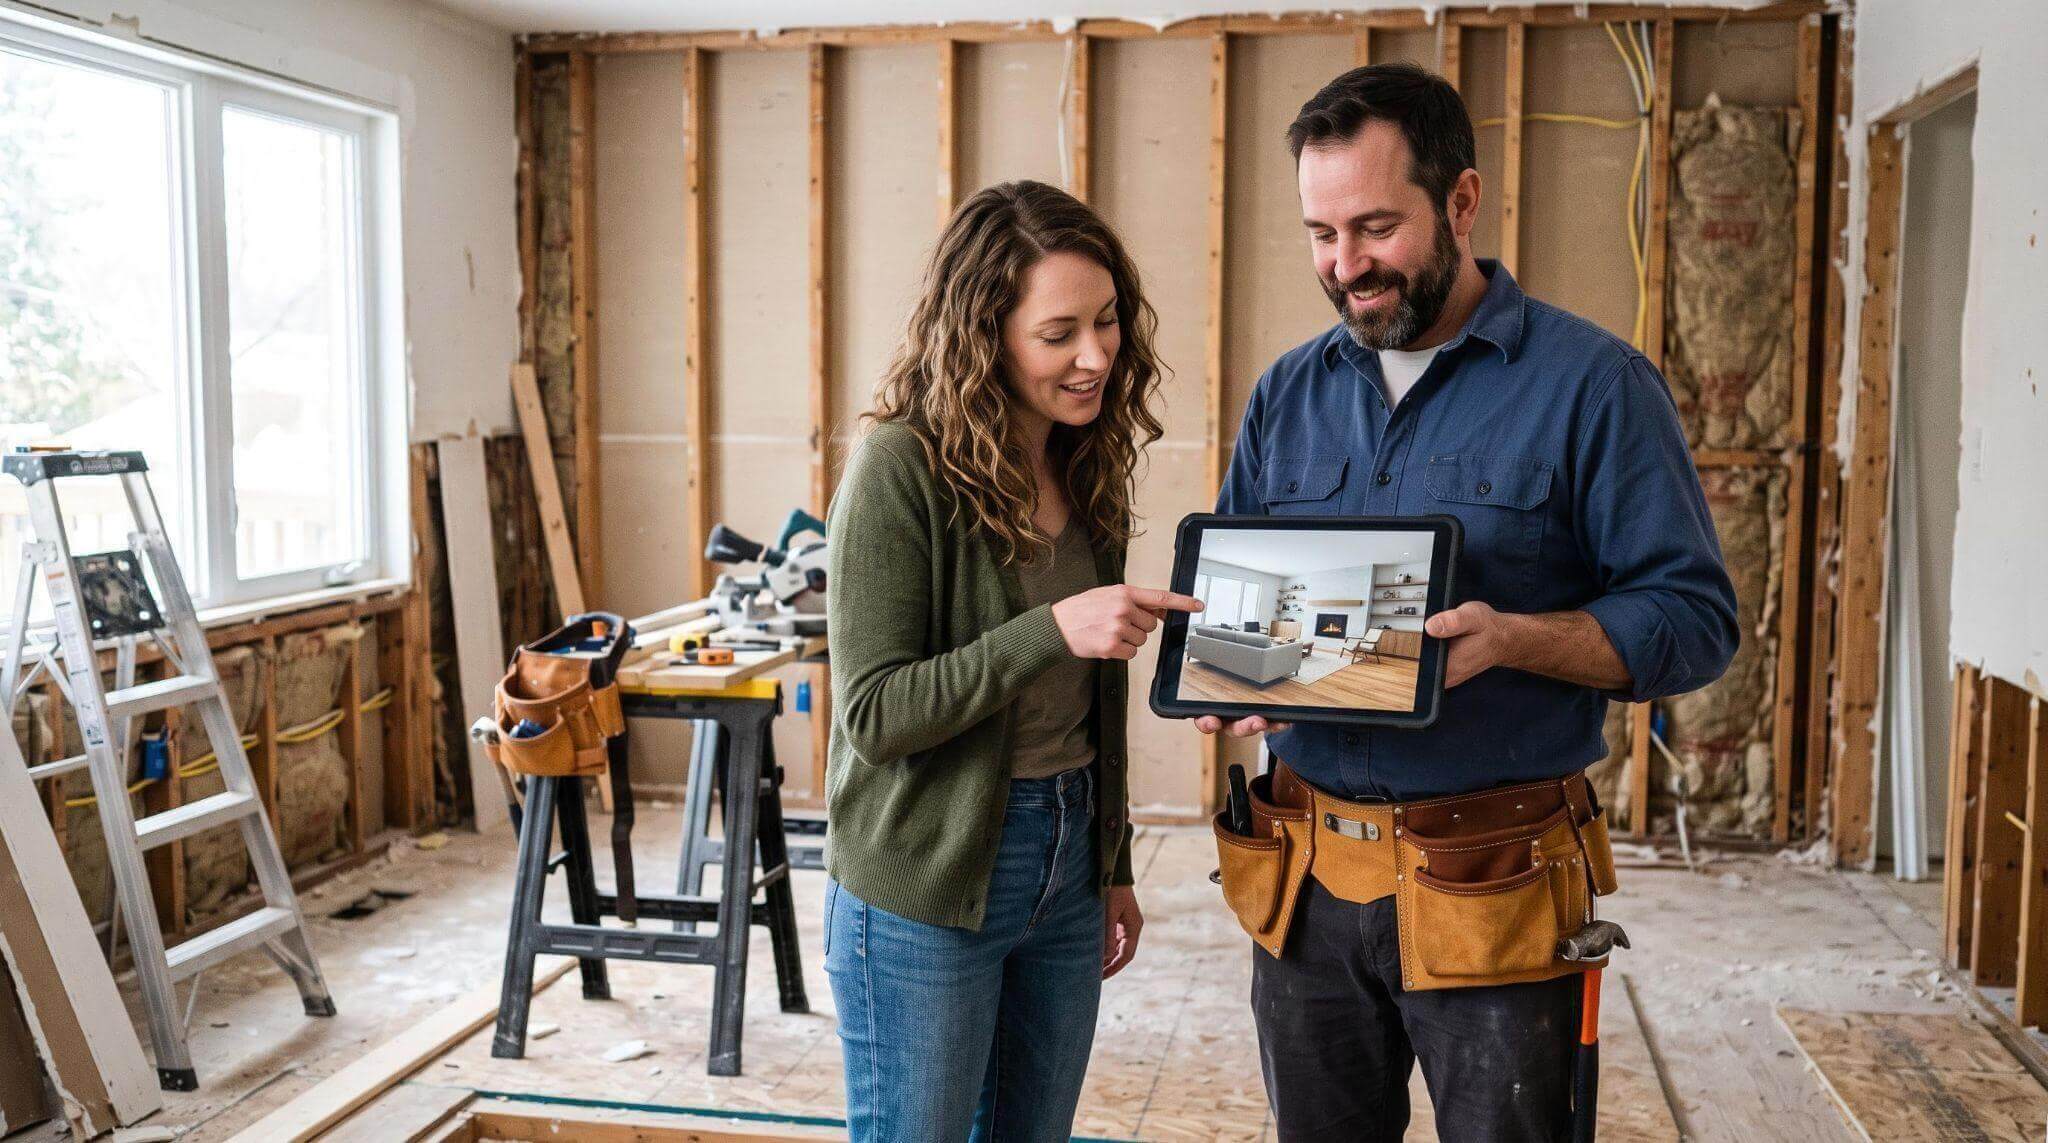
A free browser-based planner handles most room-level renovations, provided it lets you enter exact dimensions and resize furniture. Before you commit time to a tool, check that it offers these:
- Walls, doors and windows entered by measurement, with door swings shown
- Furniture you can resize to a product’s listed dimensions
- An eye-level walkthrough view as well as the top-down plan
- Saved versions you can compare
- A share link or image export for your contractor
If you are starting from scratch, you can try Arcadium 3d room design app that runs in the browser that covers that list without a download. It turns the 2D plan into 3D as you draw, and its first-person view is where clearance problems become obvious.
When we built the furniture library at Arcadium 3D, each item went in at standard dimensions so a layout looks right from the first drag. The first thing I tell homeowners is to overwrite those numbers with the exact size of the piece they plan to buy. Two sofas sold as three-seaters can differ by a foot, and that foot is often the walkway.
What a 3D plan won’t tell You
A 3D model shows the room you intend to build. It can’t show what is inside the walls.
Before you remove or open any wall, have a structural engineer or experienced contractor confirm whether it is load-bearing. Hidden wiring, plumbing runs, rot and water damage only appear once the drywall comes off, so keep a contingency in the budget.
Permits sit outside the model too. Skipping them shows up in Charles & Hudson’s list of renovation mistakes to avoid, and your local building department can tell you what your project needs.
Once the layout works, the same model is a cheap place to compare finishes. Try two or three wall colors and flooring options side by side and see how each one sits against your cabinet fronts and the rest of the room. Do this after the layout is settled, so you are not picking paint for a room where the island still does not fit.
Treat on-screen colors as a starting point. Paint and flooring look different under your own light, so test physical samples on the wall in daylight and after dark before you buy.
How to use your 3D plan with a contractor
Share the plan to show what you want, and let the contractor take their own measurements for anything that gets built. A 3D plan communicates intent. Construction drawings and site measurements still govern fabrication.
What works in practice:
- Send the share link with 3 or 4 screenshots marked with the dimensions that matter, such as aisle widths and island size.
- Give every bidder the same plan so their quotes cover the same scope.
- Ask each contractor to flag anything in the model they can’t build as drawn, before you sign.
- Save a new version whenever site conditions change the layout, so the plan stays current during the job.
Start with one room
Pick the room you plan to change first, measure it with the six steps above this weekend, and build the model at true scale before you request a single quote. If the aisles and door swings work in the model, send it with your quote requests.