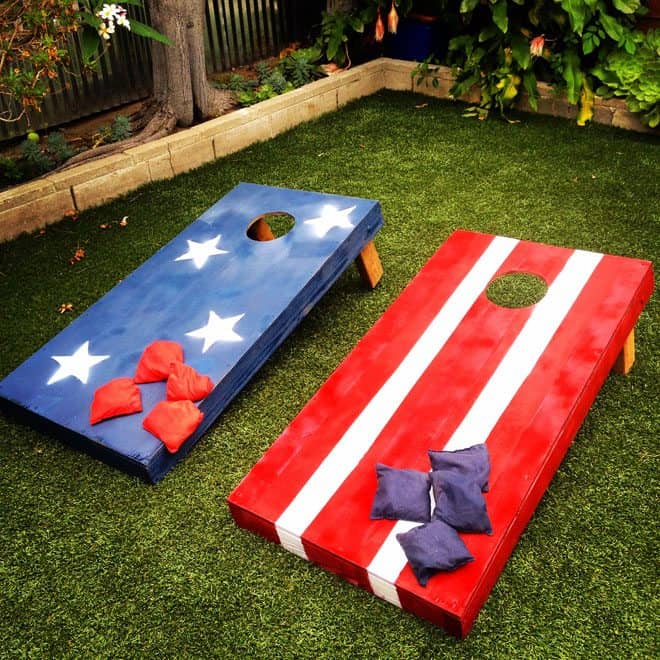
Bean bag toss or cornhole. Regardless of what you call it, this lawn game is popular across the country. From tailgating to backyard BBQ’s, cornhole is a game anyone of any age or athletic ability can play.
We built these cornhole boards in honor of the 4th of July by adding some “Stars and Stripes” flair to them.

Estimated Project Time
This project makes a great afternoon project and the cornhole boards will take about 3 hours to build. Start today which will give the paint enough time to dry so you can start playing on the 4th of July.
Tools & Supplies
4 – 48” 2×4 pieces
4 – 21” 2×4 pieces
4 – 12” 2×4 pieces
2 – 48”x24” birch covered ½” plywood sheets
Box of 2” deck screws
4 – 3/8” carriage bolts with washers and wingnuts.
Sandpaper 180, 220 grit
Drill/Driver with Phillips bit or screwdriver
¼” drill bit
Circular Saw or jig saw
Measuring Tape
Pencil
Red, White and Blue Paint
Stencil Kit
Step-by-Step
1. Assemble all tools and materials in a clean and clear work area.
2. Measure and cut all wood pieces using your jigsaw or circular saw.
3. Sand the edges of each cut piece and sand the birch plywood sheet.
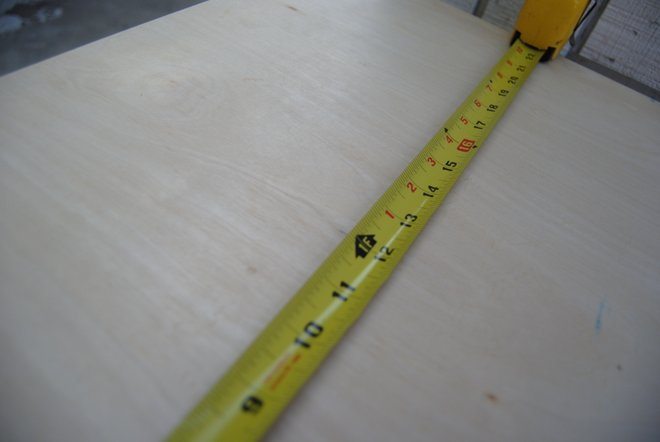
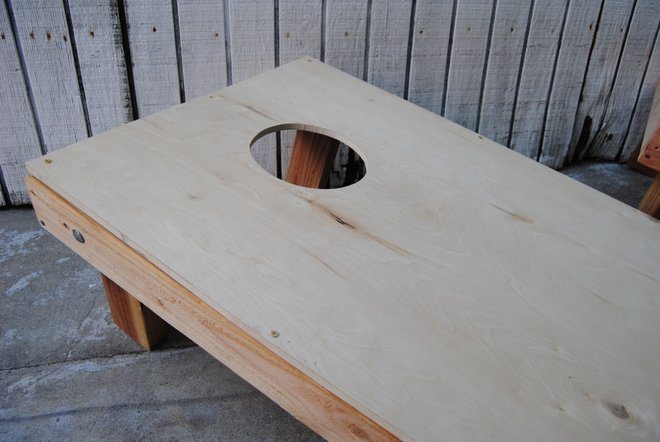
4. After sanding the edges of all of your cut plywood and 2x4s you are ready to cut the holes into the boards. The hole in the board should be six inches in diameter and be centered nine inches from the top and 12 inches from each side of the corn hole platform edges.
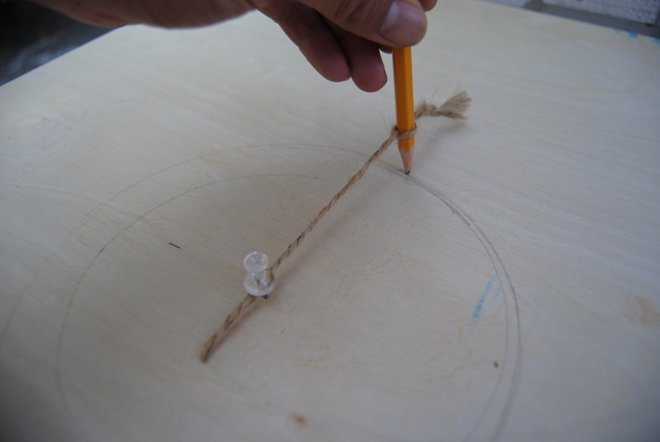
5. Find your center and use a compass to draw your circle. We simply took a string measured at 3” and pinned one end to the center and tied a pencil to the other end to draw our circle.
6. Drill a starting hole for your jigsaw then cut along the circle line.
7. Sand the inside and outside edges of the hole.
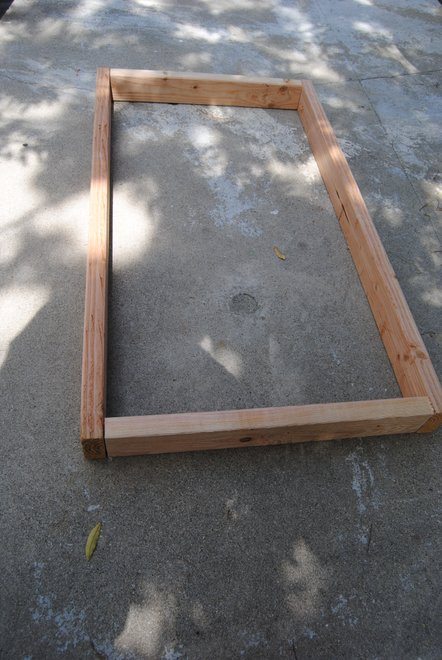
8. Build your corn hole board frames by aligning the sides and ends and pre-drill holes
9. Attach sides by driving your deck screws into pre-drilled holes.
10. Your corners need to be perfectly square so the platform fits exactly over the frame.
11.Attach the platform placing it onto the frame and align each edge so it sits evenly over the frame.
12. Pre-drill holes in each corner
13. Drive your screws to secure each corner and drive additional screws along the sides, top and bottom to ensure the platform is firmly attached to the frame.
14. Before attaching the legs you need to round one end off so you can loosen and fold the leg for storage.
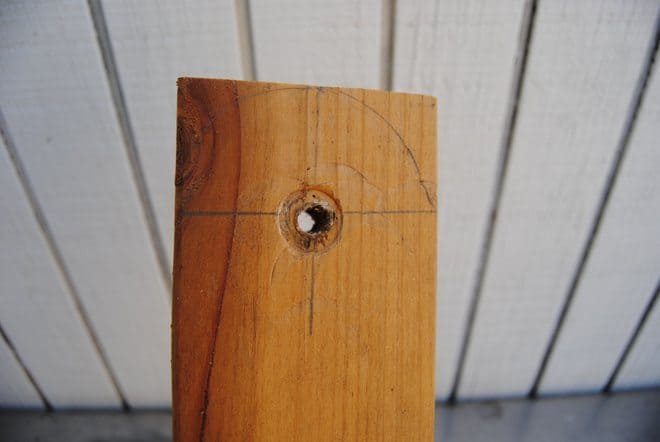
15. Measure the center point of the board and take that measurement and mark it from the end down. Place your compass here and mark your half circle.
16. Use your jigsaw and cut the end and sand it. Drill a hole through the center point of your board using a 3/8” bit.
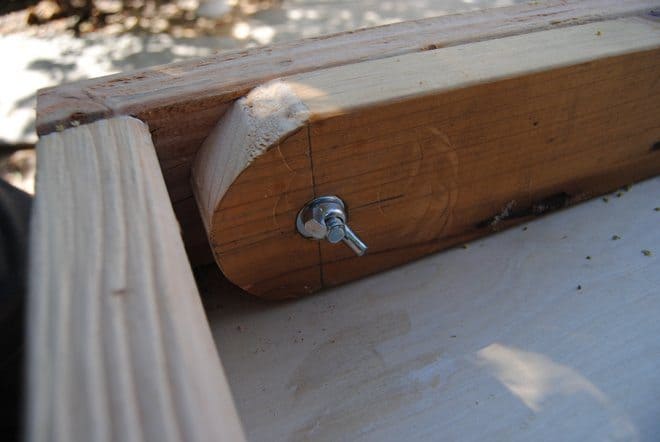
17. Hold the leg against the outside of the top part of your corn hole board (the end with the hole) and using a pencil mark the center point through the leg onto the frame.
18. Then drill your hole through the frame and attach your leg to the inside of the frame using your carriage bolt. Use a wingnut so you can easily loosen and fold down the legs for storage.
19. Print a star pattern and use that as your template for your stencil kit and cut out star stencil.
20. Paint one board Red and the other board blue.
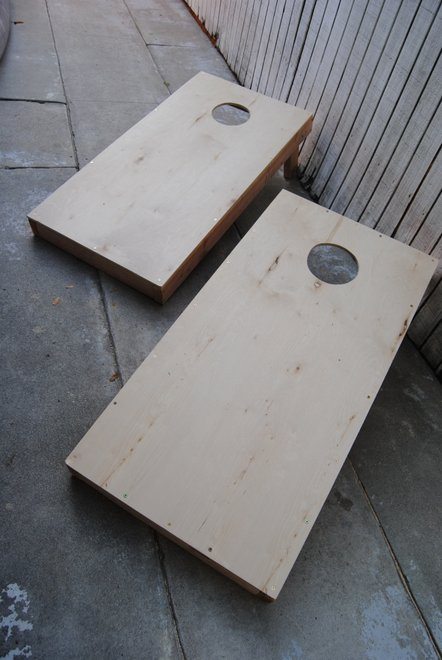
21. Tape the red board and paint the open areas white
22. Use your stencil and paint white stars on the blue board.
23. Wait for the paint to dry and grab your bean bags and have fun!!!


