If you’ve never gone through a full roof replacement before, the process can feel opaque from the outside, a crew shows up, works for a day or two, and leaves with a finished roof. Understanding what actually happens at each stage helps you know what to expect, what questions to ask, and what a rushed or corner-cutting installation might look like by comparison.
Step One: Pre-Installation Inspection and Material Delivery
Before any tear-off begins, a thorough installation starts with a final inspection of the existing roof and surrounding structure, confirming the scope matches what was quoted and catching any surprises, like additional decking damage, before work starts rather than mid-project. Materials are typically delivered a day or more before installation begins, staged either on the ground or, more often for efficiency, lifted onto the roof itself if the property allows it.
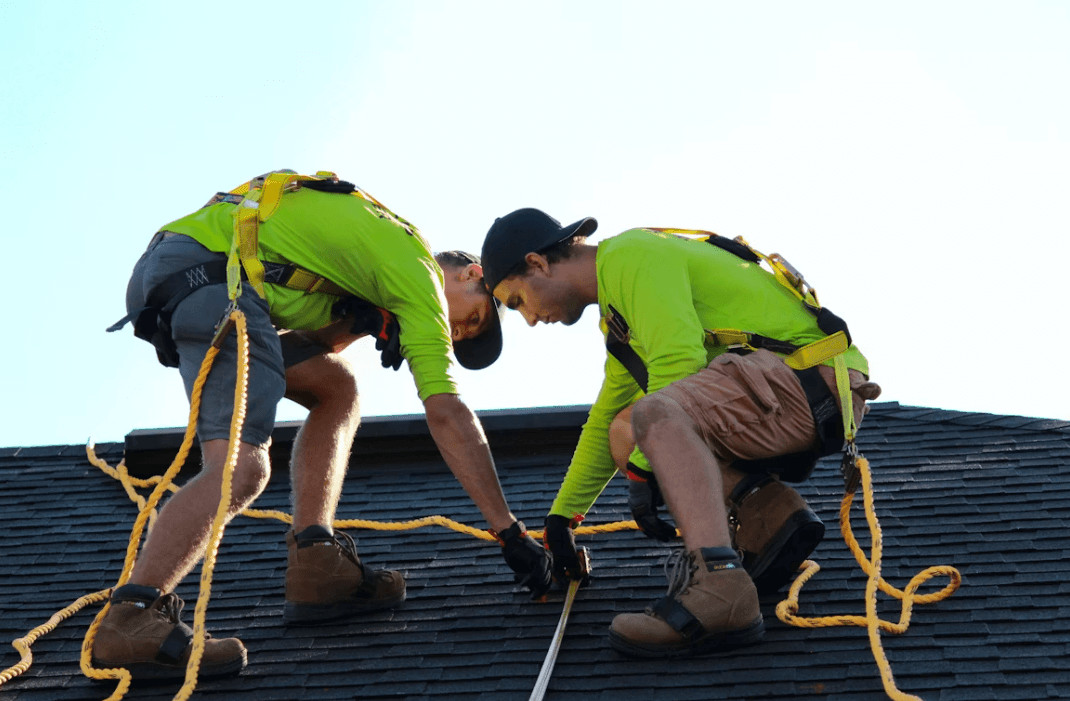
Photo by: Raze Solar
Step Two: Protecting the Property
A professional crew protects landscaping, siding, windows, and outdoor living areas before tear-off begins, typically with tarps and plywood positioned to catch falling debris and protect vulnerable surfaces. This step gets skipped or rushed by lower-quality contractors, and it’s one of the easiest things to check for as a homeowner watching the process unfold.
Step Three: Tear-Off
The existing roofing material is removed down to the deck, exposing the wood sheathing underneath. This is also when hidden problems, rotted decking, water damage, or inadequate ventilation from the previous installation, become visible for the first time. A reputable contractor stops and shows you any decking damage found at this stage before proceeding, rather than covering it up and moving forward with new material over a compromised deck.
Step Four: Deck Repair, If Needed
Any damaged or rotted sections of decking are cut out and replaced with new sheathing before installation continues. Skipping this step to save time or cost is one of the more consequential shortcuts in a roof replacement, since new roofing material installed over a compromised deck won’t perform as expected regardless of the quality of the shingles or membrane above it.
Step Five: Underlayment and Ice-and-Water Shield
A layer of underlayment goes down across the entire deck, providing a secondary water barrier beneath the visible roofing material. In climates with real winter weather, ice-and-water shield, a self-adhering, more robust membrane, typically gets installed specifically along eaves and in valleys, where ice dams and water pooling are most likely to occur.
Step Six: Flashing Installation
Flashing goes in around every roof penetration, chimneys, vents, skylights, and along valleys, before the main roofing material is installed over and around it. Properly installed flashing is one of the most important details in preventing future leaks, and it’s also one of the easier details to rush or install incorrectly if a crew is moving too fast.
Step Seven: Installing the Roofing Material
Shingles, tiles, or membrane panels go down according to the manufacturer’s specified pattern and fastening schedule. This is the most visible part of the process, but by this point most of the work that actually determines the roof’s long-term performance, deck condition, underlayment, and flashing, has already happened underneath.
Step Eight: Ventilation and Final Details
Ridge vents, soffit vents, or other ventilation components are installed or connected, since proper attic ventilation significantly affects both the roof’s longevity and the home’s energy efficiency. Final trim, ridge caps, and any remaining details get completed at this stage.
Step Nine: Cleanup and Final Inspection
A quality installation includes a thorough cleanup, magnetic sweeps for stray nails in the yard and driveway, and a final walkthrough where the contractor reviews the completed work with you directly, rather than simply leaving an invoice.
Getting a Clear Picture Before Work Begins
Knowing what each stage actually involves helps you ask better questions and recognize if a step is being skipped. Before committing to new roof installation, it’s worth confirming the contractor’s process matches this level of thoroughness, particularly around deck inspection and flashing details, since those are the stages that most affect how the finished roof actually performs.