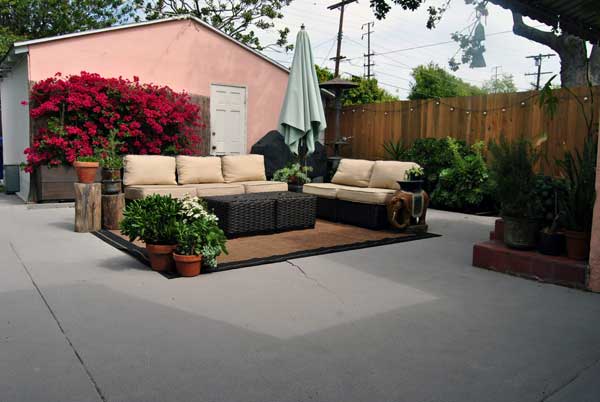
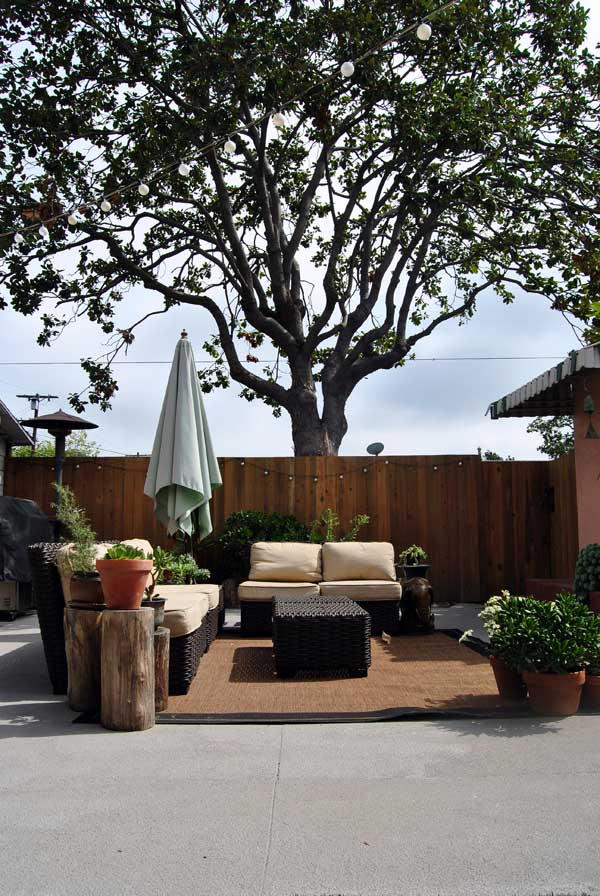
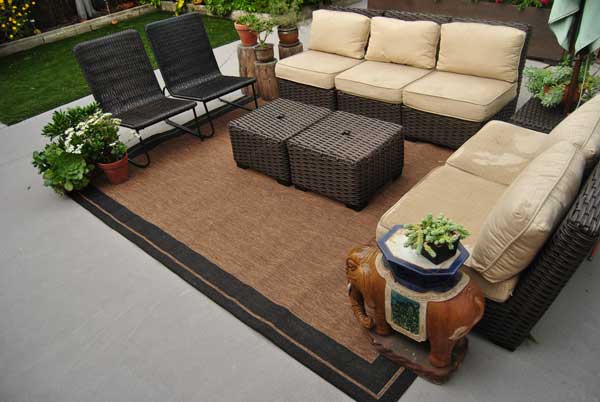
We love our indoor/outdoor living space and have created a comfortable patio that’s perfect for dining, entertaining or simply lounging around and watching our two-year old son throw stuff around (the best entertainment).
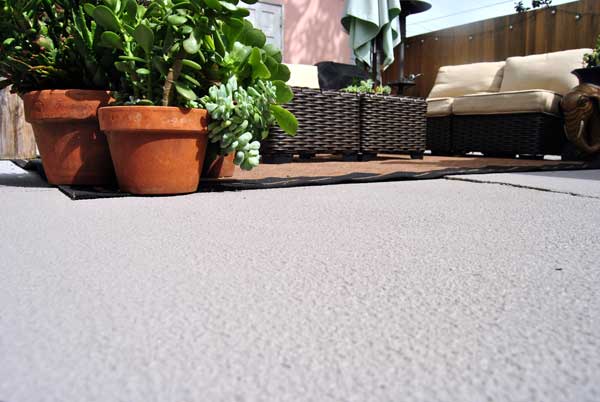
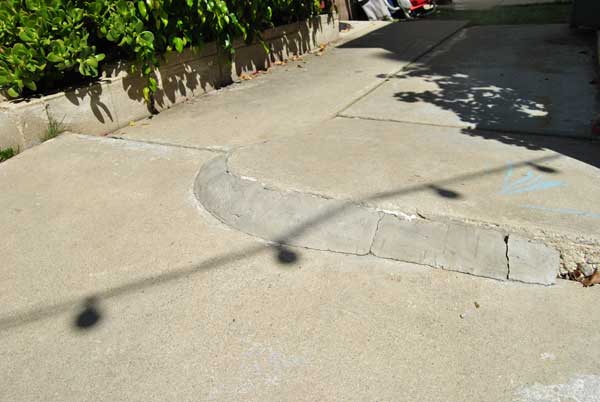
The only drawback to this space is the concrete surface. It’s a basic slab that’s stained from random coatings over the years and it’s also full of cracks both big and small.
We’ve gotten used to this “industrial” look but it doesn’t work well with our nice outdoor furniture and we’ve done our best to hide it using large outdoor area rugs.
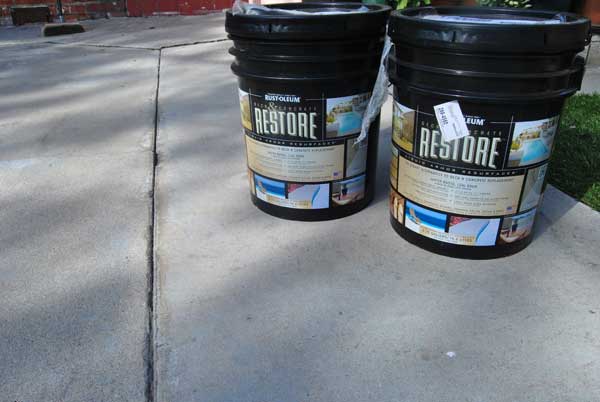
We never really knew there was an option to deal with this until we were approached by Rust-Oleum to try their new Deck & Concrete Restore 10x product.
Deck & Concrete Restore 10X is a durable coating product formulated to resurface most wooden and composite decks as well as concrete surfaces while providing protection against moisture and the damaging effects of the sun.
According to Rust-Oleum it is designed for a variety of applications and is the most cost-effective, and environmentally conscious way to revitalize wood and concrete surfaces.
Deck & Concrete Restore 10X can be applied over most outdoor wood or concrete surfaces to achieve a new finished look free of cracks and exposed splinters.
The coating is easily applied with a roller and dries to form a tough, resilient surface that will look beautiful and last for years with little maintenance.
Key features include:
▸ 10x thicker than ordinary deck coating
▸ Fills cracks up to 1/4 inch wide and locks down splinters
▸ Water based, safe easy clean up
▸ Beautifies and protects
▸ Easy to apply with Restore Roller
▸ Hides imperfections, slip resistant
There are more than enough selling points for me so after choosing our color online we anxiously waited for the coating to arrive. We selected Brownstone which provided a neutral tone so it wouldn’t clash with our exterior walls (pink) and red brick.
I’d list this project as easy to intermediate. The most time-consuming part of the project was prepping the space as it needs to be free from any dirt or oil and given time to fully dry before applying the product. From start to finish the this project took three days including the recommended dry time.
Here are step-by-step details of how we applied the Rust-Oleum Restore product to our concrete surface as well as the tools and materials used. If you are applying to a wood or composite deck the instructions will vary so refer to the Rust-Oleum website for details or check out the installation video below.
Tools for cleaning and prep:
Broom
Brush and running water
Rust-Oleum deck and concrete cleaner
Power washer (optional)
Leaf blower (optional)
Tools and materials for application:
Rust-Oleum Restore (enough for two coats)
Rust-Oleum honeycomb roller brush
Paint roller and extension pole
Painting tape
Cardboard (to serve as barrier while painting)
Step-by-Step
1. Clear the Area
This was the most time-consuming part of the installation process and part of the project you don’t want to take shortcuts on. As with any painting process, the surface prep is vital to a successful outcome.
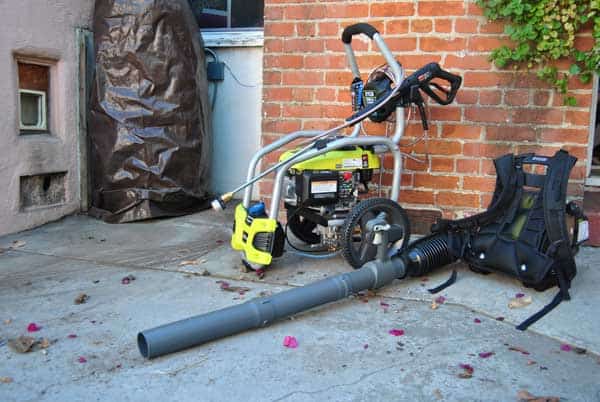
We first removed the area and swept it clean of any debris such as dirt and leaves. We blasted the area with our leaf blower first then used a basic broom.
2. Clean the Area
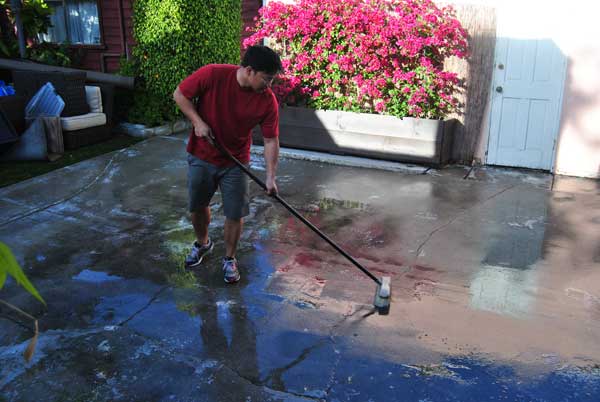
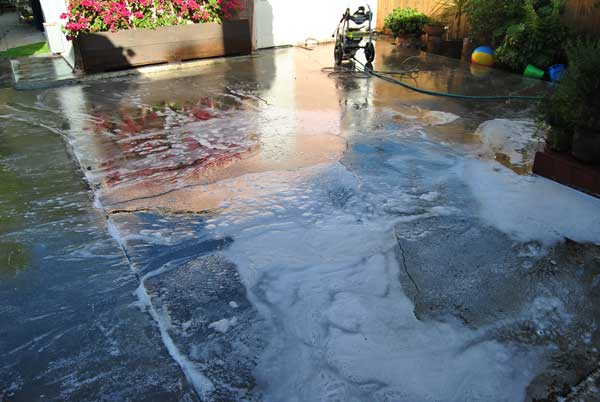
After clearing the area of furniture and debris we needed to treat the concrete with Rust-Oleum deck and concrete cleaner and give it a thorough brushing.
After brushing we used our power washer and blasted the entire surface. Our patio is uneven and water pools easily so we brushed out as much water as we could but it took at least a day and night to thoroughly dry.
Tip: The temperature should also be above 55 degrees for at least 3 days and nights to allow for proper application and drying times. Rain can’t be expected with 48 hours of application.
3. Tape and Block Edges
Take time to tape off any areas that you don’t want to get paint on. If you paint to fast the product can tend to “throw” from the roller so keep that in mind and go nice and slow but hopefully you’ll have properly taped the area before.
Tip: I also used a sturdy piece of cardboard to hold along the edges of our grass which is a much easier solution than trying to tape or cover that area.
4. Apply First Coat
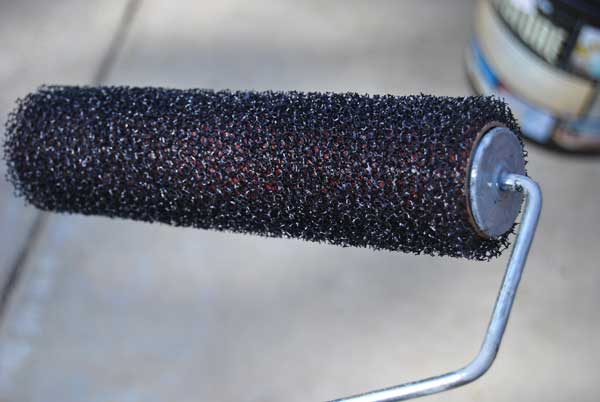
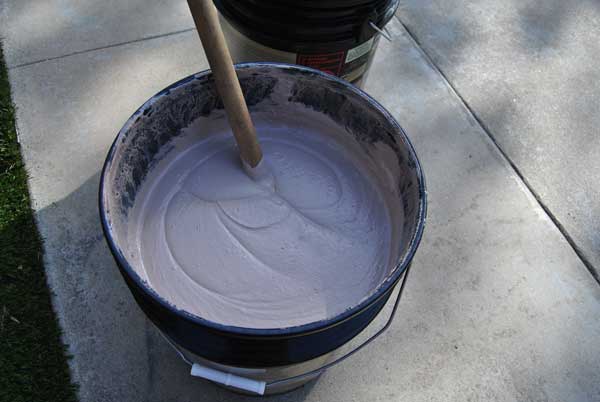
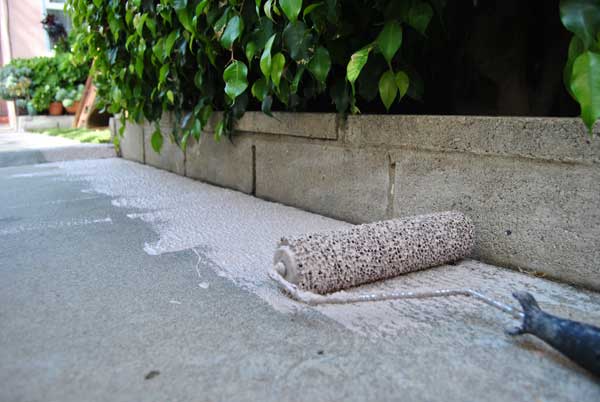
The Restore product is 10x thicker than paint so regular roller naps will not work. You’ll need the “honeycomb” style rollers from Rust-Oleum which hold and release the paint. As mentioned earlier, go slow, also apply liberally.
5. Apply Second Coat
Depending on humidity the first coat should be dry enough after 4 hours (?) to being applying the second coat. If you don’t like the texture you can use a brush to make it smoother but note the paint will also settle a bit more than it looks like right after applying.
6. Wait and Replace Furniture
After waiting the allotted time to dry you can walk on the surface and then give it a few more days before adding the furniture.
7. Enjoy
Our new patio is a HUGE upgrade and we’re happy to invest the time into a home improvement project that will increase our home’s curb appeal and be virtually maintenance free.
