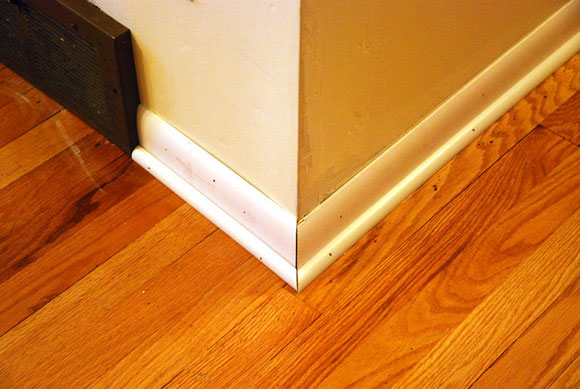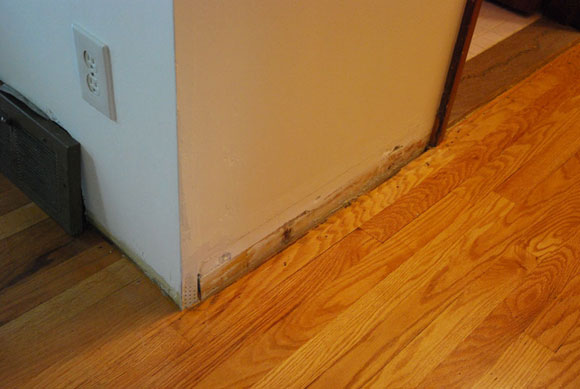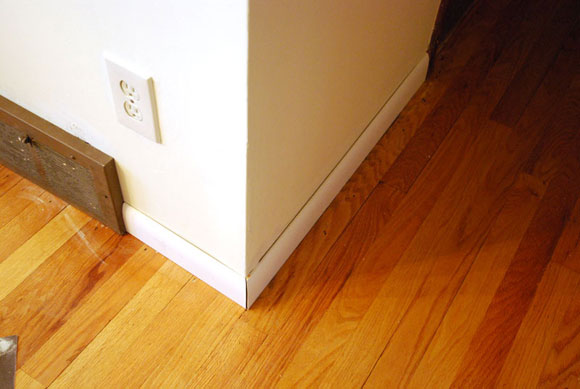
Beautiful hardwood floors, check. New sheetrock walls, check. Baseboard molding, around a corner; not as hard as it seems. Molding and a quarter round will hide the fact that the floor and wall don’t quite meet up.
Here’s a basic how-to for fitting baseboard molding around a corner.
1. Match Molding
The first step is to get molding to match the rest of the house, and a trip to the local home improvement store is all that is required. Since we’re going to paint the molding anyway, we opted for the less expensive, yet pre-primed variety. This way all we need to do is apply a coat of paint after it is on the wall. However, if you’re looking for a more traditional look you can get bare wood molding and quarter rounds as well, and these can be stained to match the floor.

2. Choose Length and Cut
Once you decide on to paint or not to paint, simply pick up the required length (Our project was small, but we still opted for a single length of 12-foot molding instead of two 8-feet lengths.) The next step is to measure the length of the molding from the door frame to the end of the wall, and again from the heat vent to the end of the wall. Follow the rule to measure twice, cut once.
Tip: Also be sure to measure past the end of the wall by about an eighth of an inch so that the ends can meet up. A miter box or a chop saw at a 45-degree angle is all that is required to cut the ends for a reasonably snug fit.
3. Cut and Repeat
Repeat with the quarter round and suddenly the beautiful floors and the sheetrock match up seamlessly.

4. Finish with Paint
All that’s left is a bit of paint and the wall is dressed up and ready for a coming out party.
Photo courtesy of Ziray Studio Labs


No Comments