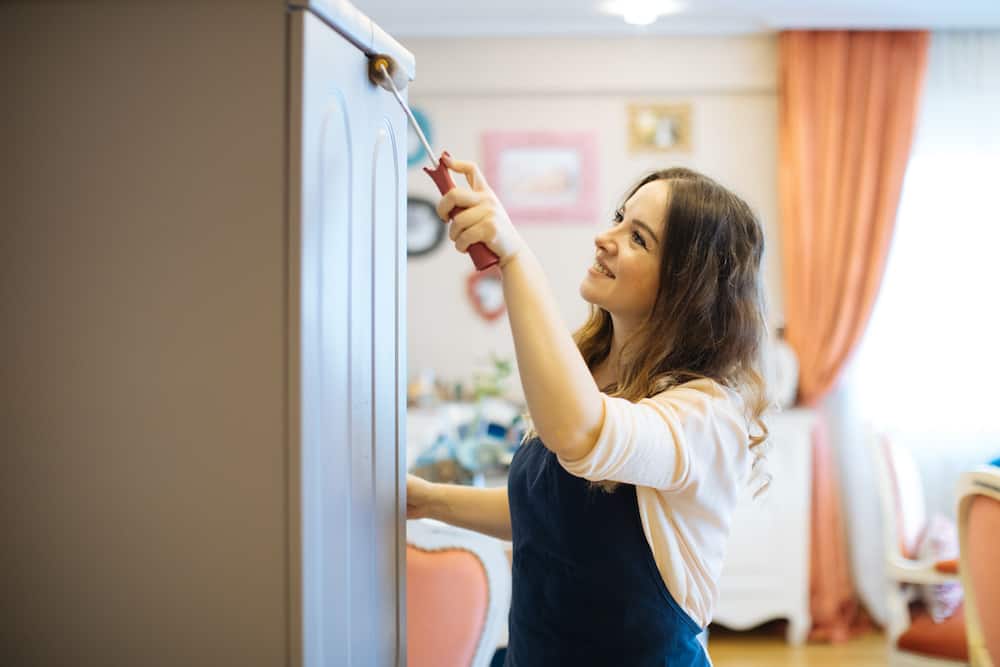
Is your kitchen looking a bit lackluster these days? Are the cabinets outdated or chipping away? Do you want to inject some life into the space without spending a fortune? If so, painting your kitchen cabinets is a great way to go.
This comprehensive guide will provide step-by-step instructions on how to paint kitchen cabinets the easy way, transforming your old and tired cabinets into something new and exciting. With detailed steps on how to clean, sand, apply primer, paint, and add new hardware, it’s easy to update the look of your entire kitchen in just a few simple steps.
So whether you’re trying to spruce up the space or give it an entirely new personality — follow along with us as we take you through all of the exciting possibilities that come with giving your kitchen cabinets some TLC.
Introduction: Why You Should Paint Your Kitchen Cabinets
Painting your kitchen cabinets can be a great way to give the space an entirely new personality without breaking the bank. Whether you are looking for a subtle refresh or something more drastic, painting your cabinets is one of the most affordable and impactful ways to makeover any room in the home.
Not only does it help protect against wear and tear, but it also allows you to create a unique look that matches your personal style. With so many colors and finishes available, you’re sure to find exactly what you’re looking for when it comes to creating a stunning new kitchen aesthetic.
Plus, painting cabinets can be surprisingly easy — all you need is some prep work, paint brushes and primer! So don’t hesitate — give those outdated cabinets some love by giving them an exciting new look with fresh coat of paint today!
Preparing to Paint: What You’ll Need
Preparing to paint your kitchen cabinets is the key to achieving a great finish. Before you begin, it’s important to make sure you have all of the necessary supplies on hand so that the job can be done quickly and correctly.
While there are some basic tools like sandpaper, drop cloths, and paint brushes that will be essential for any painting project, there are also some other items that may not be as obvious but still equally important.
These include primer specifically designed for wooden surfaces or metal surface cleaner if you’re dealing with metal cabinets; painter’s tape; rags or sponges for cleaning; safety glasses and gloves; and plastic bags for storing hardware when removing doors from hinges.
With all of these materials at the ready, you’ll be able to tackle this task efficiently without running back out in search of forgotten items!
Step One: Cleaning the Cabinets
Step one of painting your kitchen cabinets is to make sure they are properly cleaned. This will ensure a smooth and even finish when you apply the primer and paint. Start by removing all hardware, such as door handles, hinges and drawer pulls, then set them aside in plastic bags for safe keeping.
Next, use a degreaser or mild detergent to clean the cabinet surfaces thoroughly; this will help remove any dirt or residue that may interfere with the paint’s adhesion. Finally, take time to wipe down each surface with a damp cloth – be sure not to saturate the wood! Once everything is dry, it’s time for sanding, which should come next.
In addition to cleaning your cabinets before painting them, there are other essential steps worth considering too! If you have metal doors or frames on your cabinets, these need special attention since metal can easily rust if not sealed correctly.
To prepare them for painting, start using an appropriate metal cleaner followed by light sanding (using 320-grit sandpaper). Then go over the entire area once more using mineral spirits before rinsing with water and leaving it to dry thoroughly prior to applying primer – this additional step will ensure that no moisture remains behind which could cause bubbles forming in your finished product later on down the line!
Step Two: Sanding the Cabinets
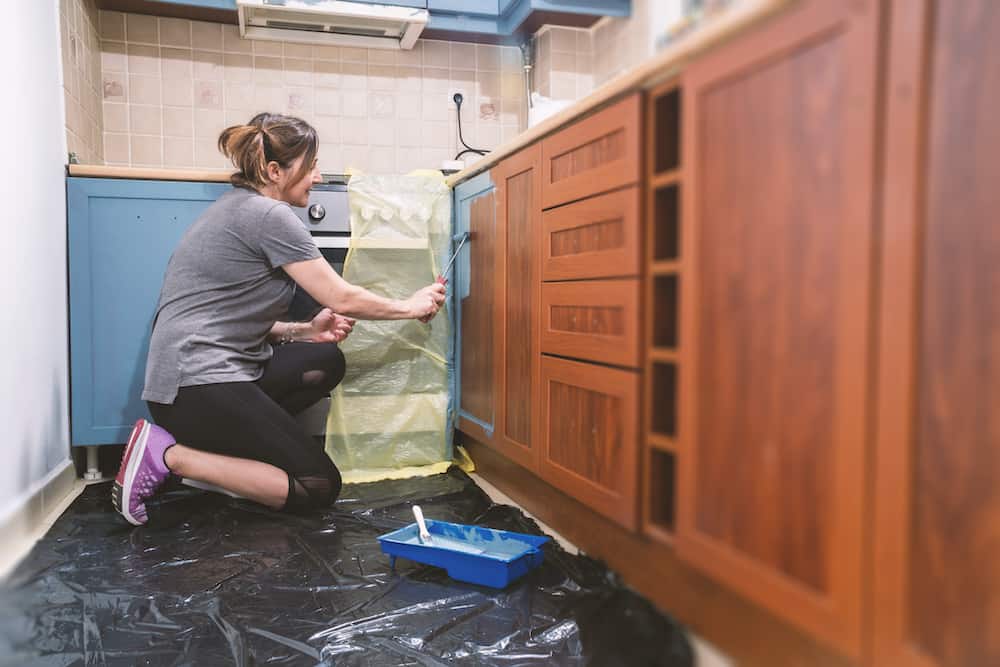
Sanding cabinets is the next step in painting kitchen cabinets. Sanding helps to create a smooth surface for the primer and paint, which will result in a better finish. To sand your kitchen cabinets it’s best to use an orbital sander with 120-grit sandpaper. Start by lightly sanding each cabinet until all of the glossy areas are removed; this will help ensure that your primer and paint adhere correctly. When using an electric sander, you should move it progressively over each area without letting it linger on any one spot too long as this can damage the wood or leave streaks behind. After finishing up with the sander, go back over all of your surfaces with 220-grit paper to make sure they are ultra smooth before applying primer or paint!
Once all of your surfaces have been adequately prepped through cleaning and sanding there is one additional step that can really improve adhesion: deglosser. Deglossers are special solutions designed specifically for removing gloss from wooden surfaces prior to painting them; they also help fill in small pores so that no air pockets remain when you add new layers of color later on down the line! Additionally, deglossers tend to be fast drying which makes them ideal for projects such as these where time constraints may apply – just follow instructions carefully and apply liberally across each surface according to product directions before moving onto primering!
Step Three: Applying a Primer
Applying primer to your kitchen cabinets is an important step in painting them. Primer helps create a better bond between the paint and the surface, as well as providing additional protection against moisture and staining.
To ensure that you get good coverage and adhesion of the primer, it’s best to use a brush or roller specifically designed for this type of task – avoid using spray cans if possible! Start by going over all surfaces with long, even strokes until everything is evenly covered; then allow at least two hours for drying before moving on to painting.
When applying primer it’s also essential to pay attention to details such as corners and edges since these are more prone to chipping or peeling later on down the line!
For these areas try using a small angled brush which will help you reach into tight spaces without leaving any streaks behind. Additionally, when primering inside drawers make sure that all sides are coated with equal amounts of product in order reduce risk of warping; then leave overnight before continuing with other steps like sanding or adding topcoat layers!
Step Four: Painting the Cabinets
Painting the cabinets is arguably one of the most important steps in the process if you want a professional-looking finish. To ensure that your project turns out as expected, it’s best to start by using an appropriate paint for kitchen cabinetry such as oil-based enamel or acrylic urethane – both are durable and long lasting options that won’t chip off easily over time.
Additionally, when painting, make sure to use a brush specifically designed for this type of task; small angled brushes work well for tight spaces like corners while wider ones can be used on flat surfaces with more ease! Start off by going over each cabinet surface with light coats of paint to avoid visible brush strokes and drips; then allow enough time between layers so that everything has dried completely before adding additional topcoats.
Finally, once all your cabinets have been painted and allowed adequate drying time (at least 24 hours) you’re ready to add any knobs or handles back onto them!
Step Five: Adding New Hardware
Adding new hardware to your kitchen cabinets is an essential step in the painting process that will help ensure a professional-looking finish. Depending on what type of cabinet design you have, there are various options available; for example, if you’re looking for a more traditional look then knobs and/or handles with decorative details such as raised edges or intricate carvings are ideal.
Alternatively, if a modern aesthetic appeals to you then sleek metal pulls or minimalist bar pulls may be better suited for your needs! Regardless of which style you choose it’s important that all pieces match and complement each other – this helps create a unified look throughout the space even if individual elements vary slightly in color or texture.
When adding new hardware there are several things to keep in mind before beginning installation. First off, make sure that whatever option you select is compatible with the existing holes on your cabinets – some may require additional drilling while others won’t fit at all!
Additionally, depending on how many pieces need replacing it’s always best practice to measure twice just to ensure accuracy before making any cuts into wood surfaces; this way nothing gets wasted and everything looks uniform when done correctly!
Finally, once all of these steps have been completed use appropriate screws (usually provided by manufacturers) so that they remain secure without damaging any of surrounding surfaces – now your cabinets should be ready for their grand reveal after hours of hard work!
Conclusion: A Fresh, Updated Look for Your Kitchen
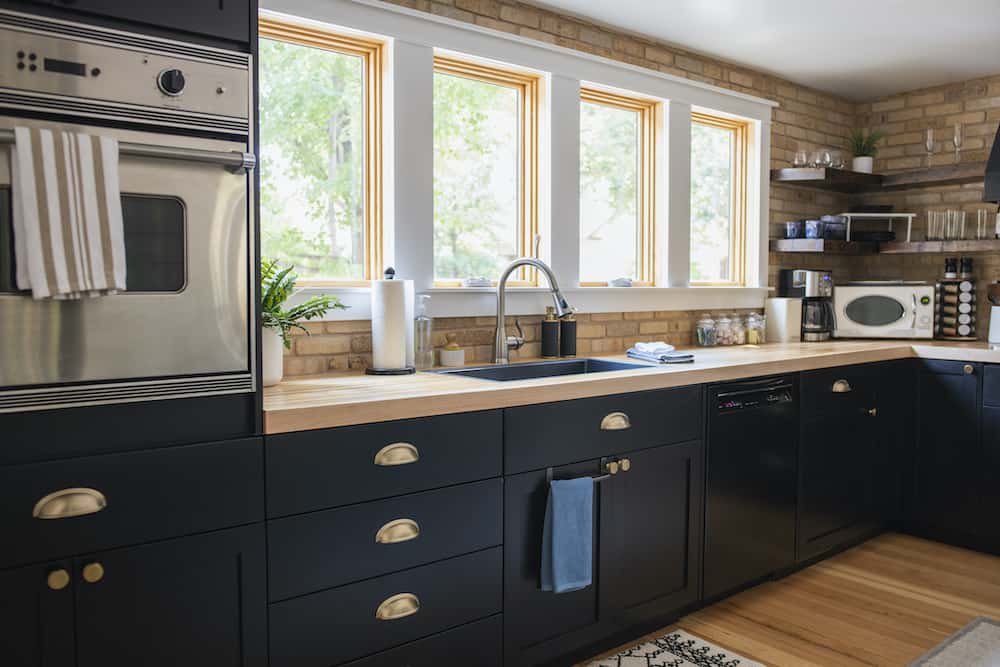
The conclusion of your kitchen cabinet painting project can be a rewarding experience, as you and your family now have an updated look to enjoy for years to come.
With the new colors and hardware added, your space will feel refreshed without having to spend thousands on a full renovation. The transformation from dull, outdated cabinets into something modern and inviting can be achieved with just a few simple steps – all it takes is some time, patience, and dedication in order to achieve the desired results!
If done correctly, this process should help increase the value of your home so that when it’s time for resale potential buyers are more likely to be attracted by its updated appearance. Ultimately painting kitchen cabinetry is an investment that pays off both financially and aesthetically – so don’t wait any longer – take advantage of this opportunity today!

