When it comes to roof leaks, one of the most common culprits is the flashing, which seals the joints where the roof meets the walls, chimneys, or vents.
Many homeowners experience intermittent leaks due to issues with the flashing, especially around areas where shingles meet the side wall.
This guide will explore common causes of flashing leaks, the right repair methods, and what to expect if you encounter these problems.
Why Do Flashing Leaks Happen?
Flashing leaks are typically caused by improper installation or damage to the flashing material. A few key issues commonly lead to flashing failures:
1. Improper Flashing Installation
Improper installation is often the root cause. For instance, when two layers of shingles are applied to a roof (often when a roof is recovered without removing the old shingles), the step flashing may not be installed correctly, resulting in gaps that allow water to seep in.
Flashing needs to be installed underneath the shingles and around roofing penetrations to properly direct water away.
Signs of improper flashing installation:
- Water damage around chimneys, skylights, or side walls
- Visible gaps or overlaps in the flashing
- Leaks at the joints or seams
2. Old, Deteriorated Flashing
Flashing materials, especially those made of aluminum or galvanized steel, can wear out over time due to exposure to the elements.
As flashing ages, it becomes more susceptible to rust and breaks down, which compromises its ability to keep water out.
Signs of deteriorated flashing:
- Rust or corrosion on the flashing
- Cracked or brittle flashing material
- Frequent leaks during rainstorms
How to Fix a Flashing Leak
Fixing a flashing leak depends on the severity of the damage. Here’s how to address common flashing problems:
1. Inspect the Flashing and Identify the Leak Source
Before starting repairs, carefully inspect the flashing and surrounding areas to identify the source of the leak. Sometimes the leak might not be directly at the flashing but could be coming from the shingles or the underlying roof structure.
2. Remove the Old Shingles and Flashing
If the flashing is damaged, remove the surrounding shingles and the old flashing. This is especially important if there are two layers of shingles, as the flashing may not have been installed correctly underneath the first layer.
3. Install New Step Flashing
Properly install new step flashing, making sure it fits tightly against the roof and wall. Each piece of flashing should overlap the other, allowing water to flow down the roof without seeping in at the joints.
4. Reinstall Shingles and Seal
Once the flashing is securely installed, reinstall the shingles, making sure they are properly aligned with the new flashing. Seal the edges with roofing sealant to ensure water cannot enter.
5. Use Ice and Water Shield
For additional protection against leaks, especially in areas with harsh weather conditions, use ice and water shield around the flashing. This helps prevent water from backing up under the shingles during heavy rain or snow.
When to Call a Professional for Flashing Repair
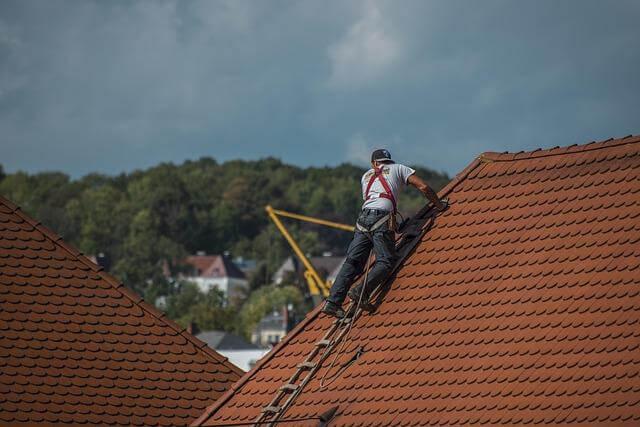
Flashing repairs can often be completed by homeowners with some roofing experience, but if the damage is extensive or if you’re dealing with a larger roof system, it’s best to call a professional for assistance.
A roof repair contractor will have the right tools and materials to ensure the job is done correctly.
Signs You Need a Professional:
- The flashing is damaged or missing in multiple locations
- The roof is difficult to access or is on a steep slope
- You’re unsure about handling roofing materials and safety equipment
Preventing Flashing Leaks in the Future
Regular maintenance and inspections can help prevent flashing leaks from recurring. Here are some tips for keeping your flashing in top condition:
- Inspect flashing annually to check for damage, rust, or wear
- Clear debris around the flashing to prevent water buildup
- Seal any gaps or cracks as soon as they appear
- Replace old or worn flashing during roof repairs or re-roofing projects
Conclusion
Flashing leaks are a common roofing issue, but with the right tools and knowledge, they can be fixed quickly.
Whether dealing with improper installation, old flashing, or storm damage, addressing the problem early can save homeowners from larger, more expensive issues down the line.
If you’re not comfortable handling the repair yourself or if the damage is more complex, professional roof repair services can ensure the job is done properly, safeguarding your home from future leaks.