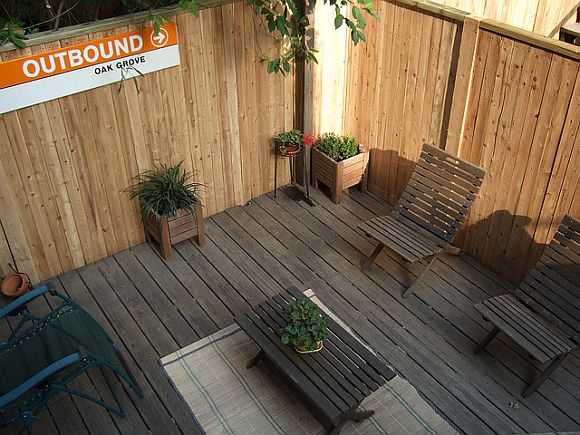
Adding a fence to your property–or swapping out an old fence for a new one–is not only a good idea for your home’s security, but also adds aesthetic appeal to your yard. If you have pets, adding a fence is a great way to keep your furry friends from running into the street or on other property, and, depending on the type of fence you choose, you can also add some privacy to your yard, an especially good idea if you have a swimming pool.

As with any DIY project, there are multiple variables to consider when installing a fence:
*Materials. What type of fence do you want to have? Some of the most common varieties include picket, post and rail, wrought iron, invisible and chain link. You can also purchase PVC or vinyl fencing that looks like wood. Each come with their own set of specifications, costs and pros and cons, so you’ll want to do a little research when deciding what fence is going to be best for your property.
*Installation. We’re not going to lie–installing fencing is a heck of a job. It certainly isn’t anything you can’t tackle on your own, but you’ll need an assortment of tools and supplies, depending on your fencing. Say, for example, you’re installing wooden fencing. You’d need:
-Treated boards and fence posts
-Hand saw
-Power saw
-Posthole digger
-Steel tape
-Pencil
-Hatchet
-Gravel or sand
-Nails
-Hammer
-Level
-Concrete
-Wood chisel
-Tamping rod
Although your fence wood may come pre-treated, you may want to treat it again with a stain or other protective coating, which will help increase the longevity of the wood and protect it from rot.
Now comes one of the tough parts: digging your post holes. Install the corner posts first, and then space the posts about six to eight feet apart depending on the terrain of your land. You’ll want to make sure at least 1/3 of the post length is buried, so use the posthold digger to make a properly sized hole. Fill the bottom with some gravel or sand, which helps anchor the post, and then fill in the remaining hole with concrete, which is sturdier than dirt and will better withstand the elements.
Once the posts are in, you’ll attach the top and bottom rails, ensuring that they’re level. Use a hammer and nails or a nail gun, depending on your preference. And if you happen to be installing your fence on a slope, make sure the fence rail aligns with the slope of the land.
After that, you can choose to install pickets or rails as needed to make a decorative pattern, like a basket weave, or you can keep things simple. If you want privacy, you’ll need to install vertical boards along the rails without any spaces between them.
What’s your take on DIY fencing? Have you done it, or will you consider it? Or is this a job left to the pros?
Photo: Flickr.com/photos/ann-dabney/1140873733/


No Comments