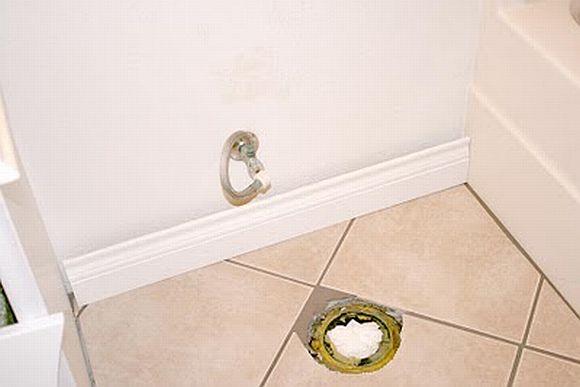
Baseboard moldings are one of those thoughtful touches that polish a room and add just enough architectural aesthetic to make things interesting.
Yet depending on your home, you may find yourself with small baseboard moldings that only protrude an inch or so above the carpet.
With a few supplies and a weekend’s worth of free time, you can easily fix the situation using a little DIY know-how. The Remodelaholic has a complete baseboard molding tutorial, but we’ve got a preview for you.
Materials:
1/2-inch x 2 1/2-inch or wider MDF board in desired length
Hand saw
Miter box
Wood glue
Clamps (optional)
Nails and hammer
The Project
Remove the existing molding, but do it carefully, as you’ll be reusing it. Once it’s removed, this is a great time to clean off any lingering caulk. Lightly sand and wash the moldings, and allow to dry thoroughly.
Glue the strips of MDF to the molding so that the molding is on top. You may want to use clamps to hold the two pieces together so that they can dry.
The Remodelaholic recommends painting the moldings before installation, and performing touch-ups as necessary once the moldings are in place. You could also do this, or also wait to paint until the moldings are installed.
Nail the moldings to the wall with a hammer (or nail gun) and miter your corners. Apply paint touch-ups or caulking as needed, and voila – instant molding growth spurt!
Have you made any repairs or changes to your baseboard moldings?
Photo courtesy of Remodelaholic


No Comments