
I spent about $75 on a foam puzzle mat set for my basement studio, and my daughter quit ballet within a year. She did not quit because of the teacher. The floor was the problem. Her turns caught, her knee ached after grande allegro, and her ankles wobbled on every landing. Once we put in a proper vinyl surface over a decent subfloor, the whole room changed. Here is how to install a home dance floor the same way.
If you’re turning a spare bedroom, garage corner, or basement into a dance space, the surface under your feet matters more than the mirror and more than the sound system. A home dance floor has to do two jobs at once: grip the shoe without grabbing it, and give a little when a body lands. Get that balance right and a 12 by 15 room works for hours a day. Get it wrong and you get a surface that is either ice or flypaper.
Ballerinas on a stage floor need a sleeve in their pointe shoes for gliding, while a home setup built for daily class only needs one reliable surface, so resist the urge to copy a theater. Retailers like Stagestep split their Marley lines by dance style for exactly this reason, because tap, ballet, and hip hop do not want the same amount of slip.
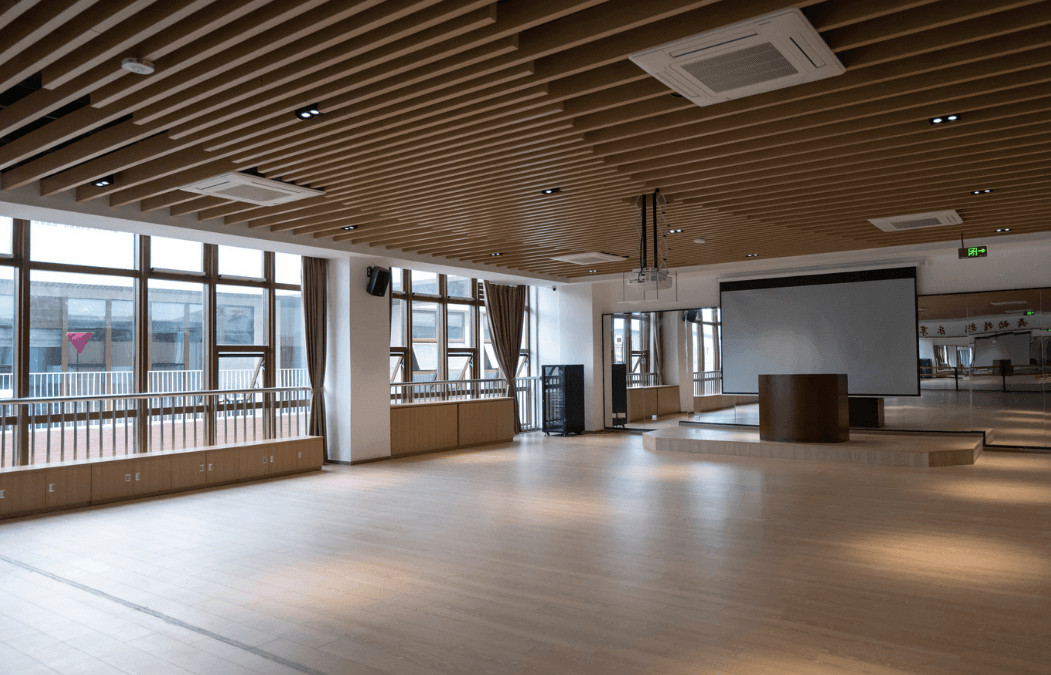
Why the Subfloor Matters More Than the Top Layer
Everyone shops for the visible surface. The real decision is what sits under it. Vinyl is thin, roughly two millimeters on most roll goods, so it acts like a skin stretched over whatever you built. If that skin is glued to concrete in a Michigan basement, you get cold, hard, and unstable. If it floats freely over plywood panels on a foam underlayment, you get give.
Two ways to build it:
- Floating on foam. You lay a foam layer, then a plywood or engineered panel layer, then the vinyl on top. The foam does the shock absorbing. Great on a wood or concrete subfloor in a dry basement.
- Direct glue to a wood subfloor. Cheaper, thinner, and permanent. You lose the bounce but gain stability and zero panel shift. Good if the room doubles as a gym or playroom.
The sprung version feels better, plain and simple. I would build floating over foam every time in a basement, and I would not bother on a second floor over a joist system that already flexes, because you end up stacking two springs and the surface feels mushy under fast footwork.
Measure what the build adds before you commit. Foam, plywood and vinyl stack up, so in a basement check your ceiling clearance, and make sure the door still swings over the finished surface.
What Does a Home Dance Floor Cost, and Where Does the Money Go?
Roll vinyl itself is usually the cheapest line item. The subfloor, the adhesive, and the trim eat most of the budget. Here’s my rough experience from two builds:
| Line item | Typical share of budget |
| Sprung subfloor and underlayment | 40 to 55 percent |
| Vinyl surface | 20 to 30 percent |
| Adhesive, tape, trim, tools | 10 to 20 percent |
| Storage rack and extras | 5 to 15 percent |
Notice the pattern. The part nobody wants to pay for is the part that decides whether a knee holds up over thousands of landings. You could also skip the permanent build entirely and use a rollout floor over an existing hard surface, which costs far less and takes an afternoon, though it slides around if you never secure the edges. Budget buyers in small apartments usually land there, and honestly, that’s fine for one or two dancers.
How to Install a Home Dance Floor in One Weekend
This is the sequence I use, start to finish, for a 12 by 15 room.
- Empty the room and sweep the concrete or wood base. Any bump telegraphs through thin vinyl within weeks.
- Check moisture. Tape a square of plastic sheeting to the slab, wait a day, and look for condensation underneath. If you see any, fix that before anything else goes down. Moisture problems are the number one cause of premature failures in residential construction, which is one reason NIST publishes guidance on moisture control in buildings. Your local building department will have something similar. Even if the plastic test comes back dry, lay a moisture barrier over the slab before the foam goes down. If it comes back
- Roll out the foam underlayment wall to wall, seams taped.
- Lay plywood panels in a staggered brick pattern, screwed, not stapled, and leave a small gap at every wall so the platform can move.
- Let the vinyl relax. Unroll it and leave it flat in the room overnight. Cold vinyl curls at corners and you’ll fight it the whole way.
- Position the vinyl, trim with a straightedge, and leave an expansion gap at the perimeter. Cover that gap with a flexible base or rubber trim, not a rigid baseboard that pinches the edge.
- Seam the roll if the room needs two widths. A bad seam is a trip point, so keep the seam running parallel to the room’s long wall and away from the barre area.
Skip step five and you’ll be redoing corners. Ask me how I know.
The Tools Nobody Thinks to Buy
You need a hook blade, a long straightedge, a seam roller, and clean rags. Two more things earn their place. A vinyl roller gets the adhesive flat and pushes air out from under the surface if you glued down. A cheap infrared thermometer tells you whether the floor is too cold to work with, and most vinyl products want a room temperature range that you can actually verify rather than guess at. Small stuff, but you’d be shocked how many weekend installs fail on temperature alone.
Storing and Maintaining the Roll
If you went with a roll out floor, everything after week one depends on how you store it. Rolling it around a tube, not folding it, and keeping it flat instead of leaning it against a wall is the difference between a floor that lies down clean in six months and one that never flattens again. Clean it with a damp mop and a mild neutral cleaner. Never let a maintenance crew wax or strip it, because a slippery dance floor is useless and a slightly tacky one is worse.
Also, watch your shoes. Black soled street sneakers leave scuff marks that come up with a tennis ball, but cheap rubber can stain permanently. Establish a shoes off rule at the door and your surface lasts years longer.
Mistakes That Wreck Home Dance Floors
- Installing directly over carpet. It feels soft for a week and then turns into a lumpy mess under turns.
- Using a padded athletic mat as the surface. Too much grip. Ankles pay for it in jazz and contemporary work. Even OSHA lists slips, trips, and falls among the most common workplace incidents, and while a studio at home isn’t a jobsite, the same logic applies: a floor that grabs your foot during a spin loads the joint instead of the surface.
- Ignoring the doorway threshold. Two different floor heights make a trip hazard right where kids run in barefoot.
- Buying the surface first. The subfloor should drive the purchase, not the other way around.
How Do You Know Which Surface to Pick?
Match the surface to the dominant style, not the whole catalog. Tap needs a harder, less cushioned feel. Ballet and contemporary want a bit of glide and consistent traction. Hip hop and breakdance want more grip and a surface that tolerates hard shoes. A home studio can only be one of those, so pick the style your dancer spends most hours on and accept a small compromise for everything else.
My rule after two builds: go every bit as heavy on the underlayment as your budget allows, and don’t spend a dime on storage you don’t have room for. Buy a cheap standing rack instead. And run the room for a week of real classes before you cut a single piece of trim, because where you want the barre and where the kids actually dance are rarely the same spot.
What’s your room look like right now? Get the subfloor right first, then the surface, and your home dance floor install will hold up for years. If the room also doubles as a gym or playroom, this guide to building a DIY dance floor in a multi-purpose room covers the trade-offs.

