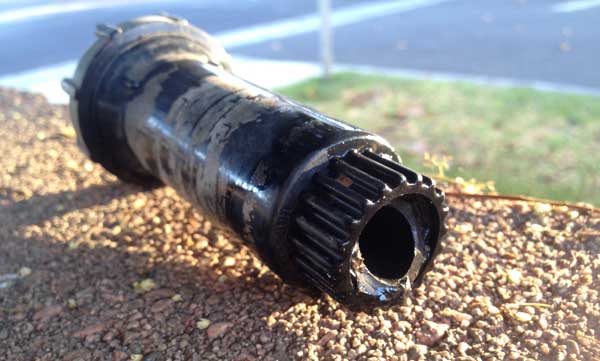
The grass had recently died in the center section of our front lawn and I was perplexed. It’s a shaded area but grass had always grown there before. After taking a quick look at the sprinkler heads I noticed one of them was sitting in the ground but not attached. Apparently a tree root had sheared the sprinkler head off the PVC pipe.
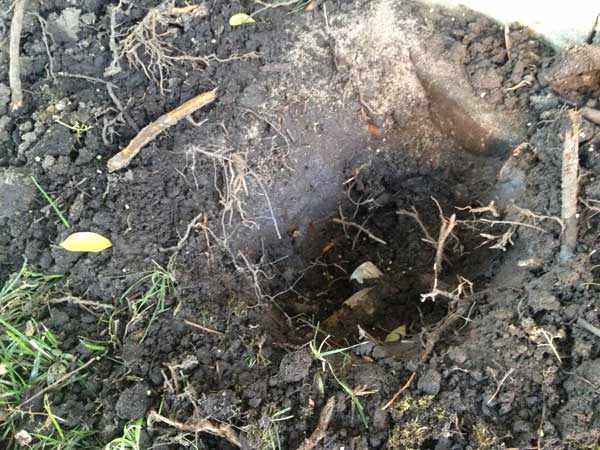
I dug out around the remaining pipe and had to cut through plenty of roots but finally made enough room to reach the pipe.
The sprinkler head had broken off on the threaded piece so I needed to cut the existing pipe and replace that section and elbow.
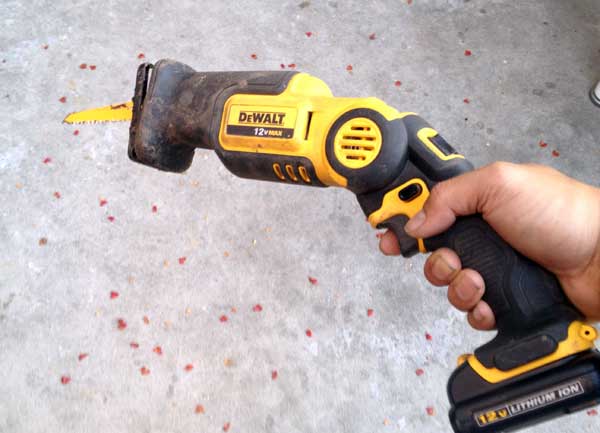
I used my DeWALT pivot recip saw but you can use any type of hand saw to remove the old pipe.
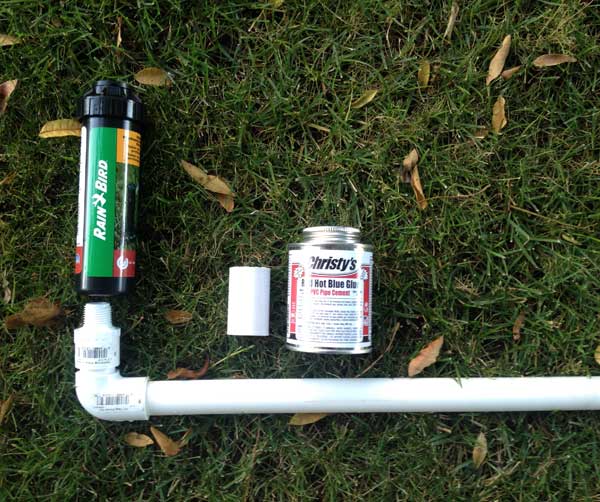
I made a quick trip to my home center and grabbed some 3/4 PVC pipe, elbow, 3/4 to 1/2 threaded step down, Rain Bird rotor sprinkler head and PVC cement. I made sure to fit it all together at the store before purchasing and buy enough straight length.

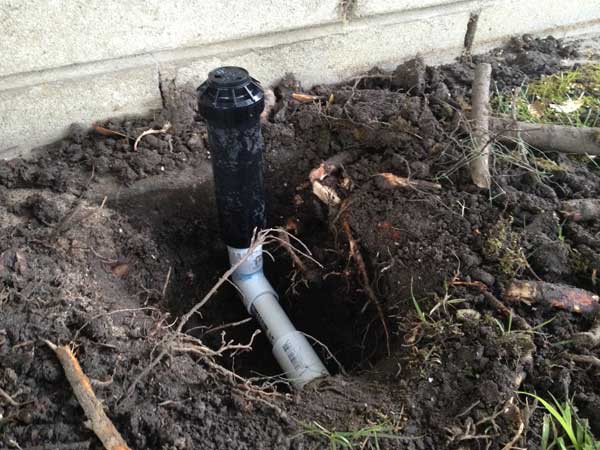
I measured the length needed to replace the old PVC and bring the sprinkler head to within two inches from the wall.
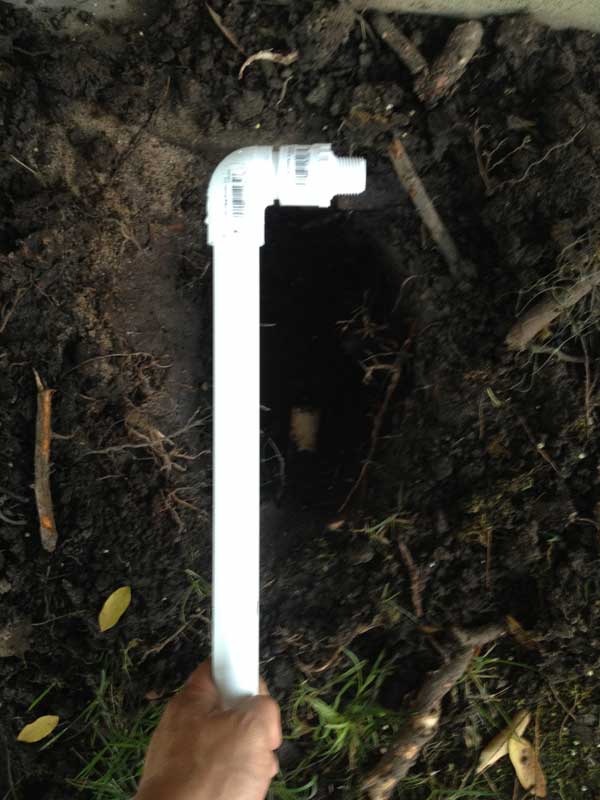
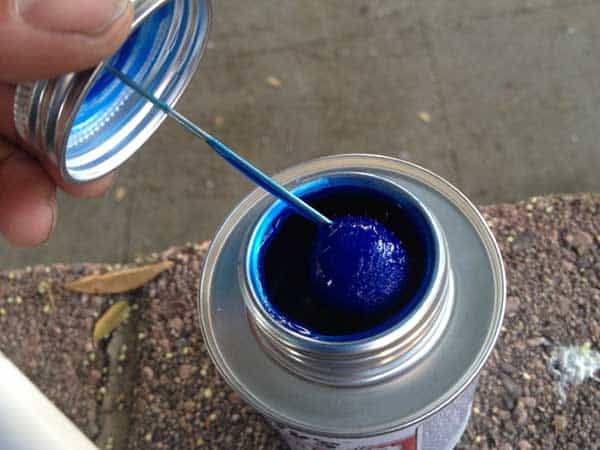
I cut out the old pipe and used the PVC cement to join the new pipe with the existing pipe as well as the threaded ends.
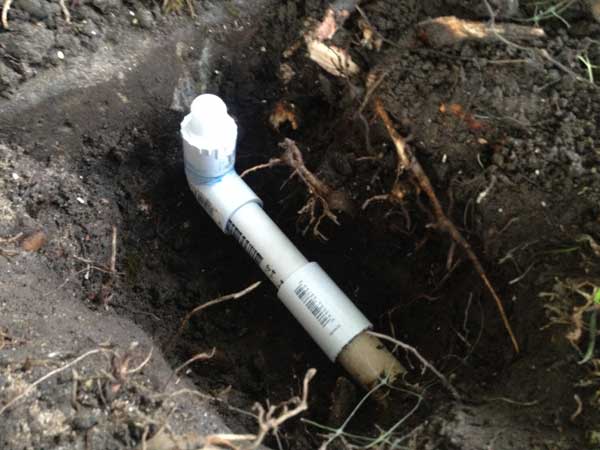
The last step is to screw on the Rain Bird sprinkler head. Give the PVC cement a few hours to cure then turn on your system and check for leaks before burying the pipe.
Hopefully this won’t happen again but our roots are bad but at least I know how to fix this next time.
Our grass is already growing back in that dry bare spot!

No Comments