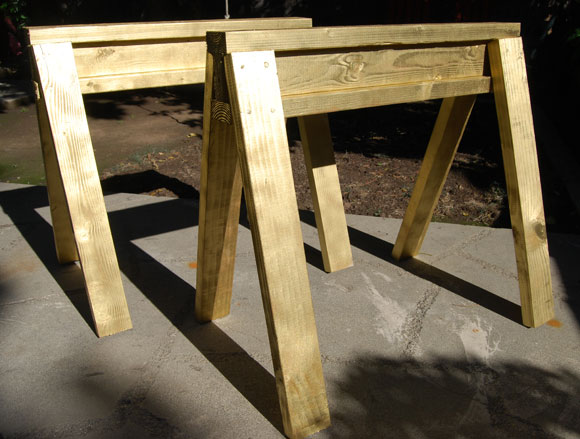
We wanted this project to have a bit of a Hi/Low feel to it and nothing says classy better than gold! This how-to project will take you through the steps to building a utilitarian workshop item (the sawhorse) and give it some bling.
Tools
* Drill/Driver with Phillips bit or screwdriver
* Circular Saw or hacksaw
* Auto-hammer or regular hammer
* Measuring Tape
* Pencil
Materials
* 8 30″ 2x4s (Use two 10-feet long 2x4s)
* 6 32″ 2x4s (Use two 8-feet long 2x4s)
* 32 16D galvanized nails
* 12 3″ wood screws
* 2 cans of paint (we went with RustOleum Gold but substitute for your favorite)
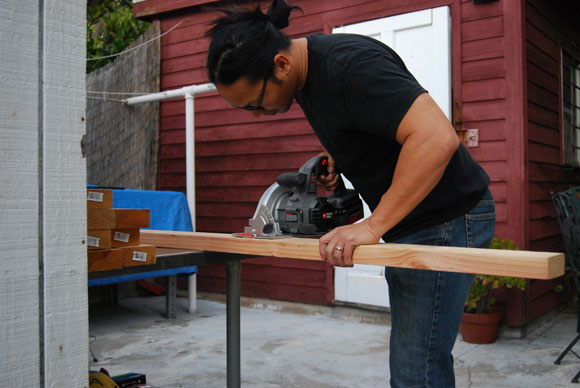
1. Measure and Cut
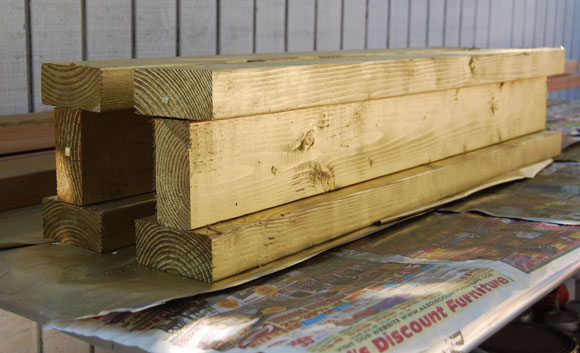
Measure out your 8 30″ pieces for legs and 6 32″ pieces for the I-Beam then cut 2x4s using a circular saw or hacksaw. If you start with two 10 foot long 2x4s and two 8 foot long 2x4s then you’ll have no scraps.
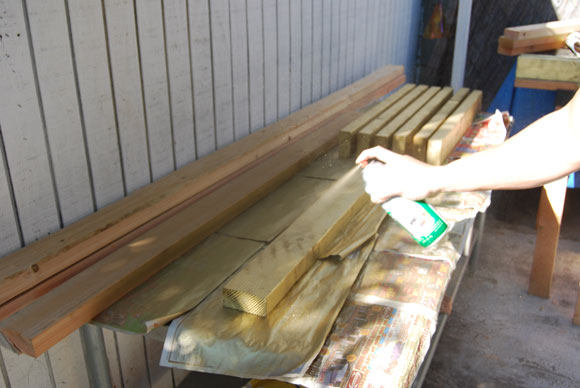
2. Go Gold
Paint individual pieces and let dry (preferably overnight)
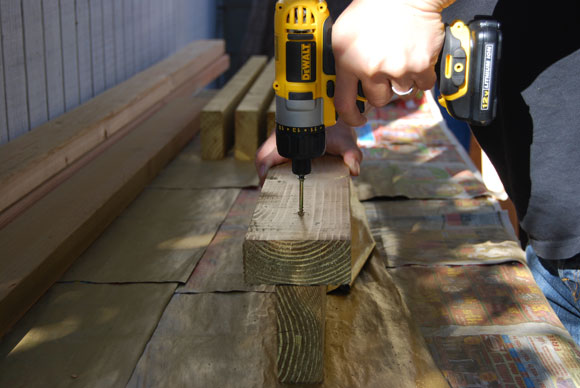
3. Build I-Beam
Using screws attach 3 of the 32.5″ pieces together as a “T” then finish as an “I”.
4. Complete I-Beam
Once all pieces are attached the bulk of your sawhorse is complete.
5. Hammer Time
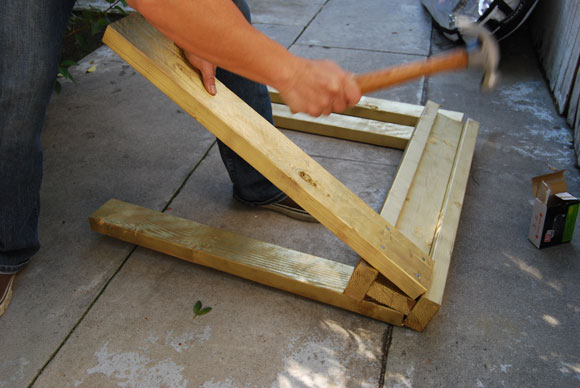
Place legs as show and attach legs using 4 nails in a box shape.
6. Stackable
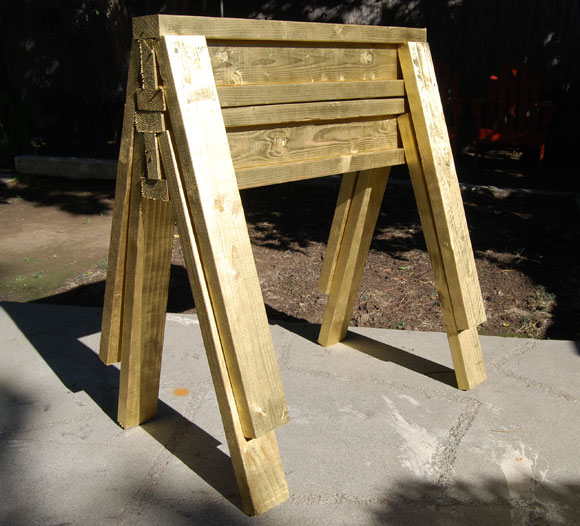
Not only are these pretty but their stackable for small workspace storage.

No Comments