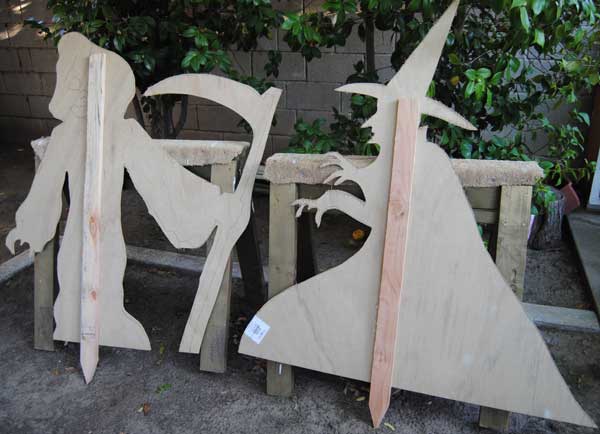
Halloween kicks off the holiday season and instead of buying off-the-shelf decorations make your own Halloween silhouettes. These spooky creations are perfect decorations for your yard and are easy to make with some basic supplies found at your local home center.
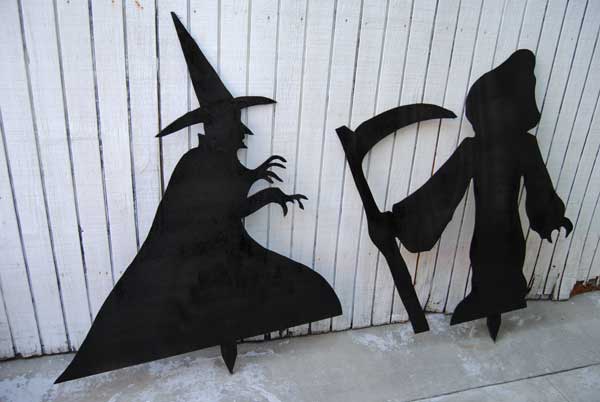
A Witch and Grim Reaper were the perfect scary characters for us to build but a black cat or headless horseman would also work great. Use your imagination and choose a silhouette character you think would scare you and the neighborhood kids the most.
Check out more Halloween Projects on Built by Kids.
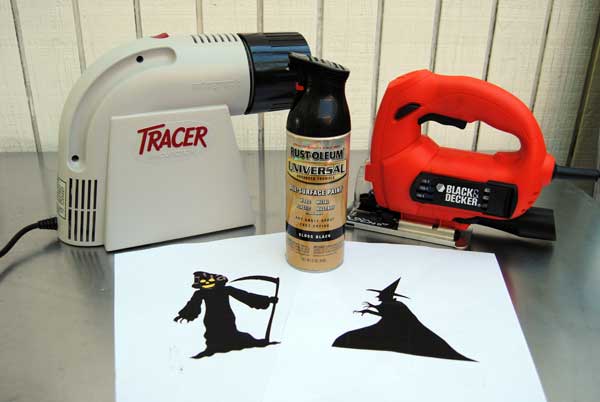
Tools and Materials
Jigsaw
Screwdriver or screw gun
Tracer
3M TEKK valved respirator
3M TEKK corded earplugs
Sharpie pen
1 sheets plywood (1/4″) or cabinet backing (each character needs 4’x4′)
6 self-tapping wood screws
2 stakes
Patterns
Paint
This project only takes a few hours and kids of any age can help you with it except for operating the jigsaw which we only recommend to skilled teenagers and adults who observe proper safety. A hand saw can be replaced by a jigsaw but it will take a bit longer to cut out the shapes.
In addition to the plywood and stakes that we picked up at Lowe’s we also grabbed a valved respirator and corded earplugs.
Our other favorite DIY Halloween Projects include How to Make Halloween Ghosts and Apparitions and the Best Pumpkin Carving Tools for Kids.
Step 1 – Find Your Patterns
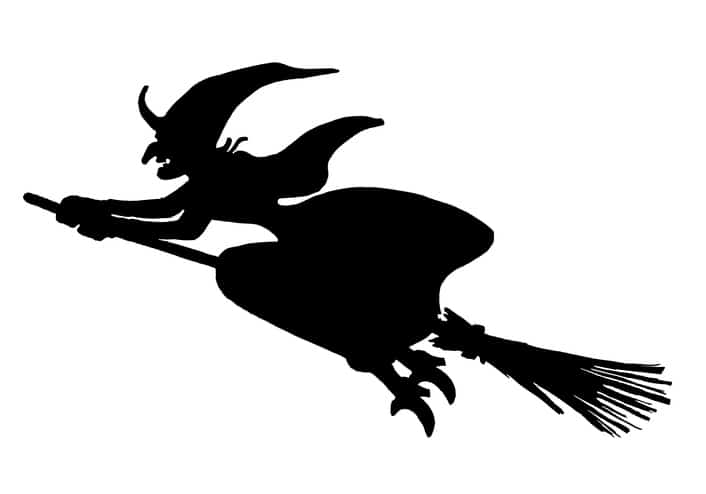
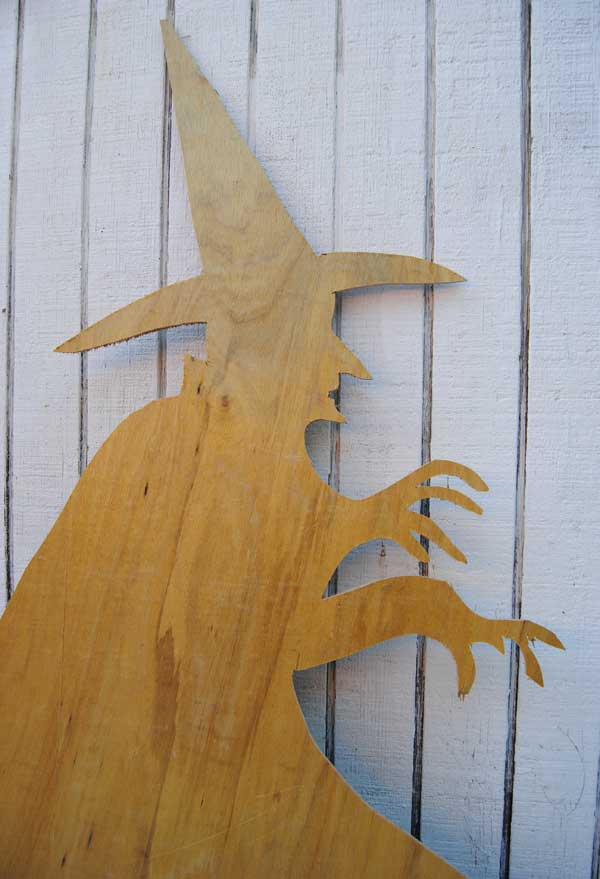
You can search the web for silhouettes, as there are plenty available. We found a witch and grim reaper, which we’ve included here. Print both at 5 inches across.
Download the Witch and Grim Reaper patterns we used.
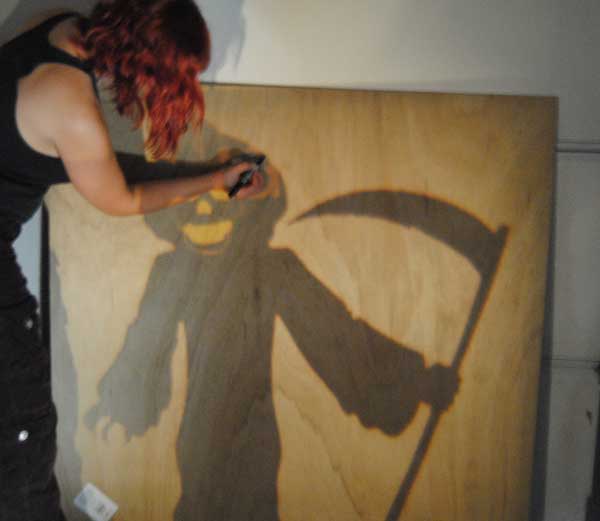
Step 2 – Trace Your Characters
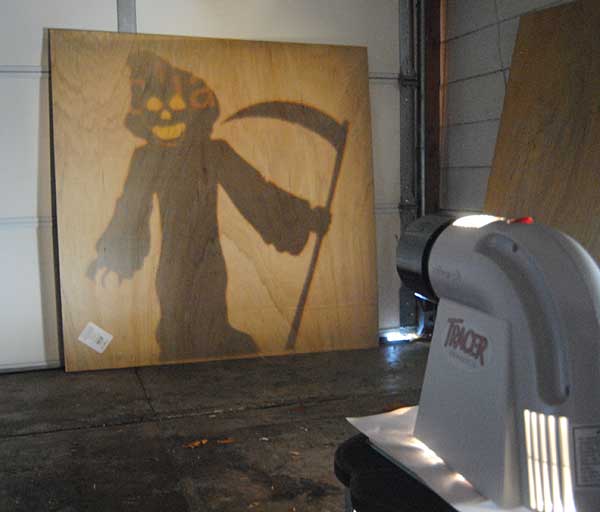
Tracers can be picked up at any hobby or craft stores and make creating larger-scale projects much easier. We set up ours in our garage and placed the plywood against the door and traced the shadow using a Sharpie pen.
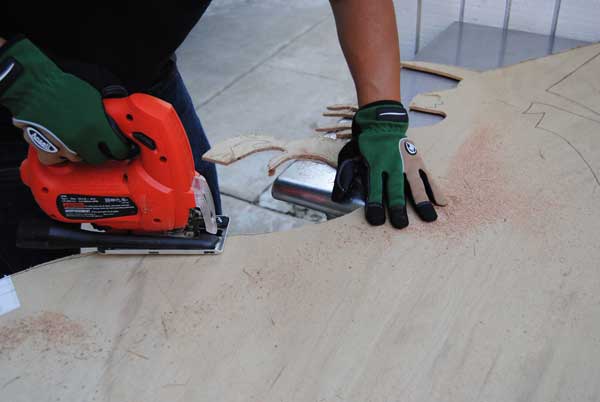
Step 3 – Cut out the Characters
Using eye protection, earplugs, respirator and gloves we cut along the outline using our jigsaw. Make sure you have adequate room to turn your wood and be careful not to cut into your table or fingers by always keeping your hands even or behind your cuts and always cut away from you.
Tip – cut out the larger pieces first then go back and cut the smaller details.

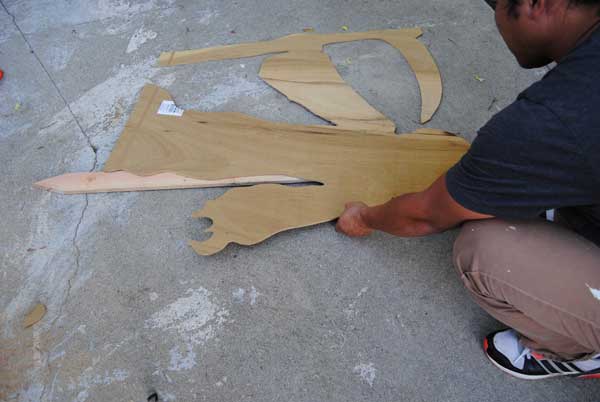
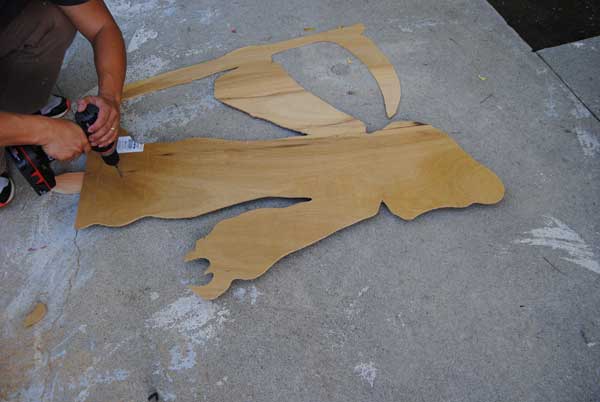
Step 4 – Attach the Stakes
If you will be leaning these characters on the floor or against a wall then skip this step but if you’d like to secure these into the ground then attach the stakes to the plywood using wood screws. Make sure your screws aren’t so long that they will go through the back of the stake, which could cut your hand.
Step 5 – Paint
We used Rust-Oleum all purpose spray paint which is great for easy application and is good in all weather. If you’ve got other colors available then go for it! You may want to primer first if you are going with a lighter color so the grains in the plywood don’t show through.

Step 6 – Dry and Setup
Let the paint dry overnight then choose the best location in your yard to create the most scares and set up your characters.
Halloween is the best time of the year to get crafty and the best Halloween decorations are those that you make yourself.
More Tips for Building Your Halloween Silhouettes
After owning our Halloween silhouettes for a few years we’ve got a few improvements we’d suggest when building them and for storage.If you want your silhouettes to last longer choose 1/2″ thick plywood. It will be more durable and withstand bad weather better than 1/4″ plywood. If you want the cleanest look check out sanded plywood, but it will be more expensive.
Paint both sides of your silhouettes to protect it from moisture. Rain, snow, and anything wet will degrade the plywood over time.
Use metal fence stakes instead of wood. You can drive these stakes deeper into the ground and they will last longer and keep your spooky creations upright all season long.
Keep these decorations stored in a dry location and standing upright. Because they are flat they can be secured behind a workshop table or storage closet. Just make sure they aren’t a tripping hazard.
More Halloween Silhouette Ideas
Here are some more silhouette ideas that include witches, ghosts, pumpkins, spiders and more.
