We absolutely love our Oreck Vacuum XL. It doesn’t have the bells and whistles that many of it’s competitors have (we’re looking at you Hoover) but in it’s simplicity lies it’s beauty. One bag, no hoses, no attachments, turn it on and go.
It excels on low-pile carpet and hardwood floors. We’ve got rugs and hardwood floors and our house is about 900 sqft and we go through about 1 bag every 3 months and that’s with a vacuum almost every other day.
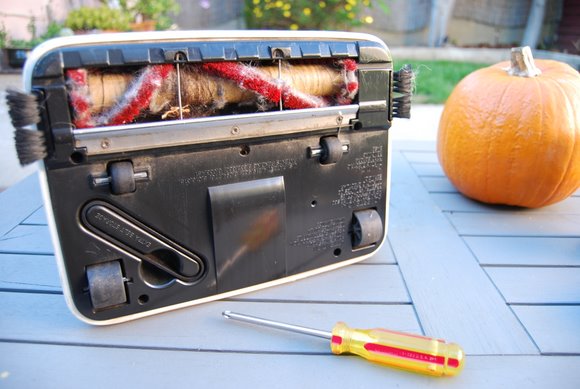
Another pleasant surprise is the ease of repair. We noticed our Oreck was struggling to pick up anything and sounded strange. One look underneath and we saw the roller had stopped spinning. Cause – broken belt.
The fix is simple and thanks to Oreck no run to the Oreck supply store was needed as an extra belt is stored in the base of the Oreck.
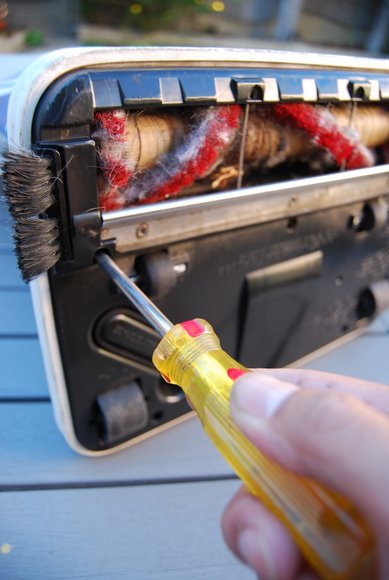
Unscrew base
There are 5 phillips head screws to remove.
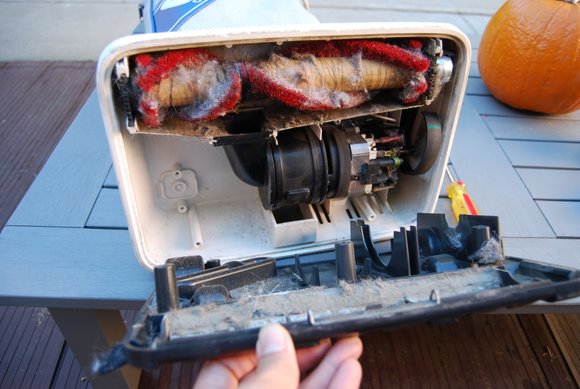
Remove base
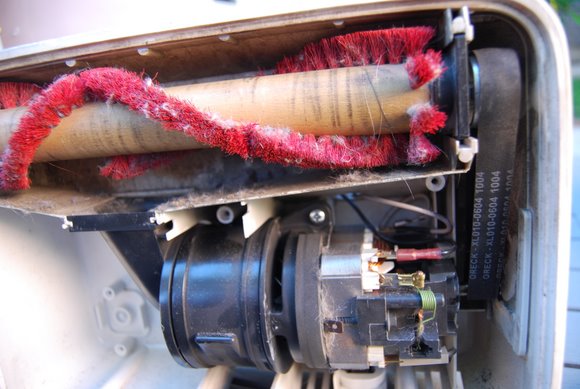
Once the screws are loosened and removed the Oreck vacuum base should simply pull off revealing a dirty mess.
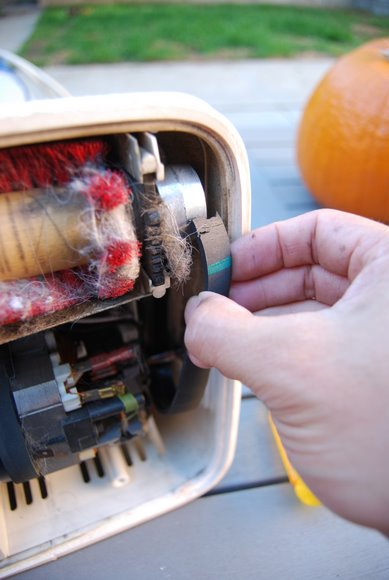
Remove belt
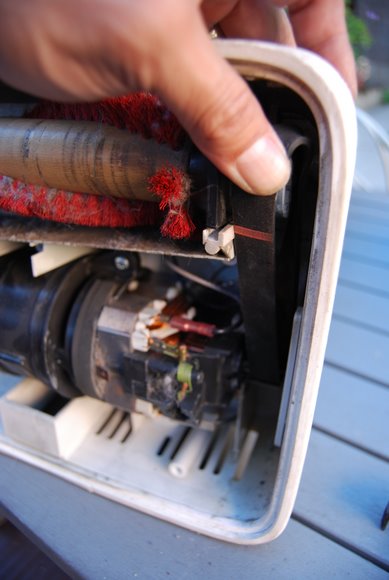
The broken belt should be in clear view. Just pull it out.
Remove roller
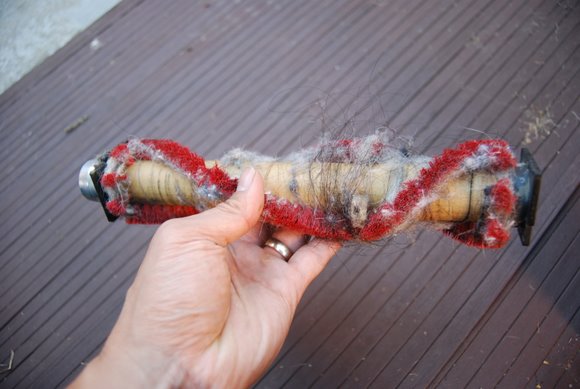
Pull the roller straight out and commence cleaning. We used scissors to cut the hair and fabric that had wrapped around the roller.
Replace belt
First, re-install a clean roller then take the belt from the bottom of Oreck and place it on the spindle coming off the motor first. Then slowly guide it back on the roller. It should go on easily.
Re-align and replace the base
Make sure the belt is properly lined up and spin the roller with your hand to make sure it’s centered. Then re-attach the base and tighten all five screws. Once it’s back together turn it back on and make sure the roller is spinning properly.

