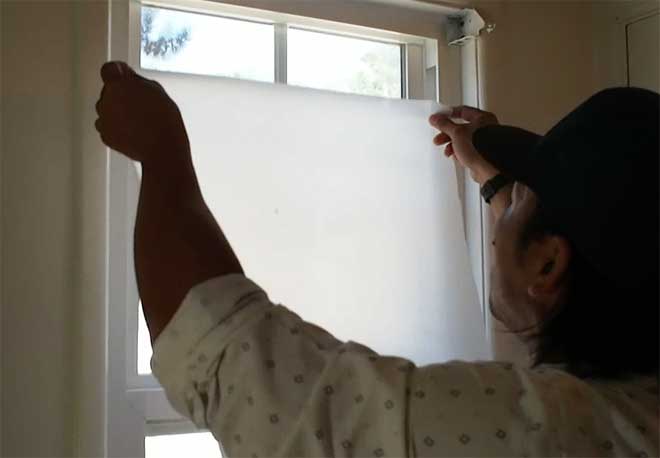
If you are like us, you have windows that are just feet from the neighbors or face directly into their yard. Window blinds or treatments cover the window but you often lose the natural light. Gila® window film helps solve this problem with a line of do-it-yourself privacy window films that offer privacy and a decorative touch.
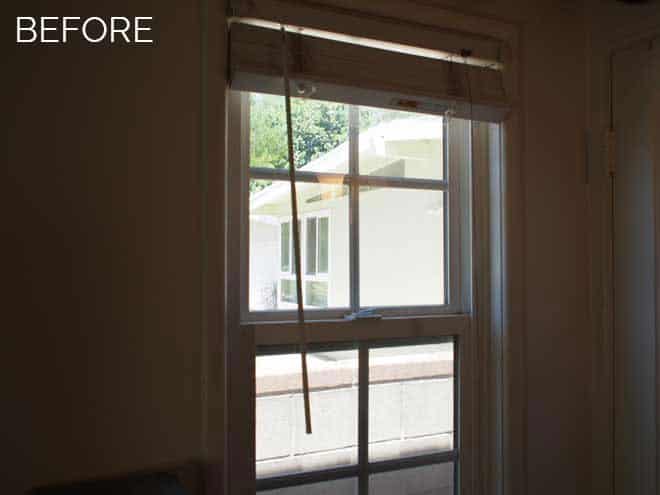
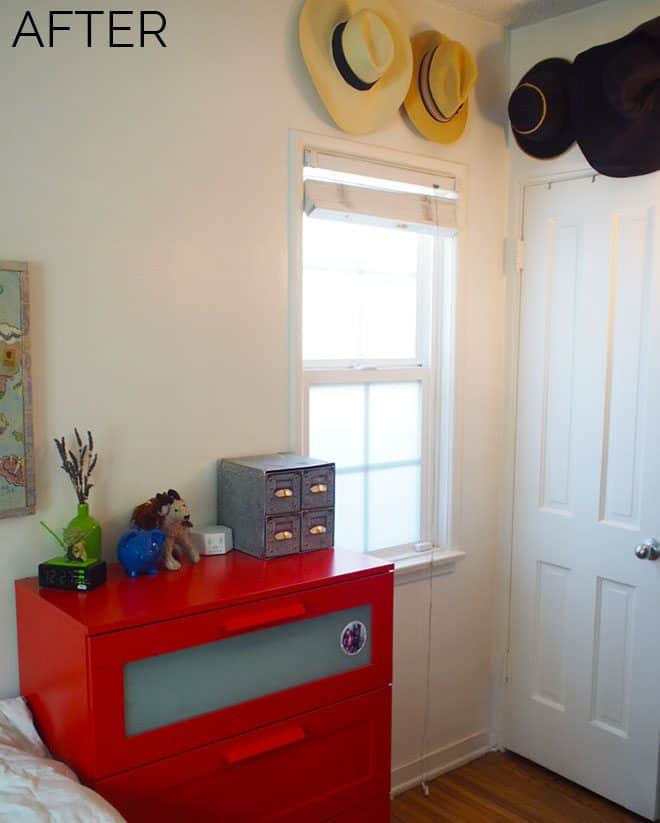
Our son’s bedroom has a side window that is a great source of natural light and we like to leave it uncovered. However, lately we’d like some extra privacy. There has been a rash of break-ins in our neighborhood and this is one of two hidden windows of our house that a thief might look in or break to enter. By installing Gila window film we hope to make the window opaque but still fill the room with light.
We chose Frost. It comes in a 4’x6.5′ roll which was more than enough for the side window. In addition to numerous privacy film patterns Gila has a décor series that offers the look of etched glass and gives your windows some design flair.
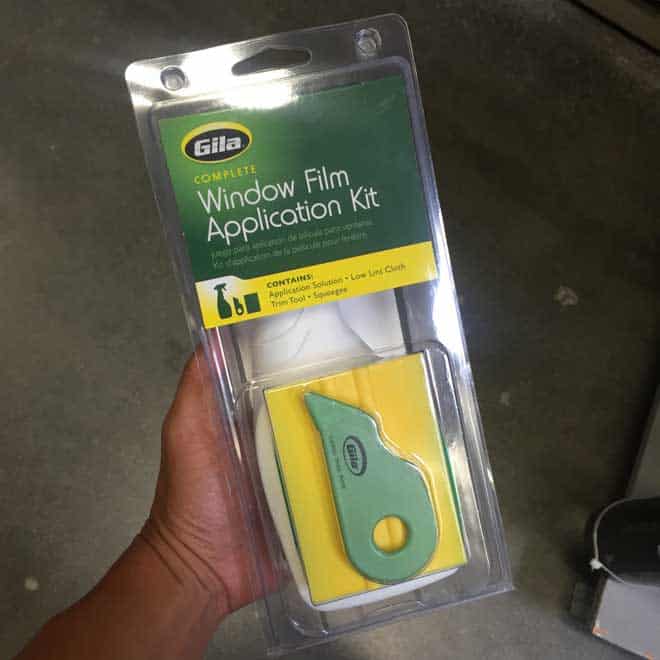
We picked up the Gila window film application kit from Home Depot for $9. It includes the window film application solution, a squeegee, trim tool, and low lint cloth. With these tools we applied the window film in about 30 minutes.
Tools & Materials
Gila has a handful of helpful how-to installation videos online. I used the Privacy install video for this project.
- Gila Privacy Control window film
- Gila window film application kit (application solution, trim tool, squeegee card, low-lint cloth)
- Scissors
- Tape measure
- Window cleaner
- Razor blade scraper
- Clear tape
Step-by-Step
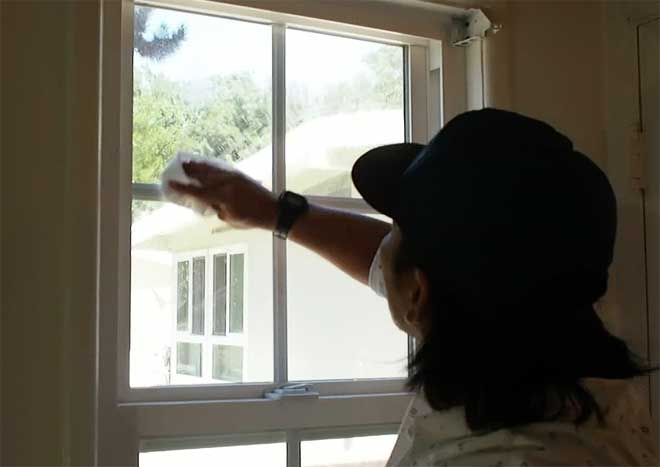
Clean the Glass
Surface prep is vital to life of your window film. Clean the glass thoroughly and remove any dirt or stickers using a razor blade. Any debris will cause the window film to not adhere properly. Use a low-lint cloth to wipe everything dry.
Measure your Window
Use your tape measure and get exact measurements of your window. Then add an inch all around to those measurements.
Cut the Window Film
Use a clean flat surface to roll out your window film. Place a heavy item on one end of the film to help keep it flat. Mark your measurements and then use scissors to cut. Hold the cut film up to your window to double check that the sizing is correct.
Remove the Window Film Liner
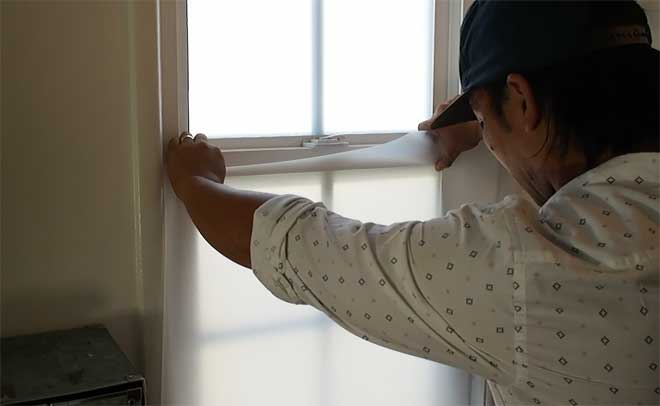
The window film comes with a liner that needs to be removed before installation. Attach one piece of clear tape to a top corner on both sides of the window film. Then quickly pull the tape apart which will separate the liner from the film. As you remove the liner, spray the window film liberally with the application solution.
Apply the Window Film to Window
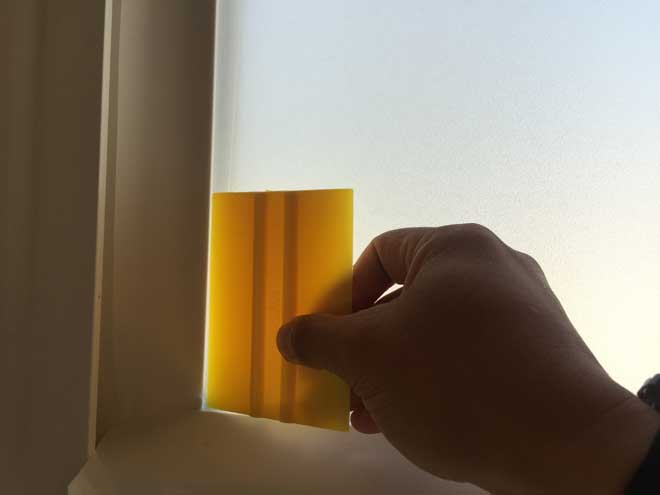
Spray your window with the application solution then take your window film which has already been sprayed and grab the top two corners and place it against the window. Align the factory edge with a window edge and the window film should lay flat against the window. Use your hand to push out any air bubbles from the center, then spray the window film again and use a squeegee to push out any more air bubbles you see.
Trim the Edges
After you’ve removed all of the air bubbles using your squeegee, use your trim tool to trim around the excess film from the edges.
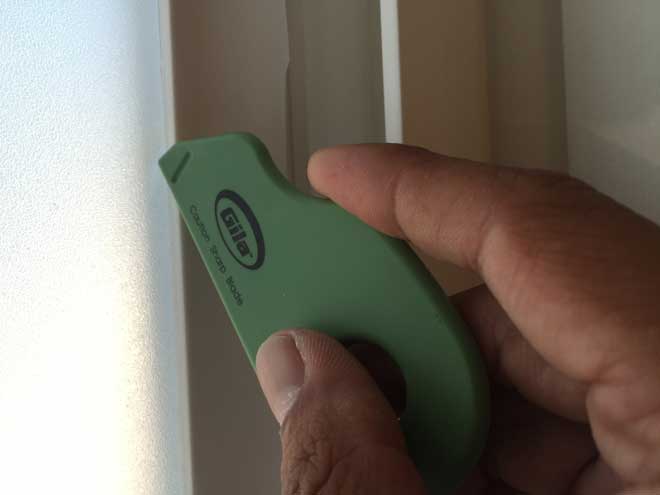
Admire Your Work
Once you’ve trimmed the edges you can stand back and admire your new Gila window film. It will take a day or two to fully cure and dry but you immediately increase privacy.
We are loving the added privacy and are happy we didn’t have to sacrifice the natural light.
If you want a simple way to add privacy to any room in your home, consider Gila window film as a do-it-yourself solution. It’s available at thousands of retailers in the US and Canada.
I was compensated by Gila and received product for this post, but the opinions are 100% my own.

