A hot, steamy shower on a cold morning — it’s one of life’s little pleasures, right? Yet there is a downside to the at-home indulgence. Excess moisture created by the steam can wreak havoc on your bathroom, warping wood and doors, damaging paint and promoting mildew growth.
Enter your bathroom’s exhaust fan, a handy device that helps the steam disappear. As Katrina and Mike of At Home Alterations point out, the fan should ideally run for 20 minutes after the shower to ensure the excess moisture and steam has been removed.
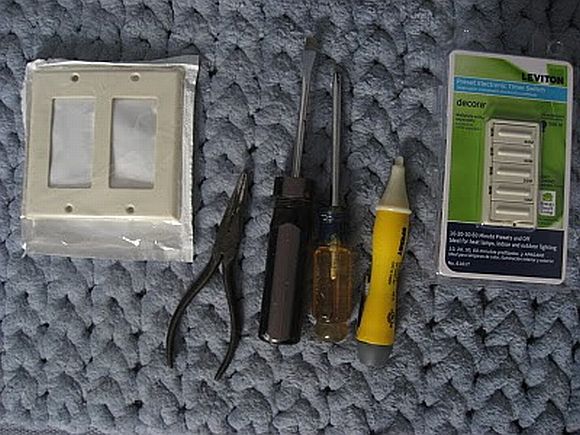
If you find yourself in a time crunch in the mornings (and who doesn’t?), the ideal solution is an exhaust fan timer. Several varieties are available, and once you’ve selected what works for you, you’ll also need a voltage tester, Philips- and flat-head screw drivers, needle-nose pliers and a larger electrical face plate.
Katrina and Mike offer a step-by-step tutorial for an exhaust fan timer installation, including a critical first step: turn off the power to the switch from your breaker box!
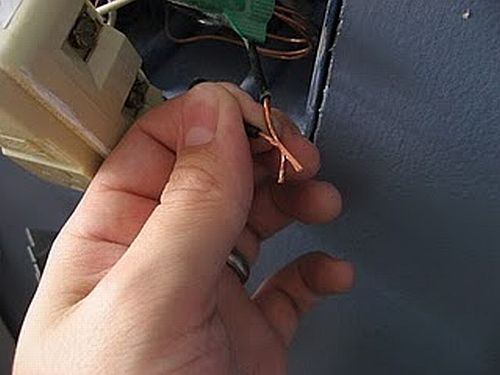
Once you’ve removed the switchplate, use the voltage tester to ensure that the power is off and no current remains in the wire. Unhook the wires from your switch, and connect the timer to these wires. Your timer may include wire nuts that allow you to splice the old and new wires together.
You’ll also want to splice the green wire (attached to the timer switch) to the copper or green wire in your switch box. Once that’s complete, screw the timer to the gang box, install your new switch plate and admire your handiwork!
Have you installed an exhaust fan timer in your home? Would you recommend it to others?
Photos courtesy of At Home Alterations


No Comments