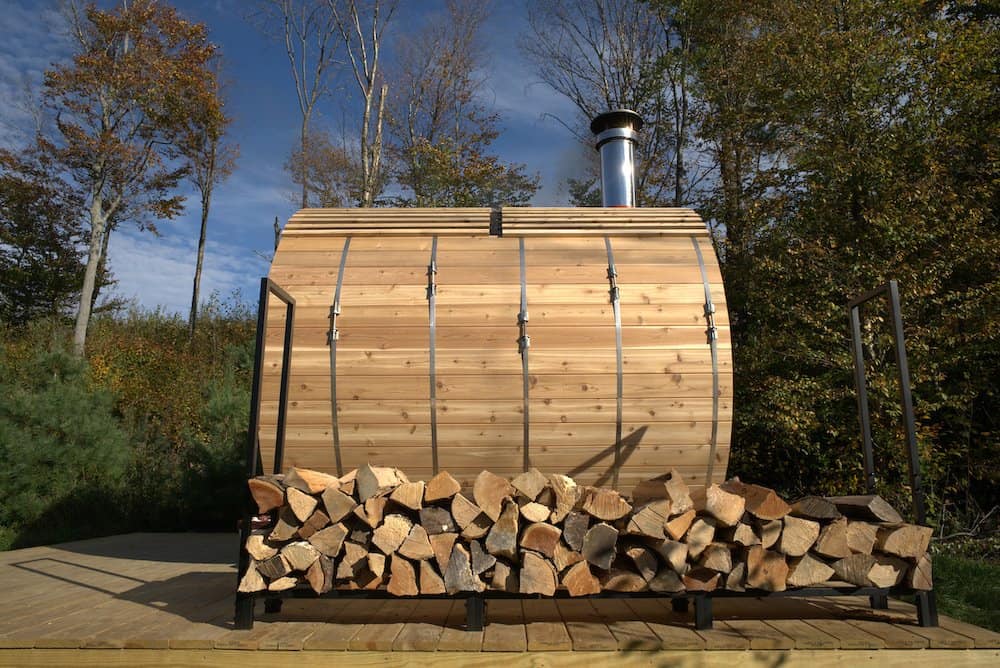
A wood burning sauna is the ultimate winter indulgence.
We understand the health benefits and overall joy that a hot tub brings, but what about their cousin, the sauna?
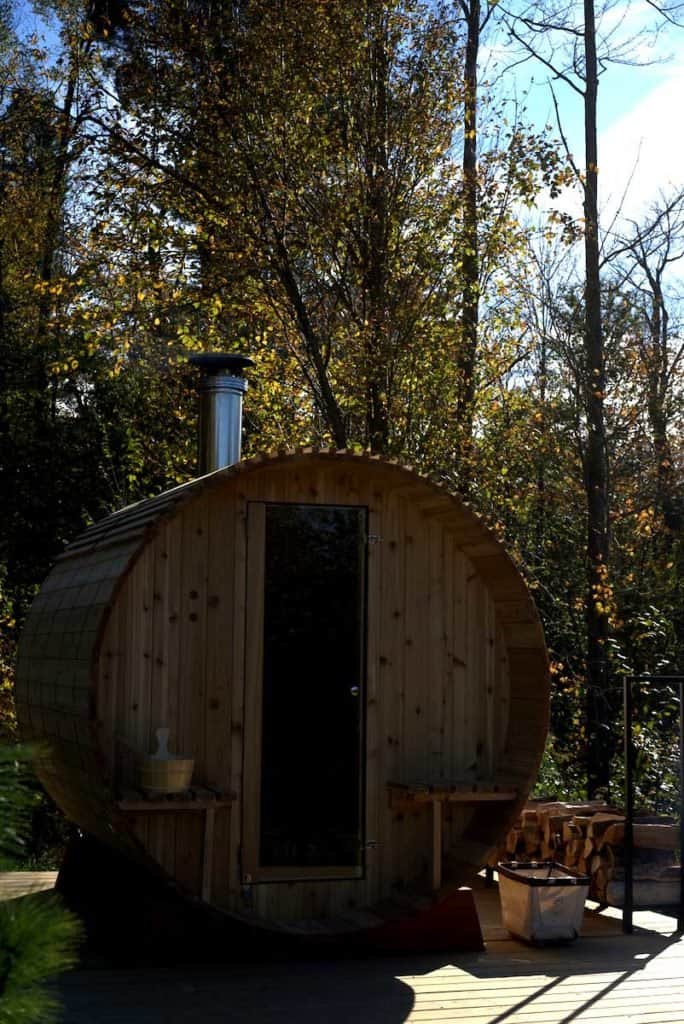
We were fortunate enough to grow up with dads who loved saunas. So much so that they had them installed in their homes. But this barrel wood-burning sauna located in the heart of the Berkshires takes the sauna experience to a new level.
Many people find wood burning saunas more visually appealing and traditional than electric saunas, which makes this the perfect addition to this cabin in the woods.
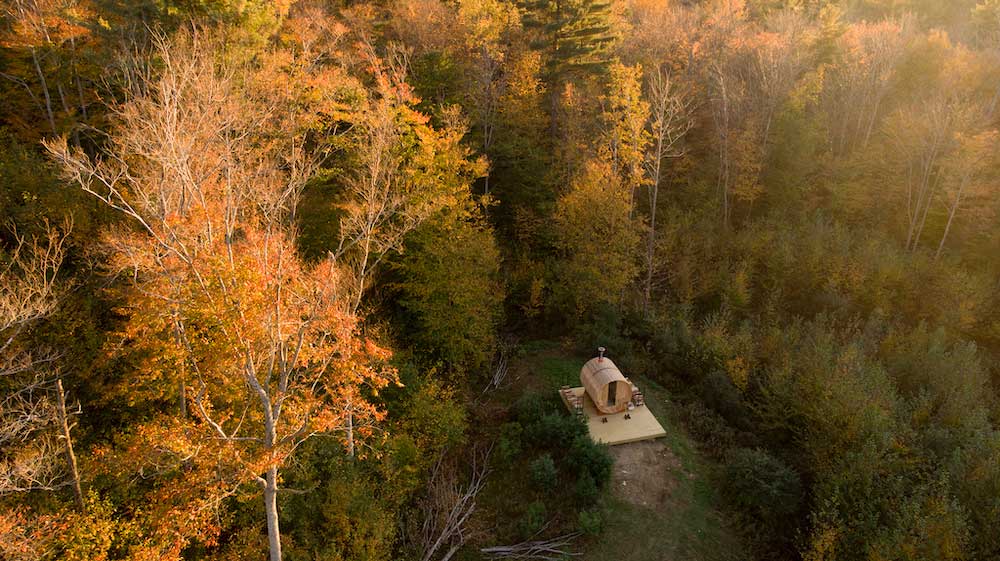
Mark Bollman the founder of Ball and Buck, has set up an awesome retreat in the Berkshires called Partridge Hill Lodge. It’s only 3 hours from Boston or New York and a world away from the big city. In addition to the custom log home that sits on 40 acres, he’s built a wood-burning hot tub and has now added a wood-burning sauna to this dream getaway.
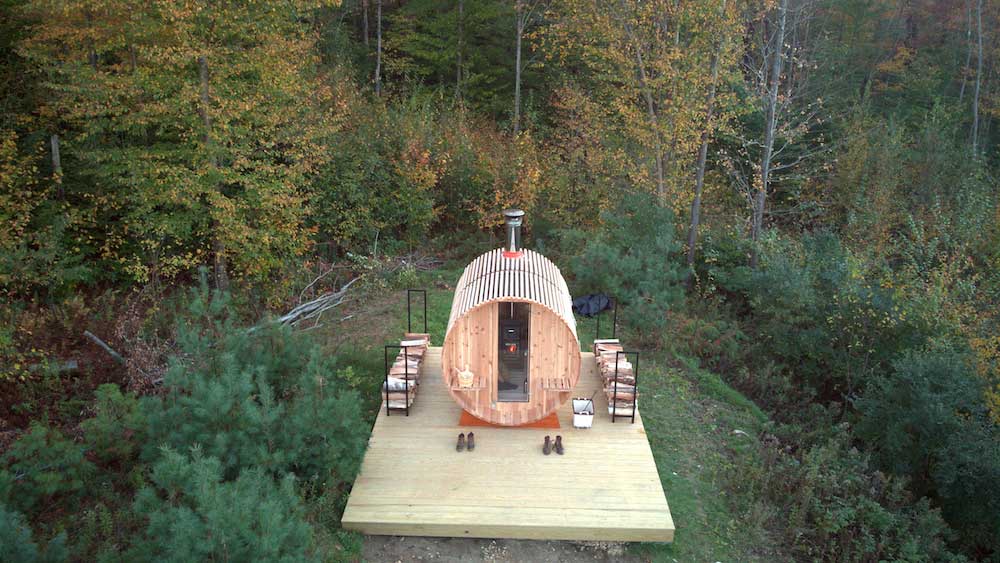
Here’s how he did it.
Select Wood Burning Sauna Size and Type
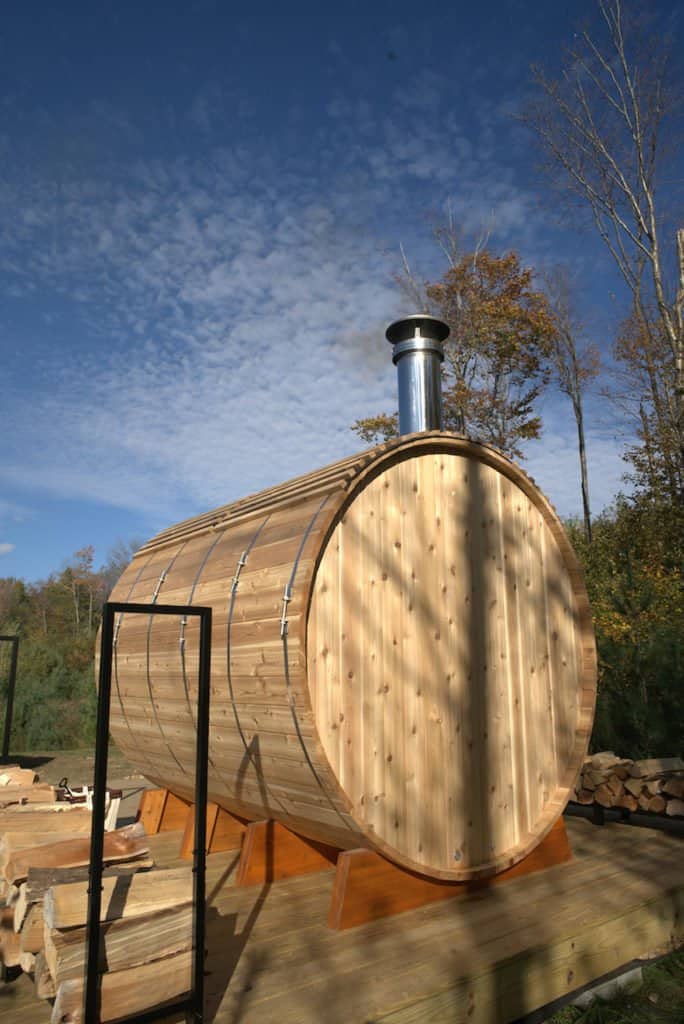
Keeping with the rustic theme, a wood-burning sauna was the way to go. Mark chose a barrel design from Almost Heaven Saunas. It is shipped as a kit and is a formative DIY project. But with the right tools and a partner, you could build this in a day or two.
Choose the Location
Once your sauna is built, you don’t want to have to move it. So take your time determining where you want your sauna located and how it should be oriented.
Other considerations include access to power, water and the distance from your house.
Tools Needed
You will need these tools and know how to use them to build your sauna. An impact driver, drill driver, jigsaw, rubber mallet, box wrenches, level, and laser level.
Building the Foundation
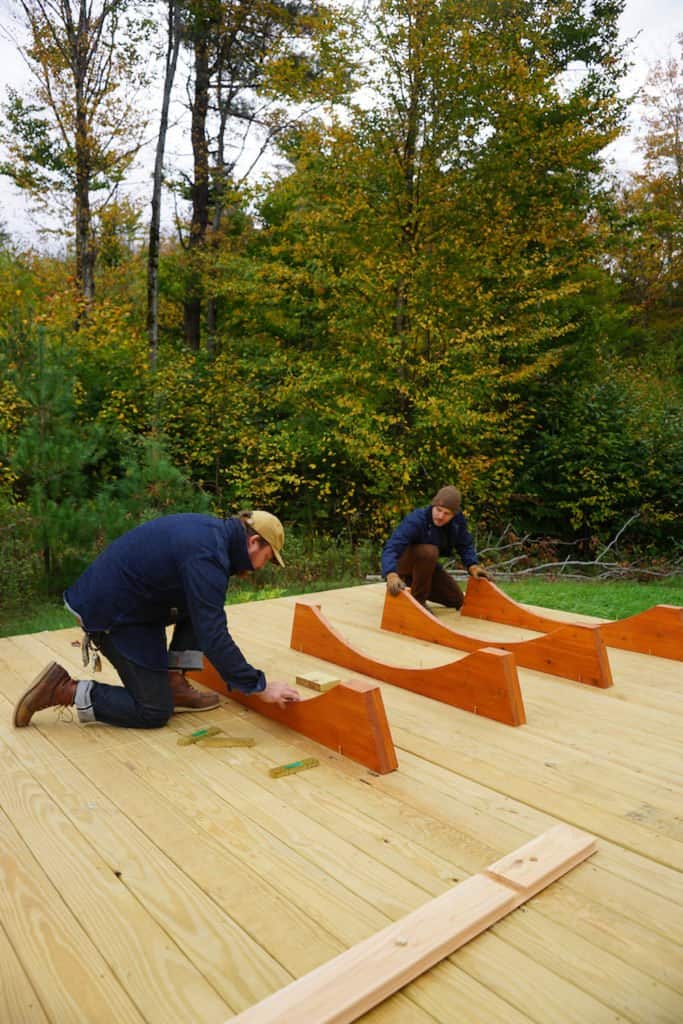
An ideal foundation for your sauna would be a level concrete slab that has been given more than enough time to cure. A solid wood deck with plenty of support can also serve as a suitable platform, but make sure it is raised above the ground to prevent water damage and rot. A deck built from composite materials might be the best choice.
Build the Barrel
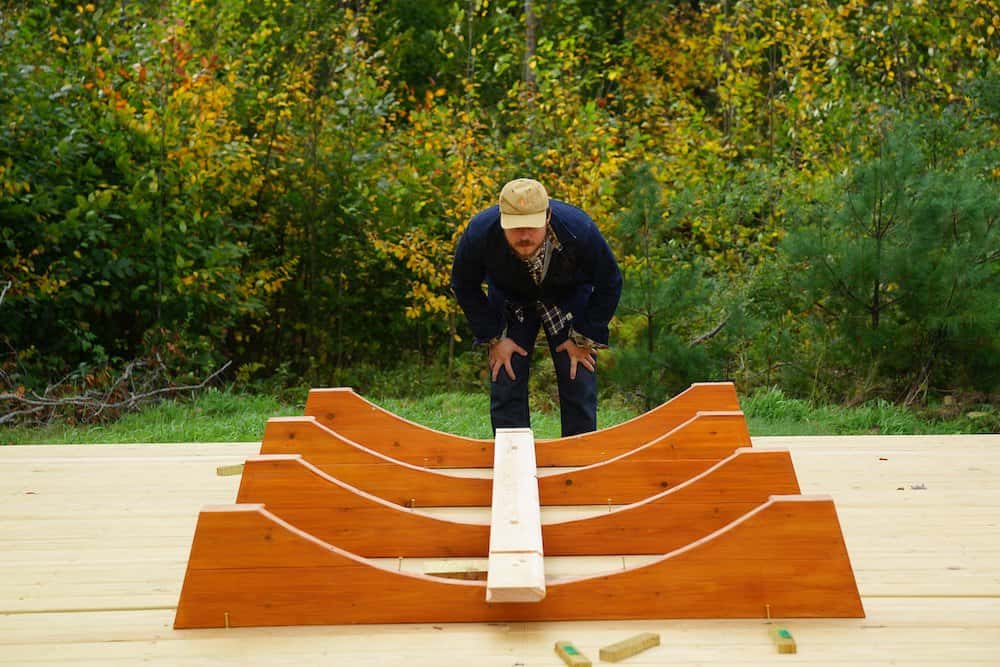
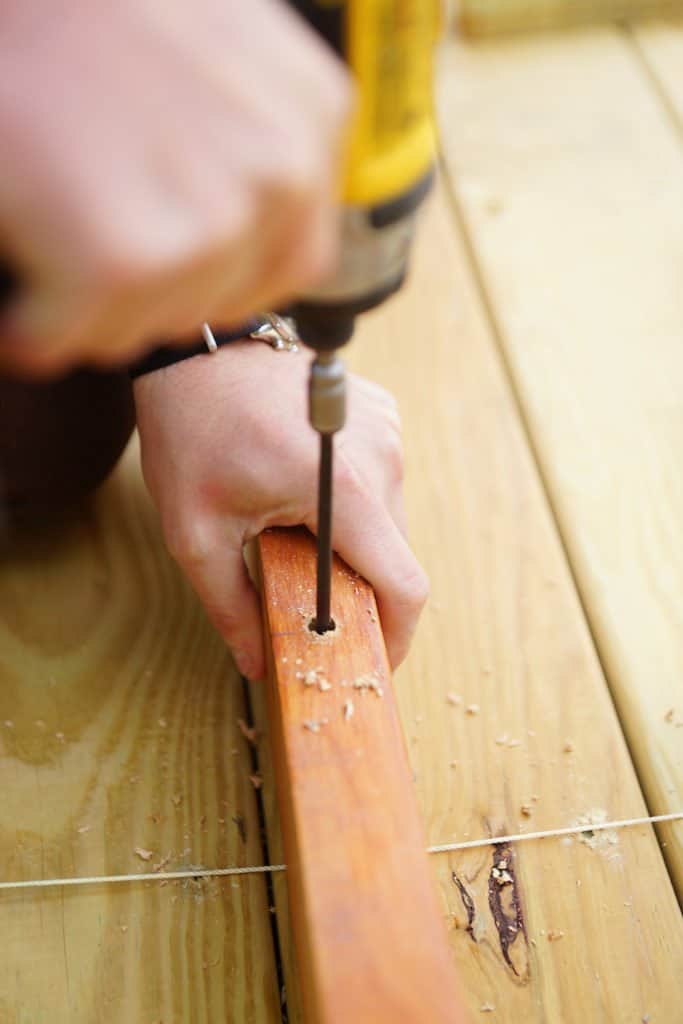
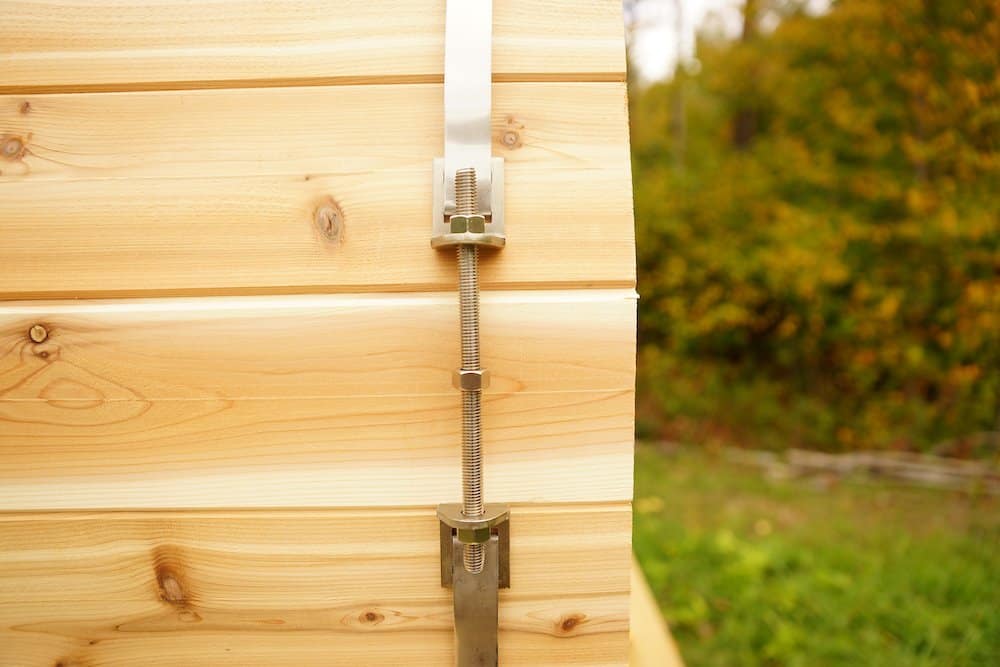
Building the barrel is a straightforward process. First, set up the base and attach it firmly to the platform. The staves are then added one at a time until you’ve built up each side.
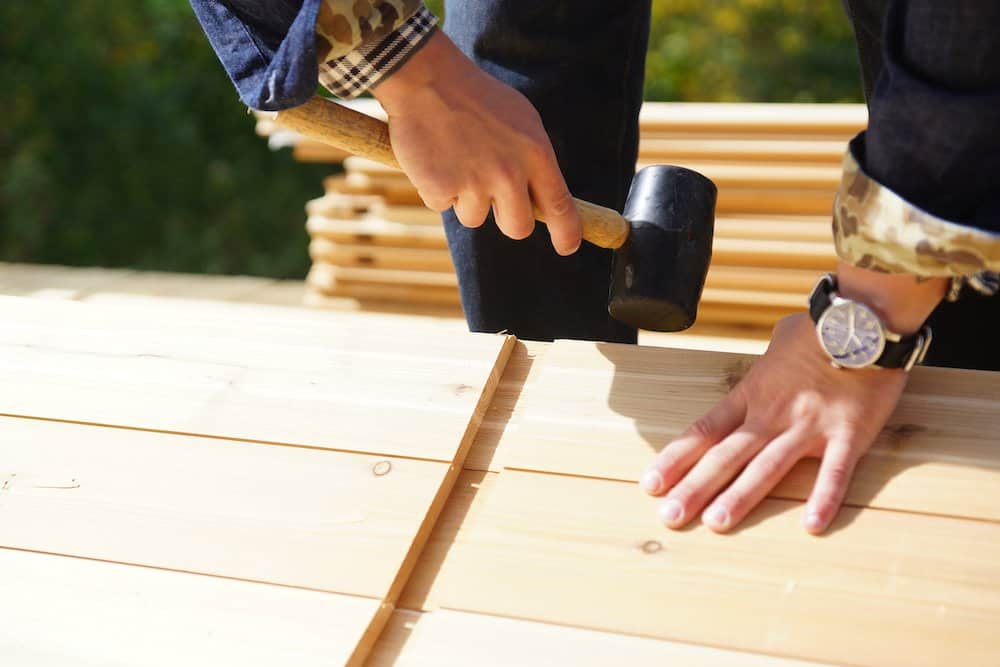
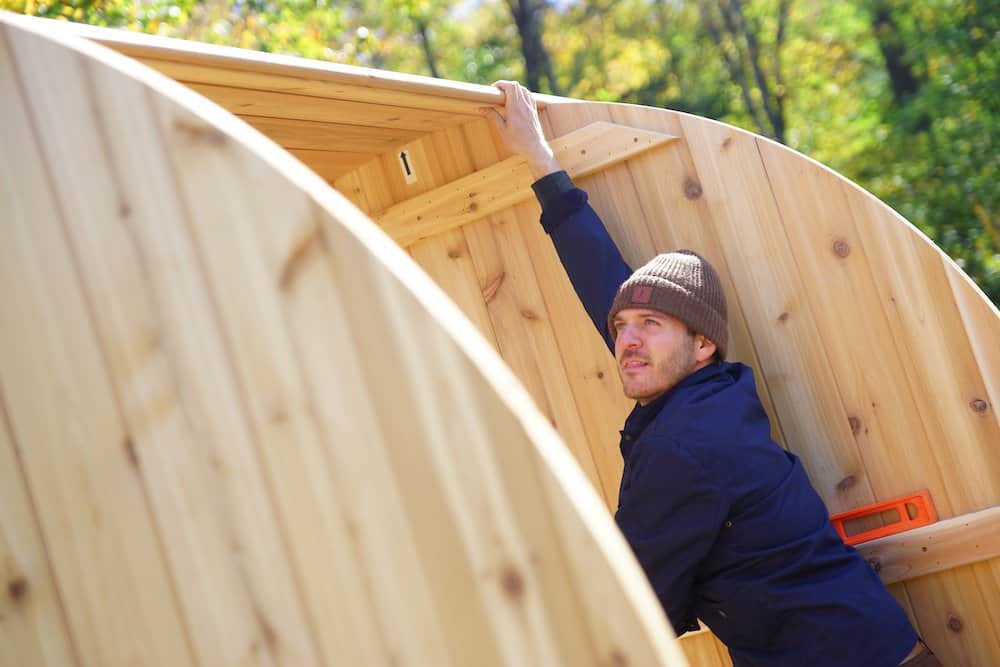
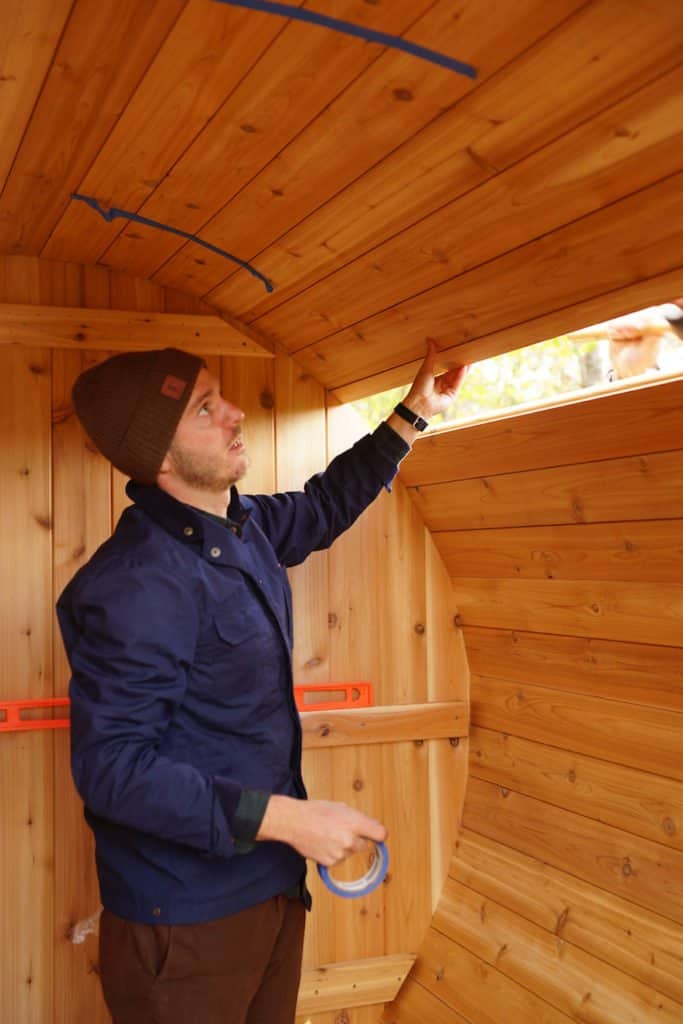
Build and Install the Ends
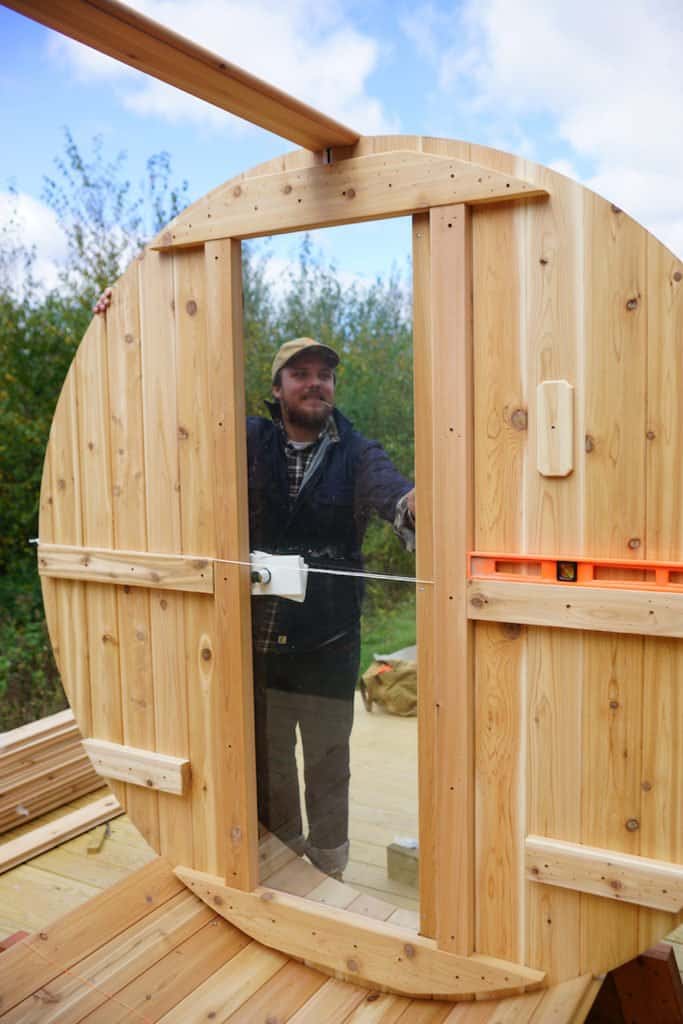
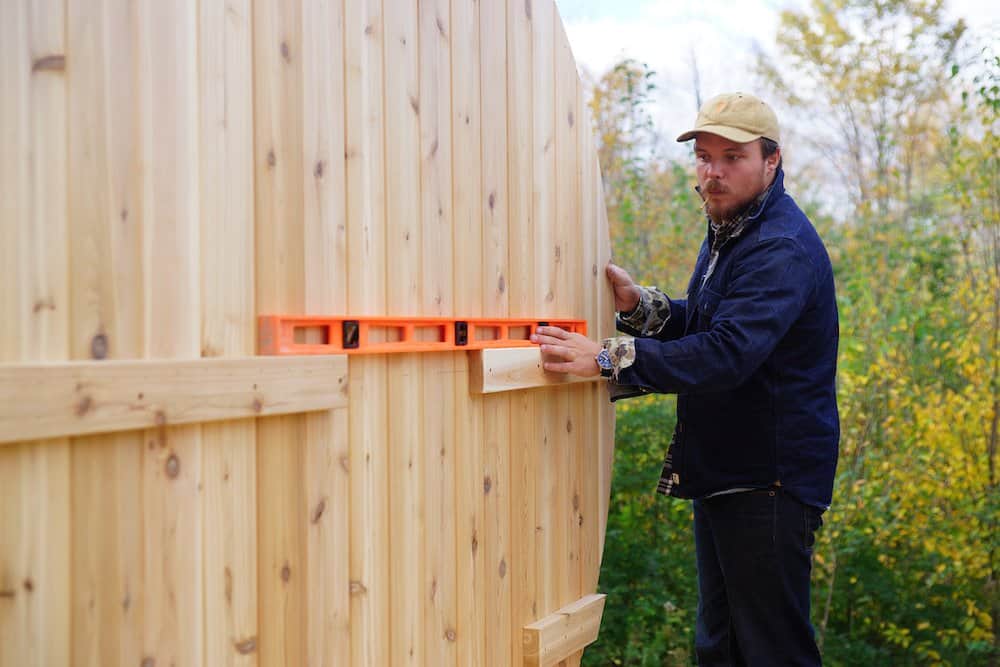
Once the staves are installed, you can build each end of the barrel and attach them to the staves to complete the barrel structure. This sauna model also includes a small bench and porch in the front that must be assembled.
Installing the Wood Burning Stove/Heater
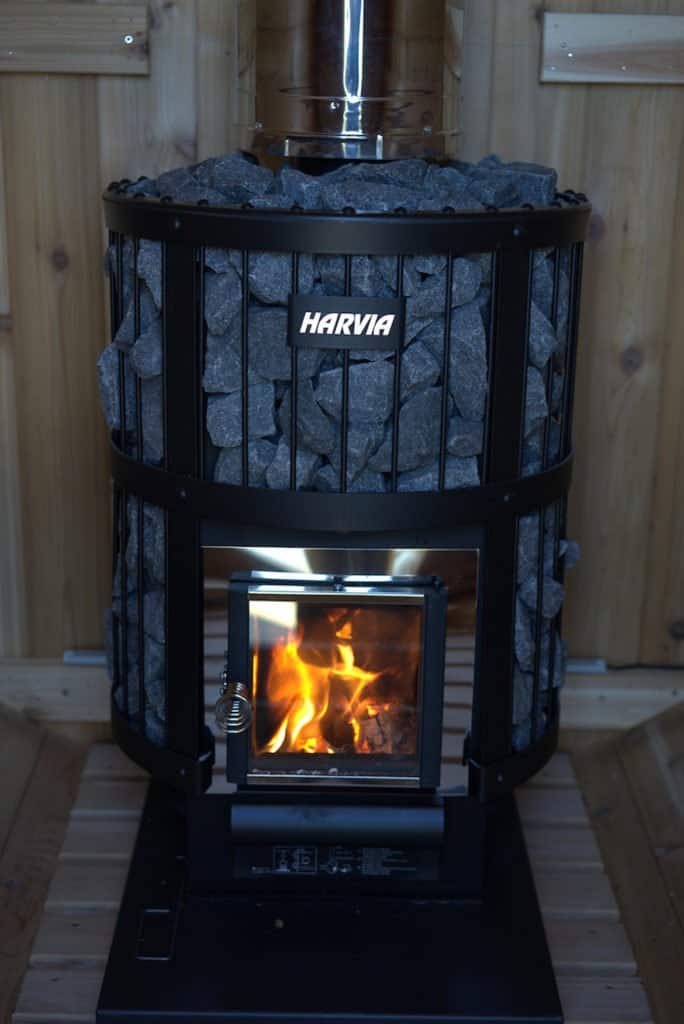
Electric stoves are easy to use and maintain, but what’s the fun in that? Nothing beats the satisfaction of firing a wood-burning stove, and you can’t beat the intense heat.
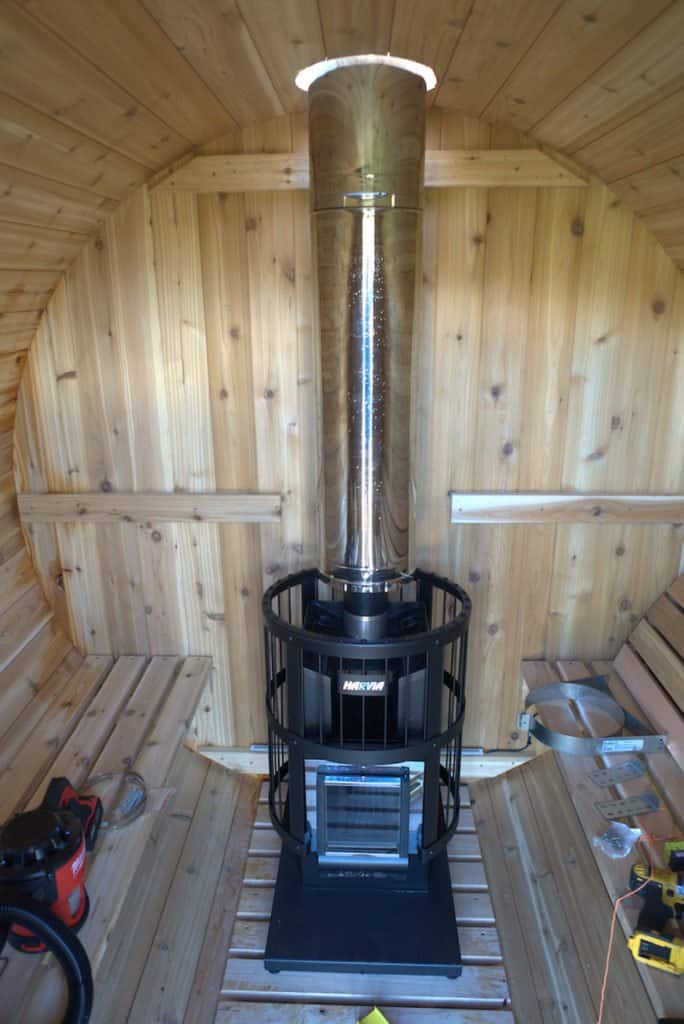
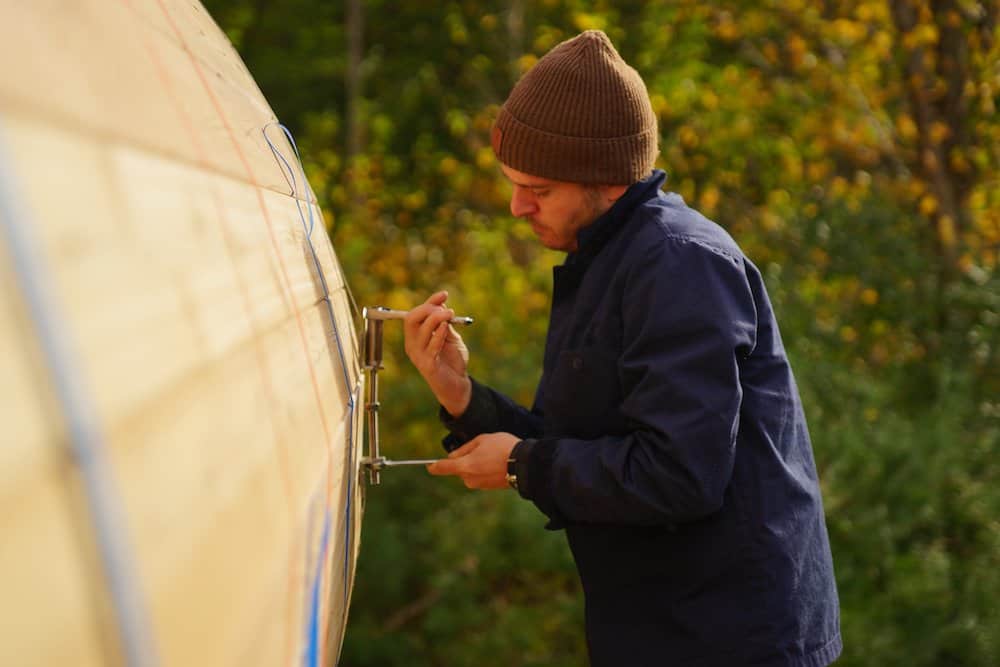
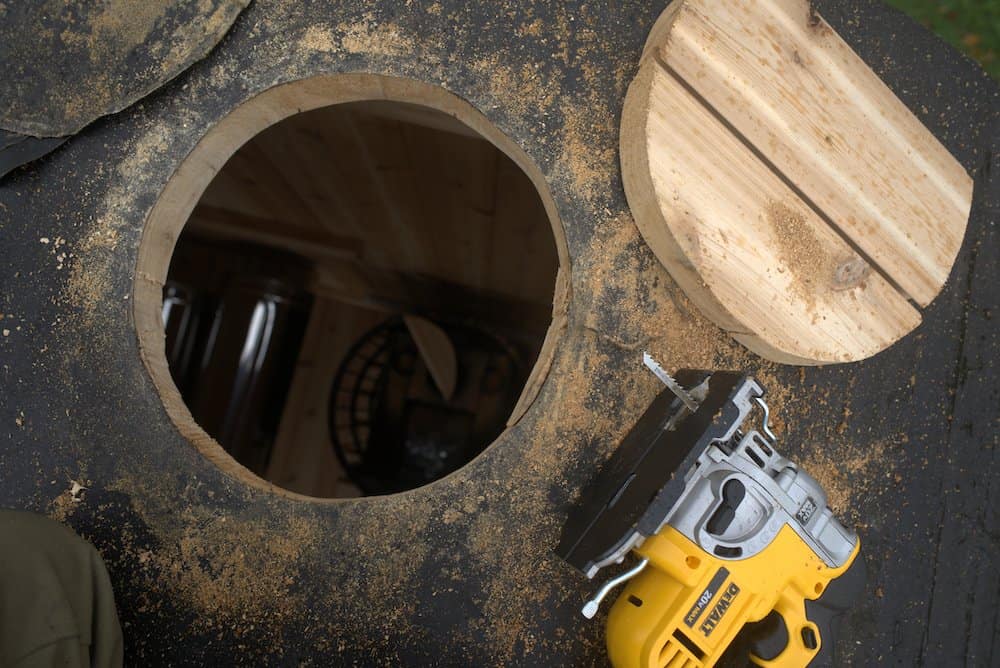
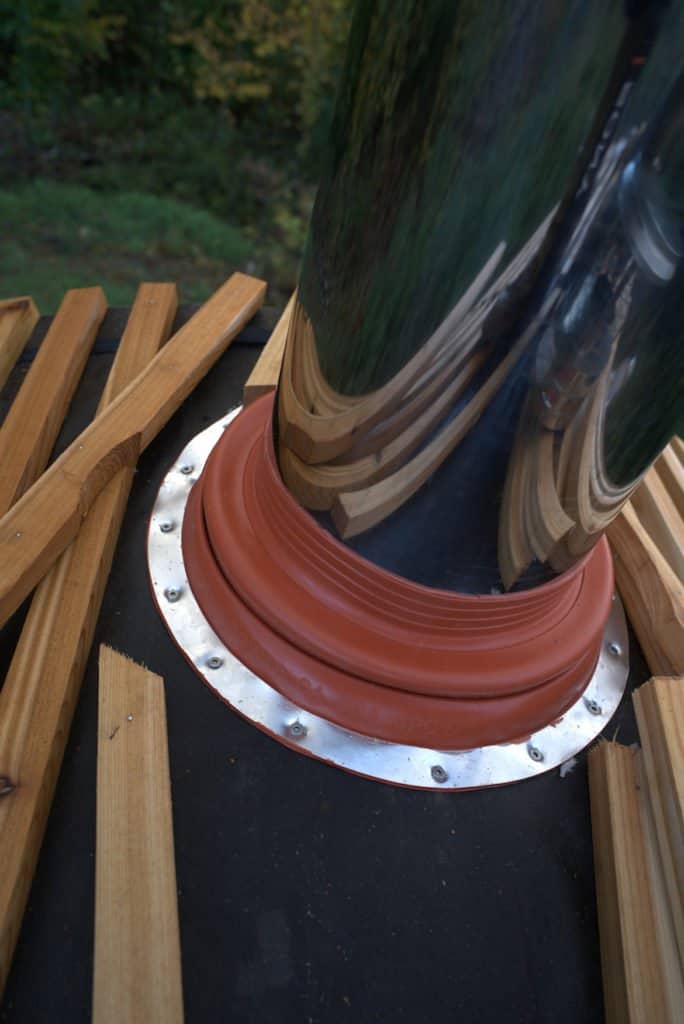
Installing a wood-burning stove in a sauna requires cutting a hole in the top for the vent. This is done using a template and a jigsaw.
Installing the Benches and Accessories
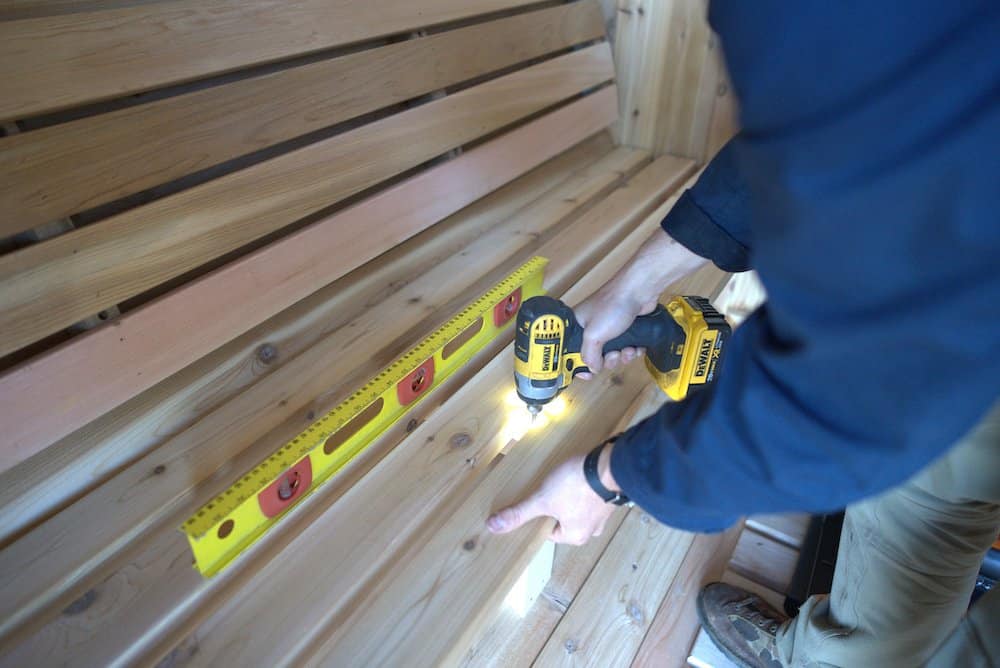
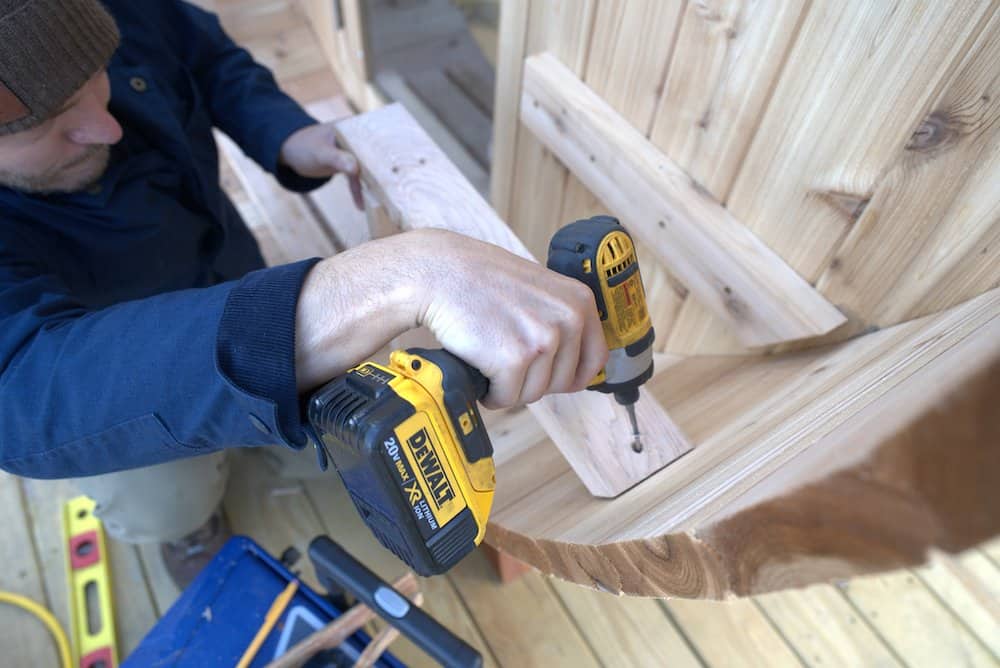
The final piece of the sauna build is installing the benches and accessories that include a sand timer, fire extinguisher, and robe hooks.
Test the Sauna
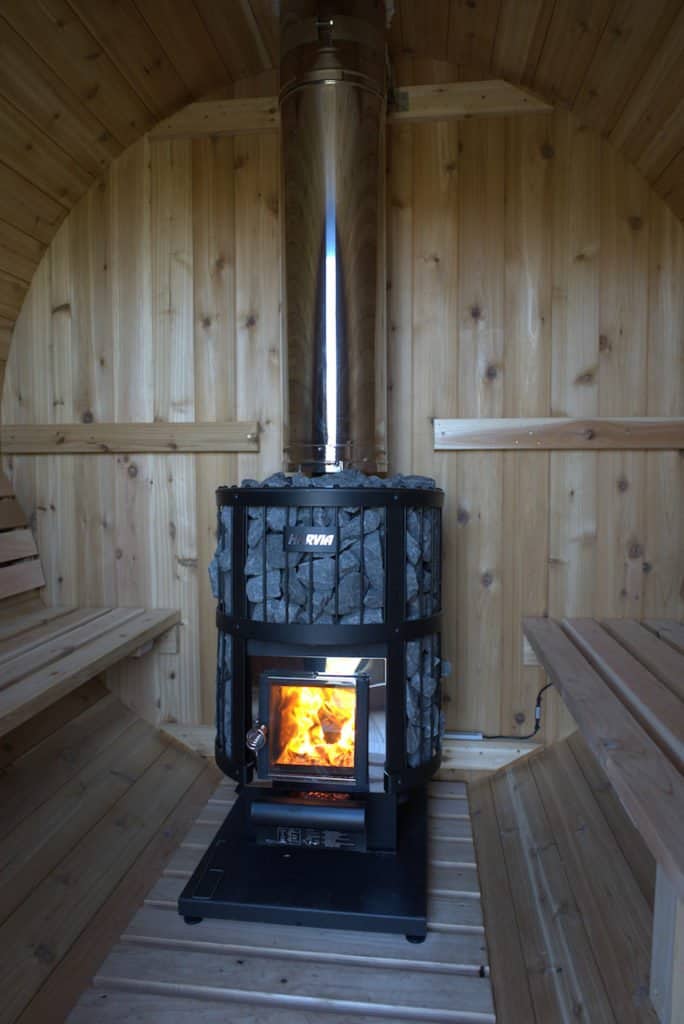
Before using your sauna for the first time, you need to test the functionality of the stove and make certain the exhaust and venting are properly sealed.
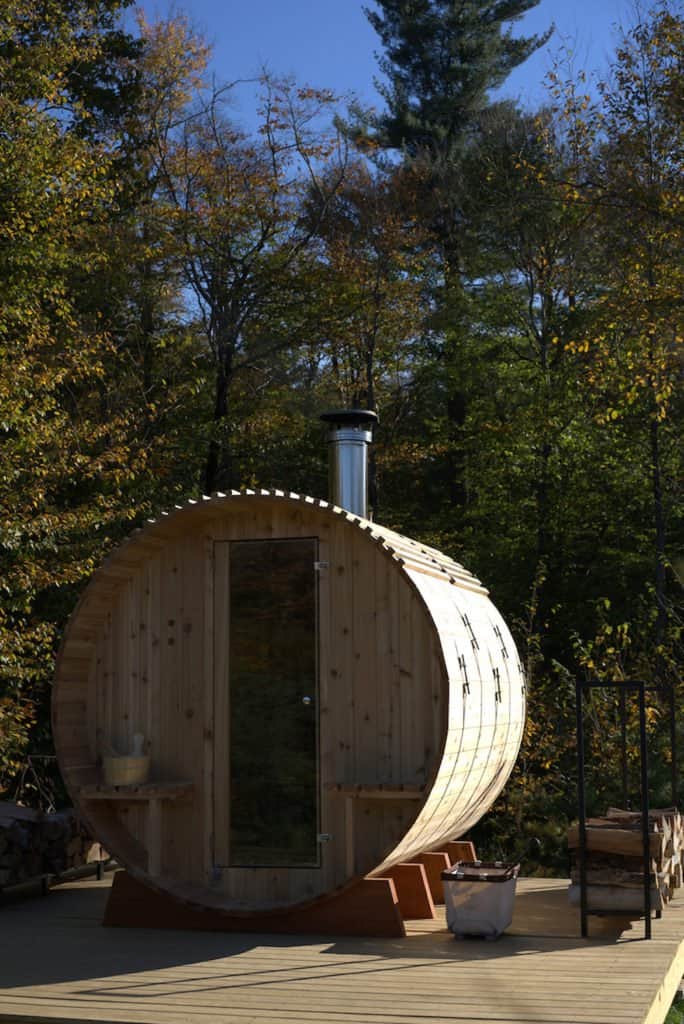
Enjoy the Heat
Lastly, invite some friends for the first session, fire up the sauna, and feel the burn.
Thanks to Mark Bollman for sharing his build, and we can’t wait to visit Partridge Hill someday.

