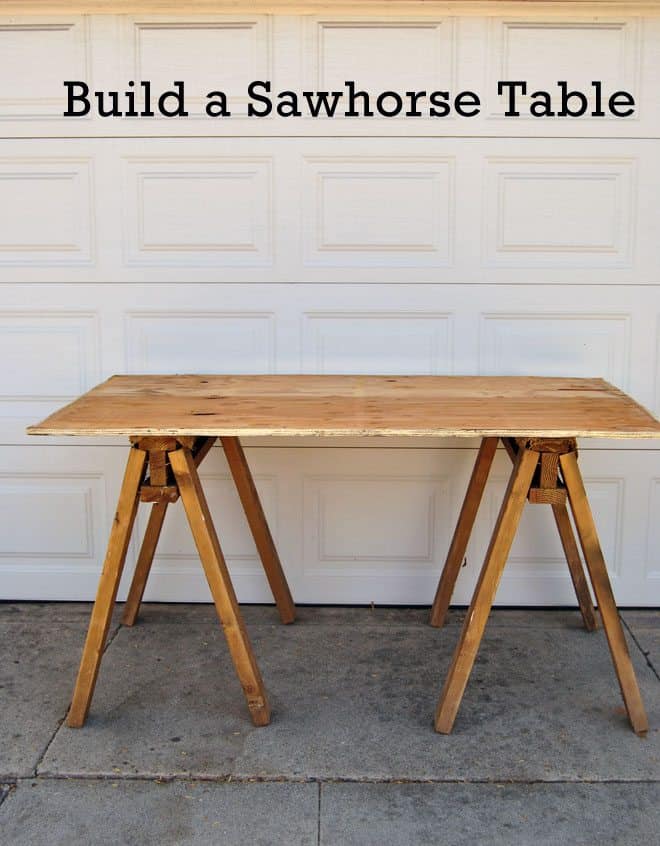
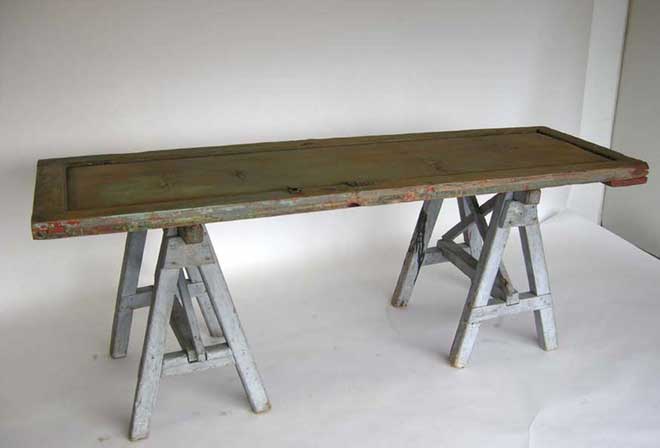
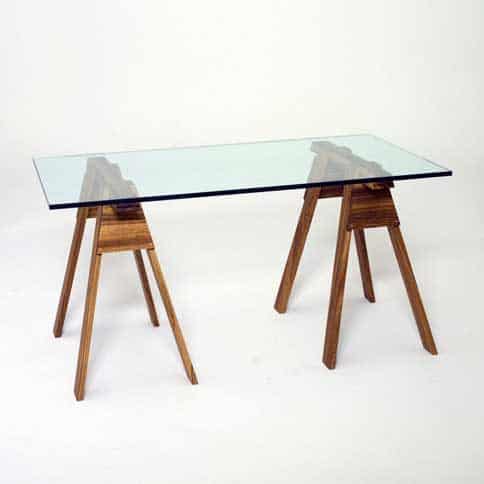
The industrial chic look has really taken off and sawhorse tables seem to be everywhere. Here’s how to build a sawhorse table for cheap.
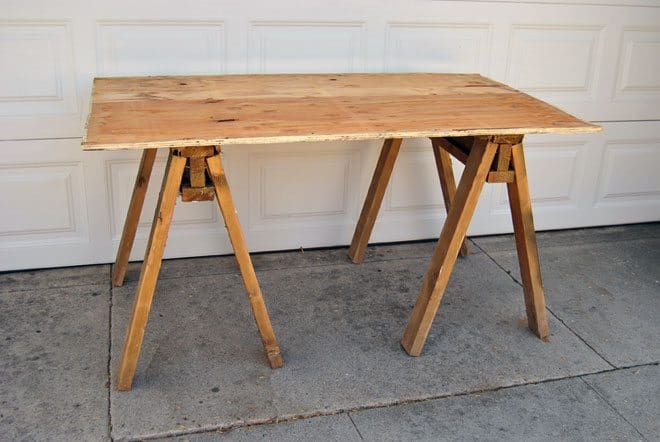
But it seems as primitive as they might seem, the only one’s available are very expensive and oftentimes made of salvaged wood from a 150-year old farm.
Here’s a simple do-it-yourself project to build your own sawhorse table that only takes a couple hours and can be as chic or cheap as you want it. Ours is just in between.
Estimated Sawhorse Table Project Time: 2 Hours
Challenge Level: Medium
Tools & Supplies:
8 30″ 2x4s
6 32.5″ 2x4s
4 x 8 ¾” plywood
Box of 2″ wood screws
Sandpaper grits: 180, 220
Drill/Driver with Phillips bit or screwdriver
Dremel Ultra-Saw
Measuring Tape
Pencil
Rust-Oleum Ultimate Wood Care
Step-by-Step
1. Measure out your 8 30″ pieces for legs and 6 32.5″ pieces for the central I-Beam.
2. Find a well-ventilated area and use a table vise to hold the 2x4s.
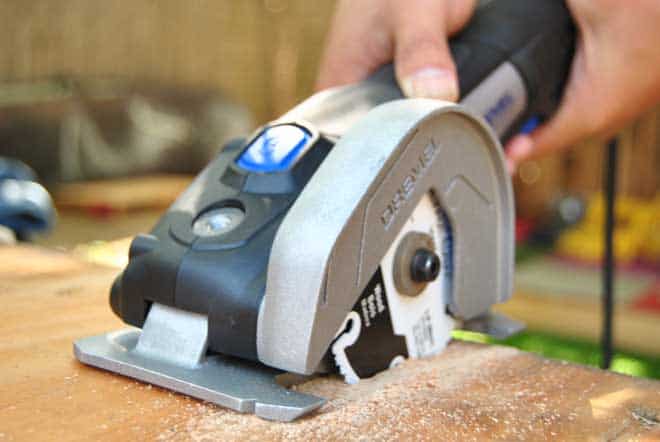
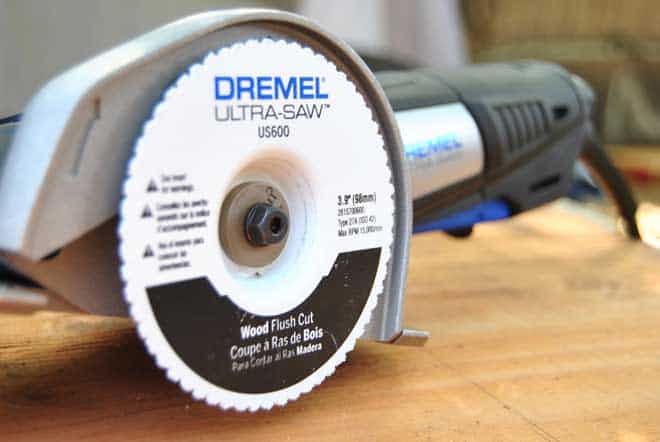
3. Cut them using a Dremel Ultra-Saw, which can make simple straight cuts like these but is also perfect for wood flush cuts, grinding and cutting metal by switching out the included attachments.
4. Use sanding blocks and sandpaper to smooth all surfaces of the table including the top, sides and legs. Start with 180 grit and progress to 220 grit.
5. Use tack cloth to remove all dust and dirt from the table and legs.
6. Paint individual pieces using Rust-Oleum Ultimate Wood Care
7. Allow wood pieces to dry 2-4 hours.
8. Build the I-Beam by using the wood screws to attach 3 of the 32.5″ pieces together as a “T”.
9. Finish the I-beam by securing the bottom piece to the “T” using the wood screws.
10. To attach the legs place the end of each leg just underneath the “T” and attach it using 4 wood screws in a box shape.
11. Attach all four legs then turn the sawhorse on it’s legs.
12. Make sure the sawhorse is well balanced and that the legs are secure.
13. Place plywood on top of sawhorses and mark the edges of the top of the sawhorse.
14. Secure the plywood table top to the sawhorses by using wood screws along markings of where the top of the saw horse is underneath.
15. Check the balance of the table before placing anything on it.
16. Enjoy your new home built saw horse table.
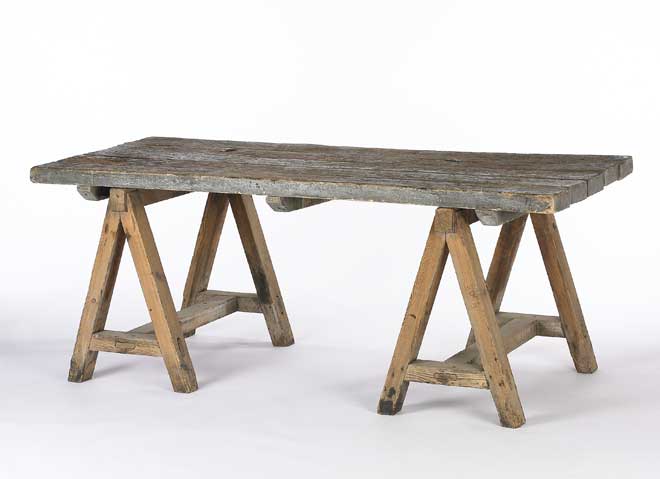
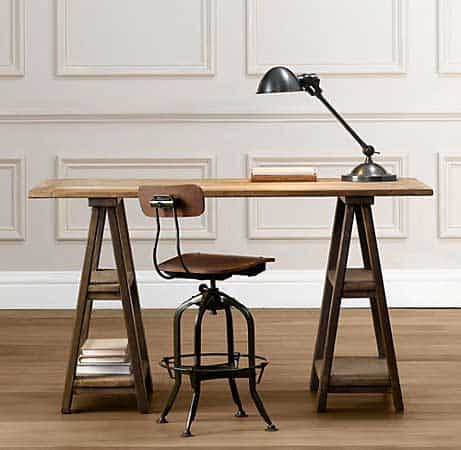
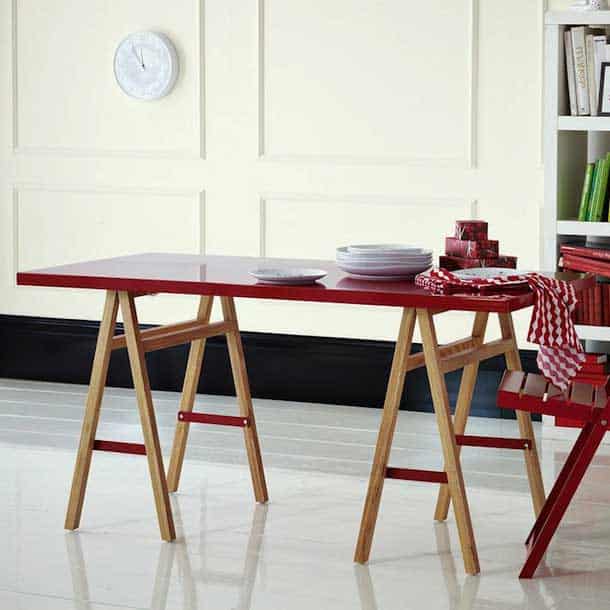
Here are some other sawhorse tables for inspiration, including this gold sawhorse table.
