Our friend Nick has a passion for music and wanted to incorporate this into the design of his new home. You can take his same concept and create your own wall mural using a design of your choice and following the techniques he used to project the image on your wall.
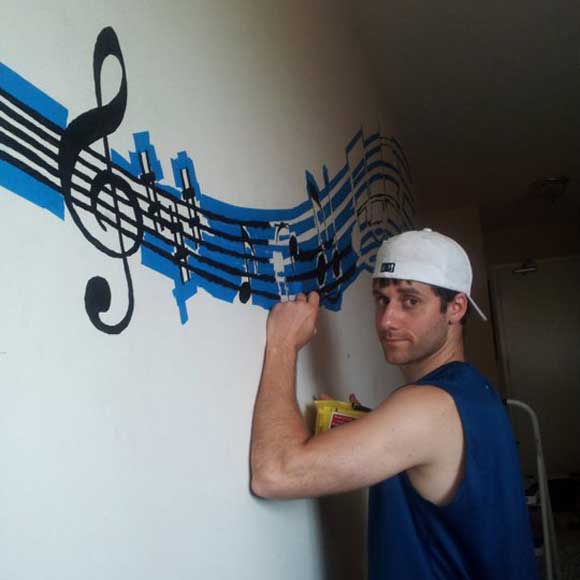
Here are the step by step instructions and tools and materials needed to paint your own wall mural.
Tools/Materials
+ tape measure
+ computer
+ photoshop or some sort of image software
+ projector
+ pencil
+ ruler
+ paint
+ painters tape
+ drop cloth
+ paint brushes, sized from small artists up to 2″ brush. Depending on your picture, maybe bigger.
+ paint cup
Step by Step
1) Went online and found an image we wanted on the wall.
2) Measure the rectangular area of the wall that you want to use as your background
Steps 3-8 require some software/design, but you could do a project without these steps with a little fine-tuning.
3) Open photoshop and create a new file the size of the rectangle you measured on the wall.
4) Drag your image into that canvas and blow it up to the size you want it on the wall.
5) If you want to change the image at all (and know how), now’s the time. We added musical notes to a song that had meaning to us, rather than using the notes that came with the image.
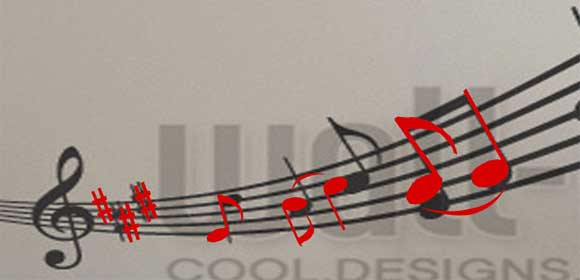
6) Fire up your projector and back it up to get the projection as large as possible. You’re going to project your image in pieces, so make sure the projector can move left to right in the room without changing the size of the projection. You should open up a test image on your computer and blow it up to full screen, because your computer might not open images all the way to the edge of the projection. Measure the size of the image in the projection.
7) In photoshop, put markers in your image that divide it into chunks the size of your projection. Make sure that there’s at least an inch of overlap between each section. That way you can line up the 2nd image you project with the 1st one, and so on.
8) Copy each of your marked sections of the master image and save them on their own, so that you have the image divided into projector-sized pieces.

9) Open the first image on your computer and project it where you want it on the wall. Double check that it’s level.
10) Trace the image in pencil. A ruler helps with straight lines.
11) Open image 2, move the projector so it’s lined up where it should be, and trace in pencil. Repeat until your entire image is on the wall.
12) Use painters tape to outline the image so you get clean/straight lines. Some parts might be impossible to outline.
13) Color in the lines with your paint. If you have to freehand sections that couldn’t use tape, use a tiny brush to get a clean edge line before coming back with a thicker brush for the center. Use a drop cloth to protect the floor.
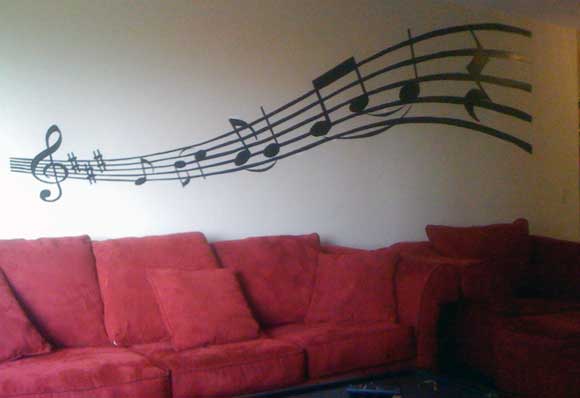
Thanks Nick! Looks great!!!

No Comments