Replacing a residential roof stands as one of the largest home maintenance projects you will face. A solid overhead structure shields your family from rain, wind, and severe weather year after year.
Planning removes much of the stress tied to major structural repairs. Understanding materials, timelines, and budgets helps you make confident choices for your property.
Recognizing the Signs of Roof Wear
Aging shingles often show subtle warning indicators before major leaks occur. Curled edges, dark streak lines, and missing granules in downspouts signal decreasing protection. Inspections from the ground using binoculars reveal early damage without safety risks.
Water spots on upper ceilings or attic rafters point to active moisture leaks. Attic spaces require periodic checks for daylight peeking through roof boards or damp insulation – both clear indicators of structural vulnerability.
Common warning signs requiring attention include:
- Curling or buckling shingle tabs
- Excessive granule buildup in gutters
- Rotted decking beneath underlying felt
- Missing flashings around chimneys or vents
Addressing small issues early prevents costly interior repairs later.
Finding the Right Local Professionals
Finding reliable contractors takes research and patience. Partnering with an experienced roofing and restoration company guarantees your structure receives expert care from start to finish. Proper verification of licenses and insurance coverage protects you against project delays or unexpected accidents. Reading local reviews gives insight into customer service standards.
Reputable contractors provide detailed written estimates outlining material choices, labor costs, and project timelines. Clear communication during initial consultations reflects how crews will treat your home during construction. Avoid bids that seem unrealistically low, as they often indicate inferior materials or cut corners.
Ask candidates about manufacturer warranties and workmanship guarantees. A good warranty offers long-term protection for your investment. Storing all written agreements and receipts in a single folder keeps details organized.
Selecting Materials for Your Home
Selecting proper roofing materials involves balancing durability, appearance, and local weather conditions. Asphalt shingles remain popular thanks to affordability and straightforward installation requirements. Metal roofing options offer extended lifespans and strong resistance against harsh wind or hail.
According to an industry price study, replacement installation fees across the nation usually fall between $4.00 and $11.00 per square foot including labor. This price spread accounts for material quality differences and roof pitch complexity. Heavy clay tiles or slate require reinforced framing support, which increases total construction costs.
Color choices impact energy efficiency alongside exterior styling. Lighter shades reflect sunlight, helping keep interior temperatures cooler in hot weather. Darker tones absorb heat, assisting snow melt during cold winter months.
Managing Costs and Budget Expectations
Project pricing depends on square footage, material selection, and existing roof tear-off requirements. Older structures with multiple-layer tear-offs require extra labor and waste disposal fees. Budgeting a 10 percent emergency cushion accounts for hidden rot discovered after removing old shingles.
An industry report showed that property owners pay roughly $15,439 on average when replacing a standard 2,000-square-foot asphalt shingle system. Comparing multiple written estimates helps clarify regional market pricing. Financing options through lenders or contractor programs help spread payments over manageable monthly schedules.
Insurance policies may cover replacement costs if damage stems from storms or sudden weather events. Documenting exterior damage with clear photos speeds up claims processing with your insurance agent. Filing claims quickly prevents secondary interior water damage from worsening down the road.
Preparing Your Property for Installation Day
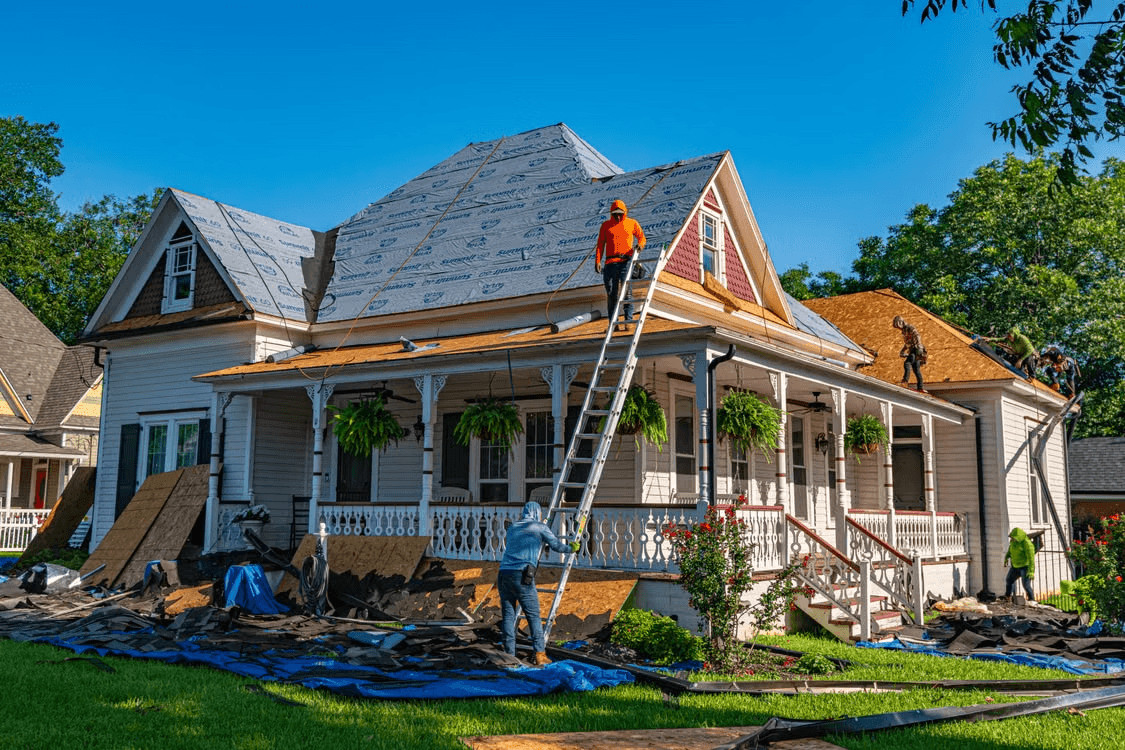
Work crews require clear access to driveways and yard spaces during tear-off and construction. Parking vehicles away from the driveway allows delivery trucks to unload shingles without obstruction. Protecting gardens, outdoor furniture, and delicate yard ornaments prevents accidental debris damage.
Key steps before crew arrival include:
- Clearing driveways and walkways for dumpster placement
- Securing loose items hanging on interior walls from vibration
- Trimming hanging tree branches near the roofline
- Keeping pets and young children safely indoors
Taking these pre-construction steps minimizes disruption for everyone involved.
Vibrations from hammer strikes can rattle interior walls and shelving. Removing fragile items, wall art, and glassware prevents accidental falls during construction work. Notifying neighbors about planned work dates helps maintain good community relations during noisy construction days.
Navigating the Construction Process
Most residential tear-off and replacement projects wrap up within 1 to 3 days. Weather delays or unexpected structural repairs can lengthen project timelines slightly. Crew leaders oversee safety protocols and keep construction schedules moving smoothly forward.
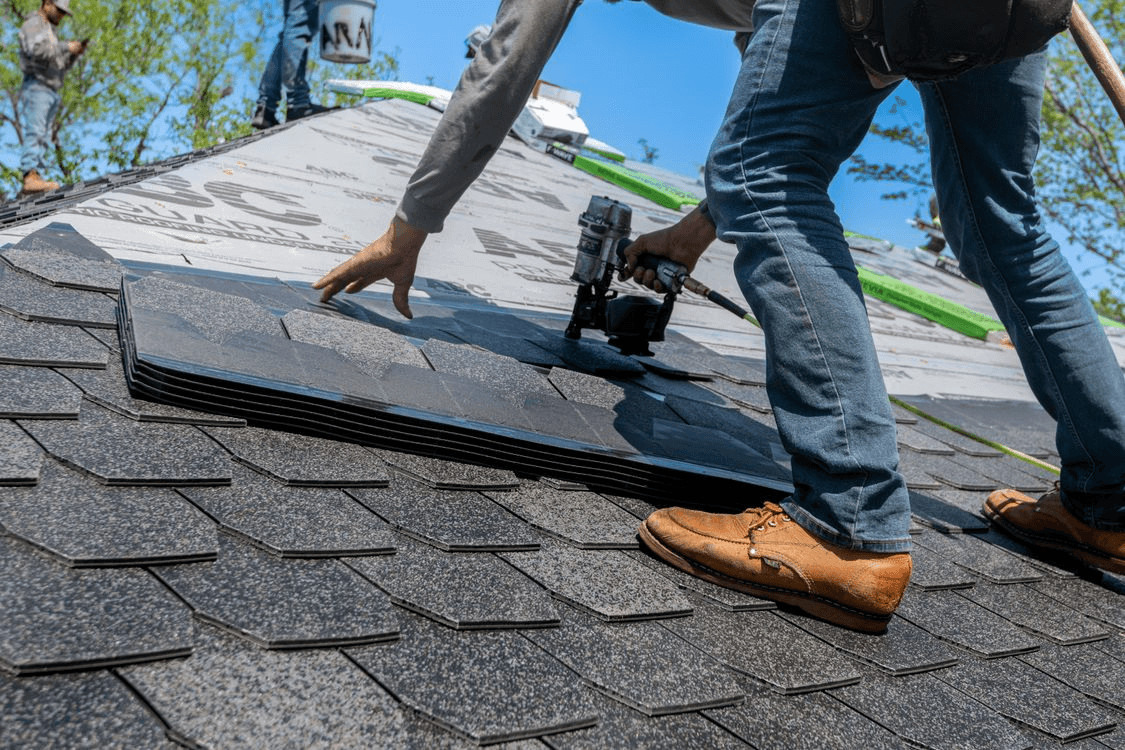
Old shingles and felt underlayment get stripped down to bare wooden decking boards. Damaged plywood gets replaced before laying down modern water barriers and drip edges. New shingles are secured systematically from bottom edges, working upward toward ridge caps.
Crews clean up debris continuously throughout the workday to maintain safety. Rolling magnetic tools across driveways and lawns catch stray nails before they cause flat tires. Final walkthroughs confirm all work meets local building codes and client expectations.
Combining Roofing Projects with Upgrades
Replacing a roof offers an ideal opportunity to upgrade surrounding building components. Adding modern ridge vents improves attic ventilation and lowers summer cooling costs. Upgrading gutters and downspouts ensures efficient water runoff away from the house’s foundations.
A recent home improvement publication stated that installing solar panels during a roof replacement yields long-term savings by avoiding the cost of removing the panels later. Aligning energy upgrades with structural work maximizes labor efficiency and scheduling. Integrating solar mounts directly onto fresh shingles creates tighter waterproof seals.
Adding extra attic insulation during structural work improves indoor thermal comfort year-round. Modern underlayment synthetic materials offer far superior leak protection compared to older felt papers. Small upgrades performed during tear-down prevent duplicate labor fees in future years.
Maintaining Your Investment Long Term
Routine maintenance extends the operational life of new roofing systems. Scheduling bi-annual inspections in spring and autumn catches minor issues before leaks start. Keeping trees trimmed away from shingles prevents physical scraping and leaf accumulation.
Clearing debris from gutters prevents standing water backup along roof edges. Trapped water can rot wood fascia boards and damage lower shingle layers during freeze cycles. Professional gutter cleaning preserves proper drainage paths across every season.
Avoid using high-pressure washers directly on shingle surfaces during routine cleaning. High pressure strips protective granules off asphalt coatings, shortening material lifespan. Mild eco-friendly cleaning solutions remove moss or algae without harming protective coatings.
Investing in a fresh roof protects your home investment and boosts curb appeal. Careful planning, material selection, and routine maintenance keep your structure safe across every season.
Taking proactive steps today creates long-term comfort and security for your household. Enjoy peace of mind knowing your home remains protected against severe weather for years ahead.