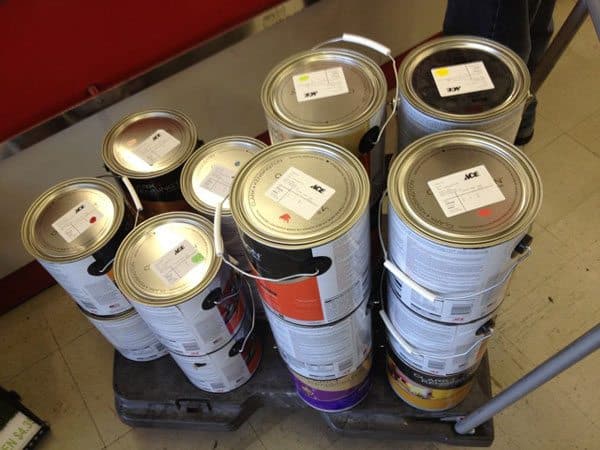
Our friend Luke recently purchased a mid-century home near downtown Las Vegas. The home has many unique rooms and features but it was left in bad shape by the previous tenants who had to vacate a foreclosed home. Luke learned some invaluable lessons through the process of painting the interior of the home himself (and with a bit of help) and we asked him if he’d share his story with us.
Luke started this journey with a trip to Ace Hardware to pickup some of their Clark+Kensington paint which had the perfect color he was looking for.
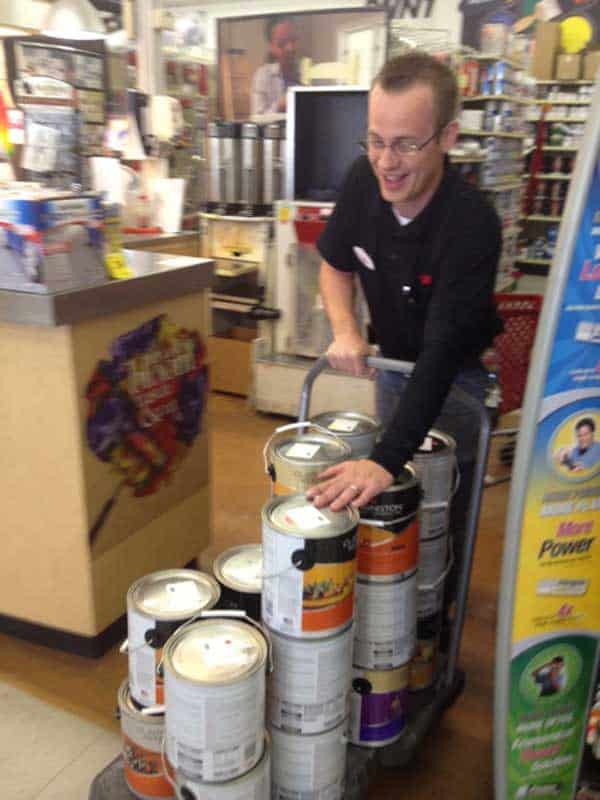
All the paint in the home for the first time, a literal blank canvas!
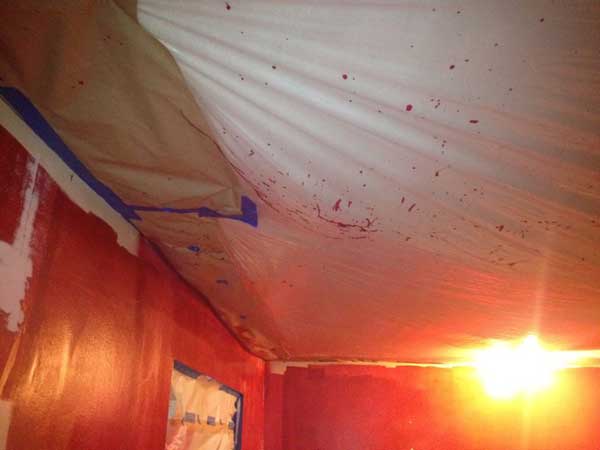
So to start, I get all this paint and I decide to paint the bedroom first. Red. The most difficult color to paint with I later learned. I had a very hard time getting the paint to look even. I started with white walls so I thought it would be an easy job. On my third coat I knew I was in trouble. I had to go back to Ace twice to get extra paint and it still showed roller marks. Here is an example to show what I mean:
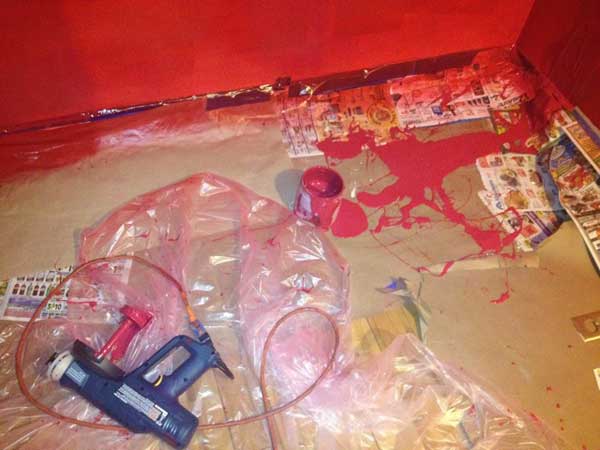
So then I went and bought myself a paint gun:
I spent the next many hours taping off every surface having no idea how important this would be:
The gun was terrible. The vibration of the gun caused the tank of paint to loosen and fall off. At first I thought it was me but after three times I knew it was the gun. When I returned it the guy said “Oh yeah, those are terrible”. I wish he had been there when I bought it as I wasted paint and made a mess getting myself covered in paint as well as the ceiling and floor.
I then cleaned up and started hunting for a painter. I got a union painter through a friend who came in and made the room look great with a large paint gun. The trouble was I had gone through so much paint that I needed to get more. I drove all over town and at my third Ace store I found three gallons of the paint I needed. I asked the lady to mix exactly what I had gotten before and here is what happened.
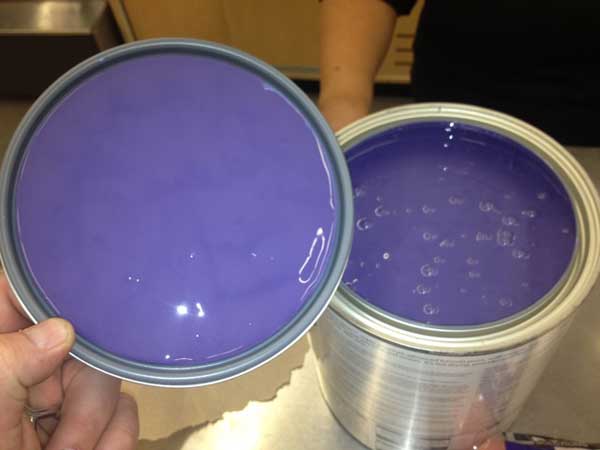
Not quite red eh? She had ruined the last three gallons of the exact paint I needed in the city of Las Vegas. So with a painter in my house I had no choice but to take the now dried paint from my floor covering to Home Depot to color match. The paint worked and technically is still the “Smoked Paprika” color from Clark and Kensington. Here are some more shots.
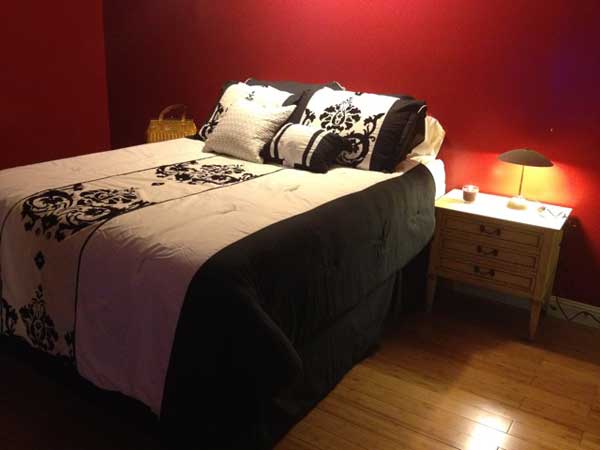
The final product looks great and was worth all the headaches!
Then I started on the living room. I did my largest construction in the living room. The house had been separated with a big wall making the front door and fireplace one area and the bar/ dining area another. I pulled out a closet and turned it into our new hallway to the bedroom area. Here are a few shots to give you an idea:
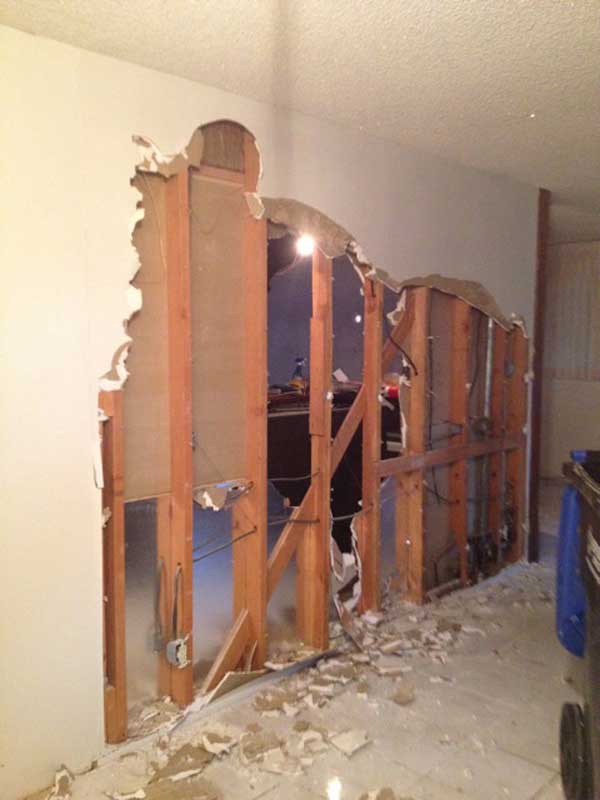
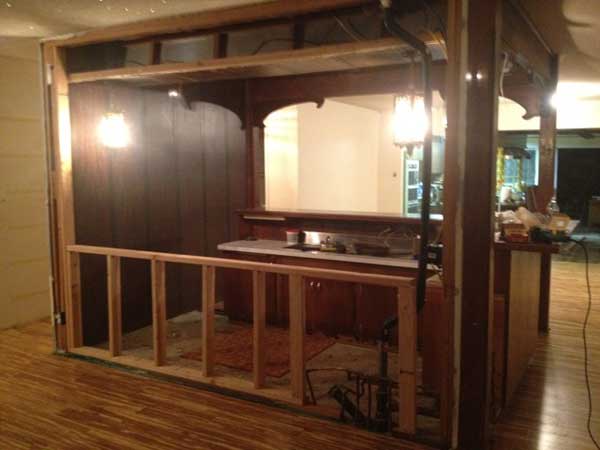
You can see the white tile that ran through the whole house. I had to get all that out too.
Old Closet that became the hall
Here is the wall I had to re-build because moving the bar and all the pillar supports would have been too much $$$.
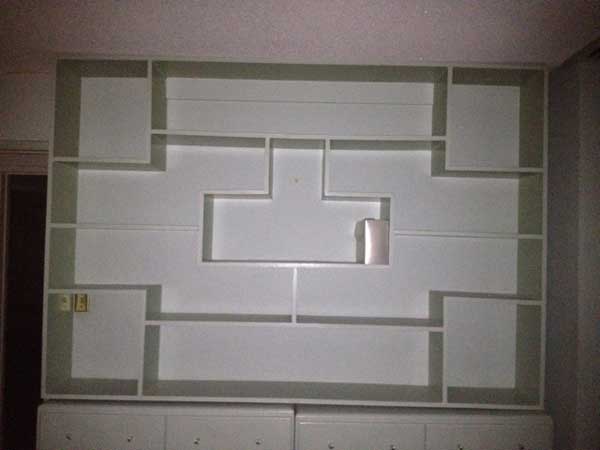
Then I attempted the guest bedroom. This room had a built in shelving system that took up a whole wall. I decided to accent the blue paint with the gold I used in the bathroom(see bath below) I am really happy with how this came together and I love this color.
Then I did the office. The office was difficult only in what to do with the space. They say to never get rid of a closet in a home because it stops being counted as a bedroom. I couldn’t resist ripping this closet out because it was back to back with Liz’s closet in the master bedroom and I wanted to build her a large walk in master closet(still working on that;). I wanted to build a custom shelf in the office in place of where the doors had been. I didn’t want to take up too much room so I built a frame inside the space where the doors were and I covered the wall floor to ceiling with 1/8th plywood that I stained, screwed and liquid nailed it to the wall. The shelves will go in front of that. I have recycled wood for the shelves, more photos of that later. The color of the office is a nice color that compliments colors well. I wasn’t sure about it when it first went up but as the room took shape I think it looks great!
I even kept the old crappy curtains(for now) because even they looked good with this paint!
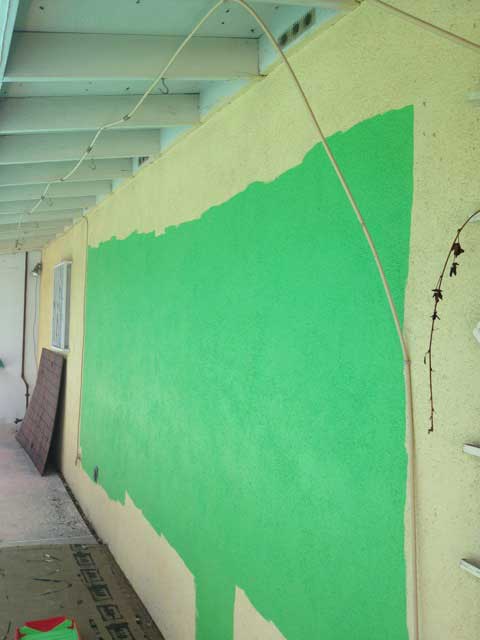
Now a quick shot of the outside. I have only managed to paint a test area but I love how it will look. Can’t wait to get on painting the whole house.
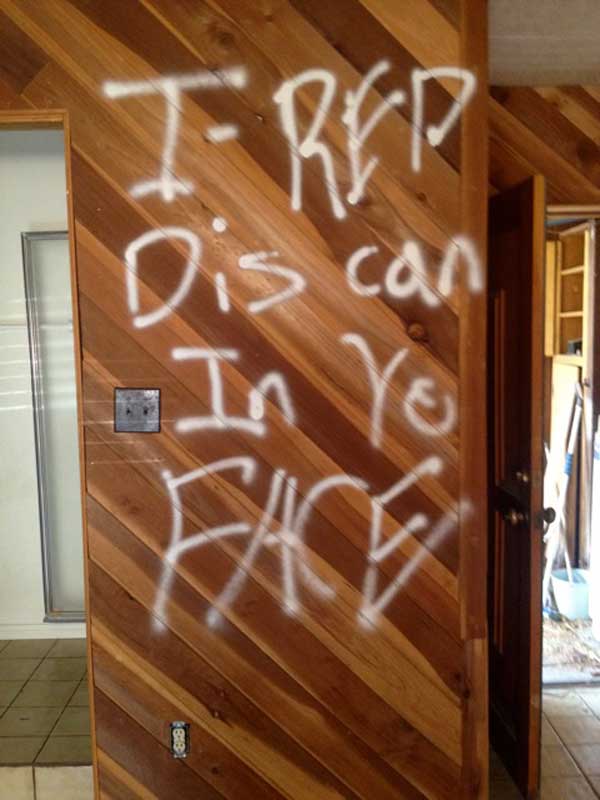
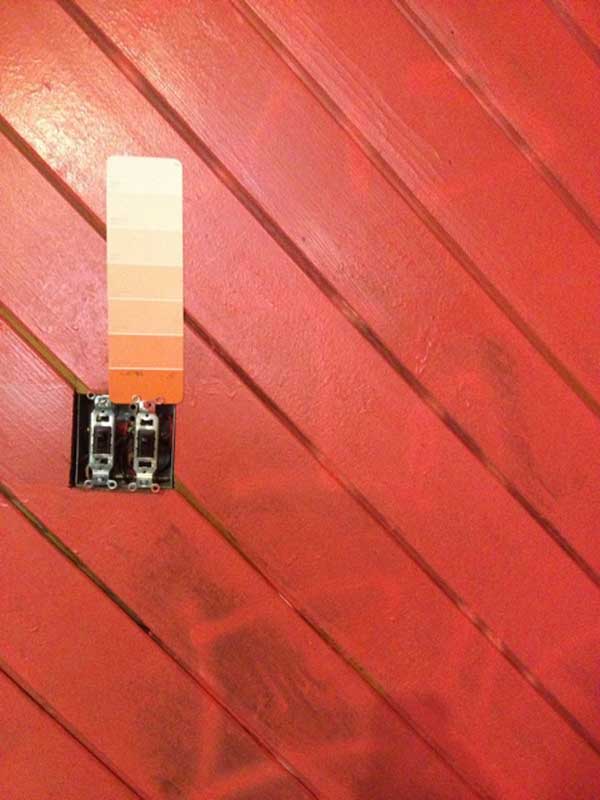
Here is where I get to my next paint problem. If you remember one of the main graffiti areas was the casita. We picked a bold orange to change the dynamic of this room and bring all that old wood paneling new life. The paint though isn’t working. It’s just flat out the wrong color. Not sure what to do about this, should I just go start from scratch, or do I need to paint white over the wood first? Honestly I think it’s the wrong mix of paint. It looks like salmon. Just kind of a weird non-color. Take a look at the photos and you can see what the paint sample is supposed to look like.
And finally the other large project I did was the master bath. It is a crazy over the top bathroom and Liz felt it needed an over the top paint job. So we went with gold and glitter. Here are a few quick shots to give you an idea. We used Lowes high end color (I think it was actually brass instead of gold) and I bought 8 pounds of gold glitter and I had to literally overhand throw it at the wet wall to get the thick glittery effect. Then I covered the glitter with 4 cans of spray epoxy to seal it in. I am happy with how it turned out, but man it was a time consuming messy adventure!

If you’ve got a DIY adventure that you’d love to share, send it in!

No Comments