A cross-country move does not start when the truck arrives. It starts weeks earlier in your garage, workshop, and every room of your house. The hands-on preparation you do before moving day determines whether your belongings arrive in one piece or not.

Even if you hire an experienced long distance moving company to handle transport, there is plenty of work you can do yourself to save money and protect your most valuable items. A few tools and a weekend of focused effort go a long way.
What Tools Do You Actually Need for Moving Prep?
You do not need a fully stocked workshop, but a few essentials make the difference between efficient packing and frustrating improvisation.
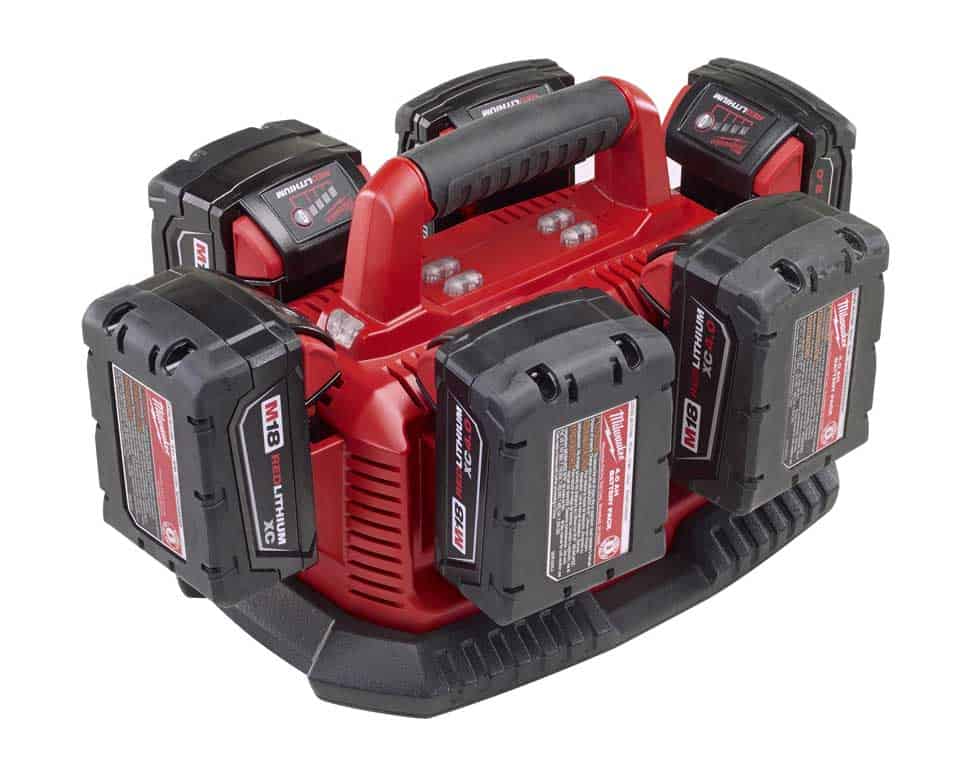
A cordless drill with a bit set handles furniture disassembly faster than any manual screwdriver. Allen wrenches in standard and metric sizes cover most flat-pack and modular furniture. A rubber mallet helps separate joints without damaging wood surfaces. Keep a utility knife, packing tape gun, and a permanent marker within arm’s reach at all times during packing.
For heavier items, a furniture dolly and a set of moving straps save your back and your floors. According to the Consumer Product Safety Commission, moving-related injuries account for thousands of emergency room visits each year. Using the right equipment is not just efficient. It is a safety issue.
A stud finder also comes in handy during the unpacking phase. You will want to mount shelves, TVs, and heavy mirrors as soon as possible at your new home, and hitting a stud on the first try beats patching drywall mistakes.
How Should You Disassemble Furniture for Long-Distance Shipping?
Furniture that ships assembled takes up more truck space and is more likely to get damaged during transit. Disassembling what you can before the movers arrive saves both cost and risk.
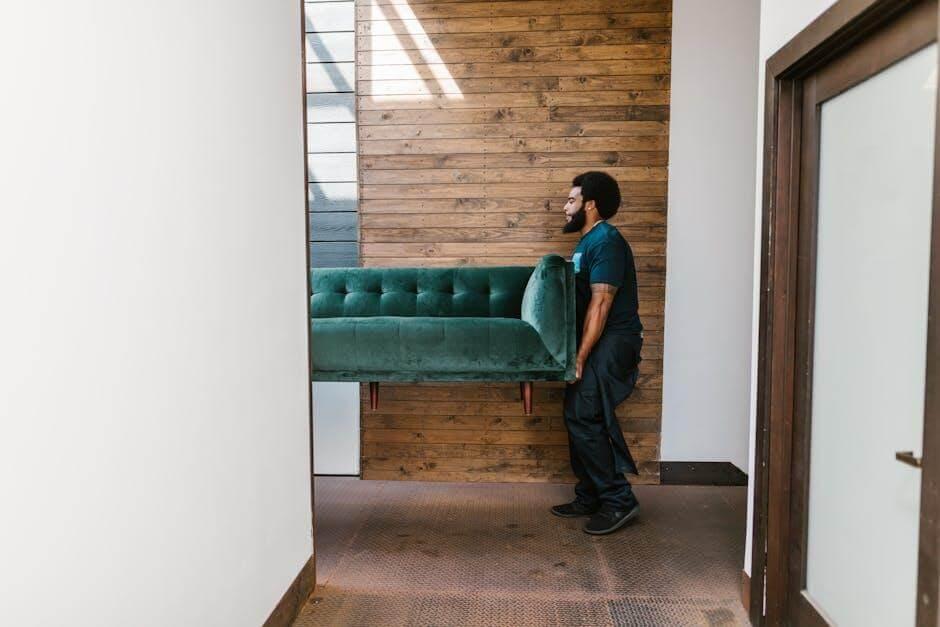
- Remove legs from tables, desks, and sofas whenever possible. Wrap each leg in bubble wrap and tape it to the underside of the piece it belongs to.
- Take bed frames apart completely. Keep all bolts, screws, and cam locks in a labeled zip-lock bag taped to the headboard.
- Remove drawers from dressers and desks. This reduces weight and prevents drawers from sliding open during transport. Wrap each drawer in stretch film.
- Detach shelves from bookcases and entertainment centers. Stack them separately with cardboard between each shelf to prevent scratching.
- Disconnect legs and extensions from dining tables. Wrap the tabletop in a moving blanket and secure it with stretch wrap.
- Photograph each piece before and during disassembly. These photos make reassembly straightforward and serve as condition documentation for insurance.
Label every bag of hardware with the furniture name and room. One lost bolt can make an entire piece unusable at the other end.
How Do You Protect Hardwood Floors and Walls During the Move?
Loading and unloading heavy furniture causes more home damage than most people expect. Dolly wheels scratch hardwood. Sofa corners dent drywall. Appliance feet gouge tile. All of it is preventable.
Lay down heavy-duty floor runners (not cardboard, which tears and slides) along every path the movers will use. Ram board or Masonite sheets work best for protecting hardwood and tile from dolly traffic. Tape them down so they do not shift under load.
Attach foam corner protectors to every doorframe and hallway corner along the moving path. These cost a few dollars each and prevent the kind of trim damage that costs hundreds to repair. If you are moving out of a rental, this step directly protects your security deposit.
Remove doors from their hinges in tight hallways. A standard interior door takes five minutes to remove and gives you an extra two inches of clearance, which is often the difference between a couch fitting through and a gouge in the frame.
What Packing Techniques Work Best for Fragile Items?
Long-distance moves put more stress on packed items than local trips. More miles mean more vibration, more loading and unloading, and more time in a warm truck.
- Dishes and plates: Pack vertically (on edge, like records), not flat-stacked. Wrap each piece individually in packing paper. Fill gaps with crumpled paper so nothing shifts.
- Glasses and stemware: Use cell dividers inside double-walled boxes. Wrap each glass in packing paper, then place it upside down in its cell. Fill the top with a cushion layer.
- Electronics: Use original boxes if you kept them. If not, wrap in anti-static bubble wrap and pack in a snug box with foam corners. Remove batteries from remotes and controllers.
- Power tools: Remove blades, bits, and batteries. Wrap each tool in a shop towel and pack in a hard-sided case or a padded box with dividers.
- Mirrors and artwork: Apply painter’s tape in an X across glass surfaces. Wrap in corner protectors and slide into a mirror box or custom crate.
The extra 30 minutes you spend packing fragile items properly saves hours of dealing with damage claims and replacements after the move.
What Home Repairs Should You Handle Before Moving Out?
A quick walk-through with a critical eye can save you money on your deposit return or add value if you are selling. Focus on the small fixes that take minutes but make a visible difference.
Patch nail holes with lightweight spackle and sand smooth once dry. Touch up paint scuffs and scrapes with leftover paint (check your garage for partial cans that match existing wall colors). Tighten loose cabinet handles and door hinges. Replace burned-out light bulbs and cracked switch plates.
Clean the areas you normally skip: behind the refrigerator, inside the oven, under the washer and dryer. These spots always get inspected during a rental walkthrough or home showing. Thirty minutes of deep cleaning in these overlooked areas prevents deductions that far exceed the time investment.
DIY Moving Prep Checklist
- Gather essential tools: cordless drill, Allen wrenches, utility knife, tape gun, moving straps, and dolly.
- Disassemble furniture, label all hardware, and photograph each piece before and during breakdown.
- Protect floors with ram board or heavy-duty runners along all moving paths.
- Attach foam corner protectors to doorframes and remove doors in tight hallways.
- Pack fragile items with individual wrapping, cell dividers, and snug cushioning.
- Handle minor home repairs (spackle, paint touch-ups, cleaning) before the final walkthrough.
Get Your Hands Dirty Before the Truck Shows Up
The work you put in before moving day pays off in lower costs, fewer damaged items, and a smoother handoff to your moving crew. Treat the prep like any other home project: plan it, tool up, and get it done right the first time.
FAQ
Is it cheaper to disassemble furniture myself before movers arrive?
Yes. Most moving companies charge by weight and space. Disassembled furniture takes up less truck volume and reduces labor time on both ends, which lowers your final bill.
What is the best way to protect hardwood floors during a move?
Use ram board or Masonite sheets taped along all pathways. Avoid cardboard, which slides under weight and offers minimal scratch protection. Felt pads on furniture legs add an extra layer of safety.
How do I pack a large flat-screen TV for a long-distance move?
Use the original box if available. Otherwise, buy a TV-specific moving box with foam inserts. Wrap the screen in a soft blanket first, then place it upright (never flat) in the box.
Should I repair walls before moving out of a rental?
Yes. Patching nail holes and touching up paint costs very little in time and materials but can save a significant portion of your security deposit. Landlords commonly deduct $50 to $200 for wall damage.