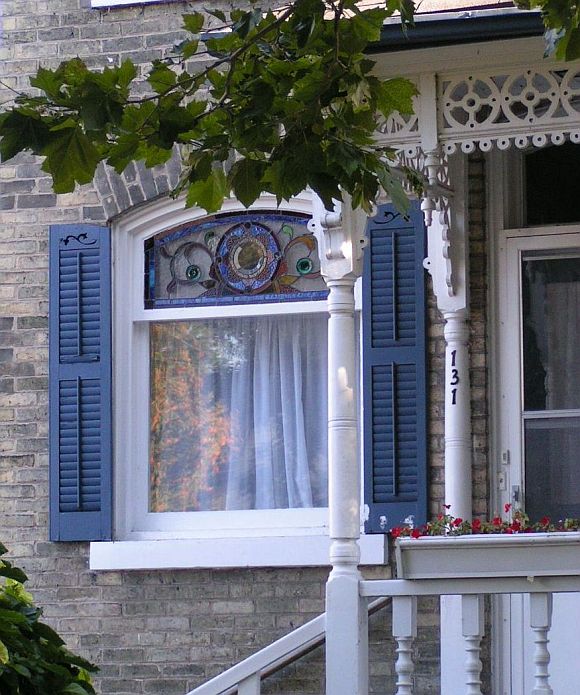
One of our favorite types of project is the weekend project. In just a couple of days, you can feel that rush of productivity and accomplishment after surveying a completed project that improves your home–and maybe even your lifestyle.
Eager to tackle your next weekend project? We’ve got just the thing. Adding exterior shutters to your home not only transforms the look of your home’s exterior, but because they can easily swing shut over your windows, they’ll boost your home’s security. And as This Old House points out in their installation tutorial, shutters can help protect windows against strong storm winds.

First things first: you’ll need to purchase shutters. Most are custom made, so you’ll provide measurements to your vendor. According to TOH, they can range in cost from 0 to 0 per window, depending on the style, material and other factors. If your budget is a concern, try installing shutters on your home’s most visible windows; then you can add other shutters at a later date.
If you’re installing functional shutters (as opposed to decorative shutters, which won’t swing shut over your windows), they’ll attach to the window trim. A pivoting metal tieback will hold them in place when they’re open.
One of the most important–and most frequently botched–shutter positioning tips is that the shutters fit inside the casing. When they’re closed, you’ll only have a 1/4-inch gap (or smaller) on all sides of the shutters, which means your margin for error is tiny. If you hang shutters outside the casing, they won’t shut properly.
When you’re tackling shutter installation, TOH advises that you give yourself a day to get the shutters and windows prepped. Paint your shutters in a bright color (or any hue that works with your home’s exterior) and add a pop of style to your home. You’ll also want to clean the windows, remove old shutters if applicable and make sure you have enough installation hardware.
After that, you’re ready to install the hinges, a process that may take some trial and error so that the shutters are positioned correctly. This will get easier as you continue to install the shutters, so keep going! Hinge plates are affixed by the window, and hinges will be installed on the shutters. Then you’ll mount the shutter dogs, attach the locking hardware and attach the copper capping. And voila–new shutters!
Do you have shutters on your house? If so, did you install them? If not, would you consider a DIY shutter installation? We’re all ears!
Photo: Flickr.com/cindyfunk

No Comments