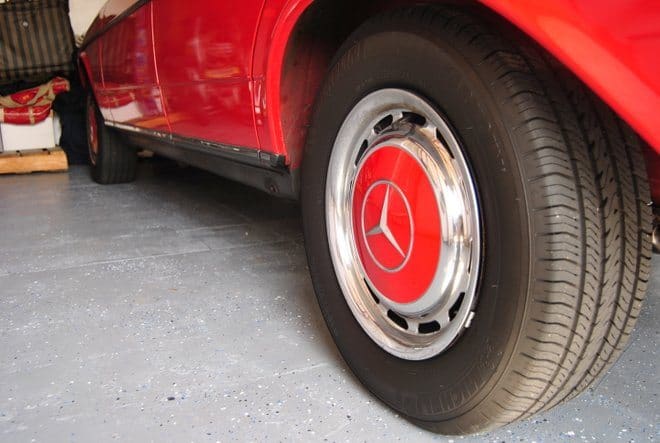
In today’s standards we’ve got a tiny garage but we have made the most of it. Our home is a 1950’s bungalow with a detached 1 1/2 car garage and we use that other 1/2 garage for storage of tools, camping gear and the other random stuff that we need out of sight but close at hand.
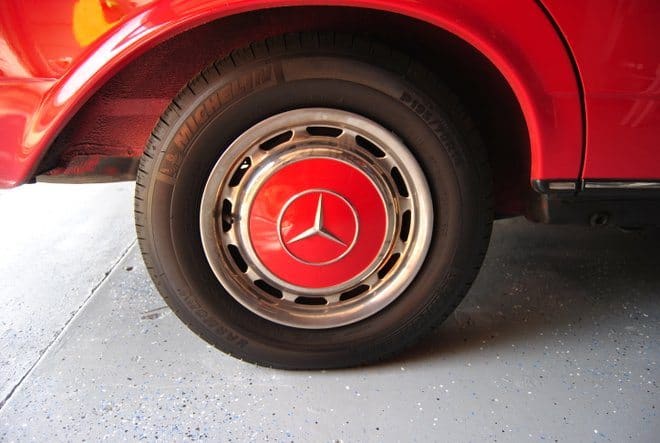
The garage floor was bare concrete which was fine but it held every little stain and remained dirty no matter how much we swept. This same dirt and grime eventually ends up on our shoes and although we have a no shoe household it still gets tracked around. We’ve got a 1983 Mercedes-Benz 300D which is in top condition but as these old diesels go it started to leak oil recently. Not a lot of oil but enough to make the garage floor even dirtier. We’ve put cardboard and trays beneath to keep the leaks from seeping into the floor and although they are effective the floor still retains oil.
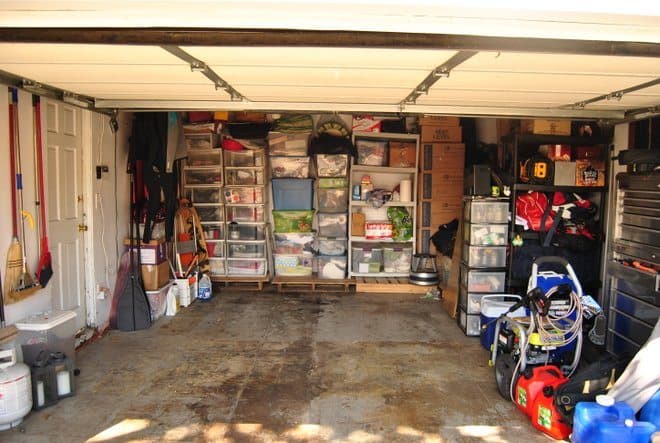
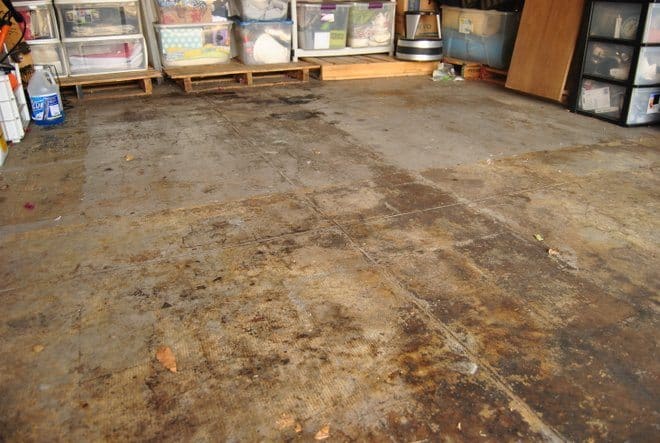
We’ve discussed doing an epoxy floor on our garage so when Rust-Oleum asked us to try out their EPOXYSHIELD garage floor coating we jumped at the chance.
The toughest part for us about this installation was clearing out the garage and cleaning the floor but it was also a great motivator as we could get into “purge mode” and just donate or trash items that we haven’t touched in years.
After our garage was cleared out and we were left with the bare floors we simply followed the directions on the kit.
Clean Garage Floors
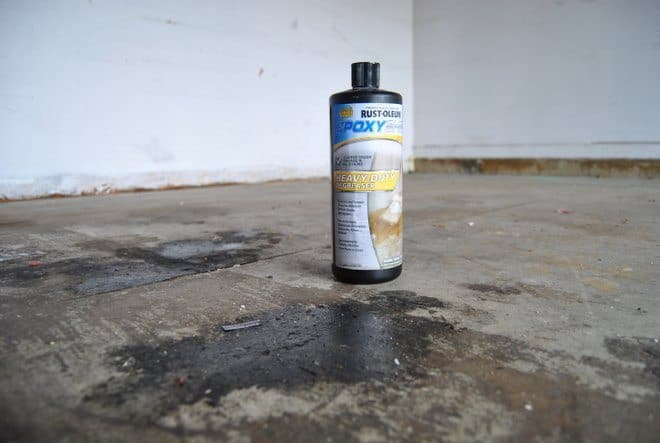
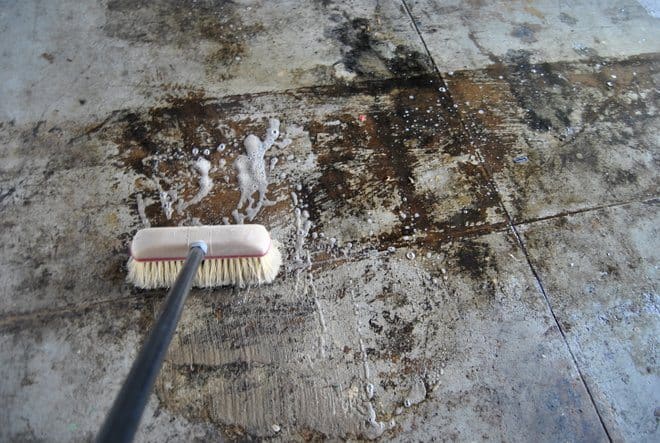
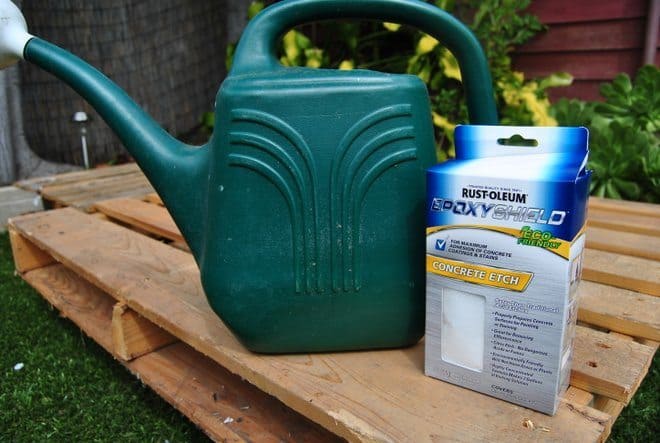
We power washed and scrubbed the entire floor using Rust-Oleum EPOXYSHIELD Heavy-Duty Degreaser. We then applied the EPOXYSHIELD Concrete Etch using a watering pail. This step is required to make sure the epoxy bonds well with the concrete surface. The concrete etch must be scrubbed into the floor then rinsed thoroughly. After that’s is a waiting game to make sure your garage floor is completely dry before applying the EPOXYSHIELD.
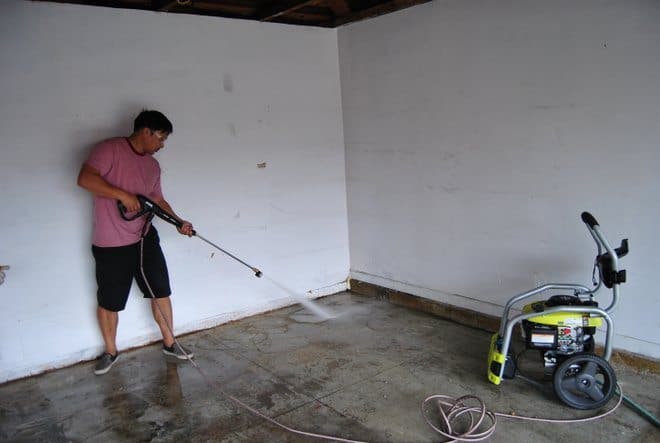
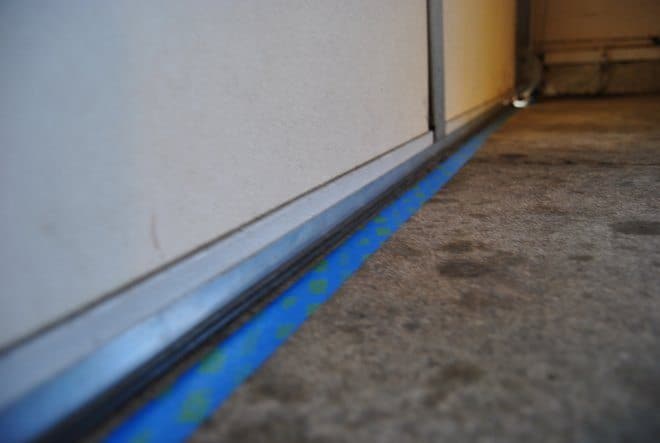
We used paint tape to give us a sharp line where our garage door comes down and if you want you should also tape around the edges of your floor.
Apply Rust-Oleum EPOXYSHIELD
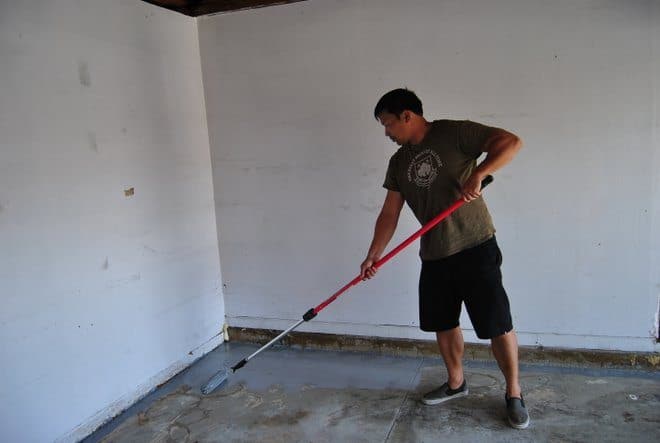
When you are ready, mix the two-part EPOXYSHIELD formula and start painting. We used a roller with an extension which made the job much easier.
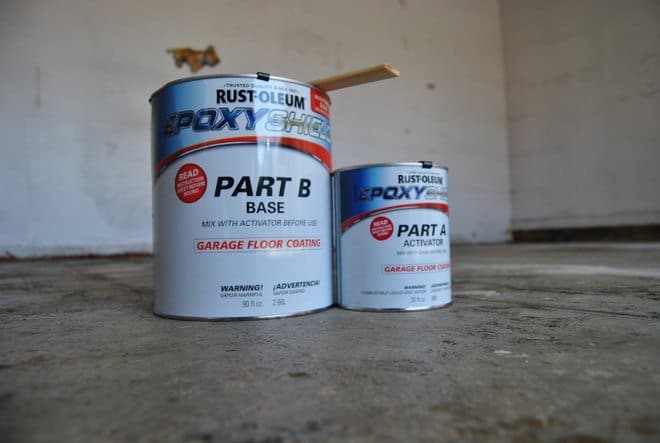
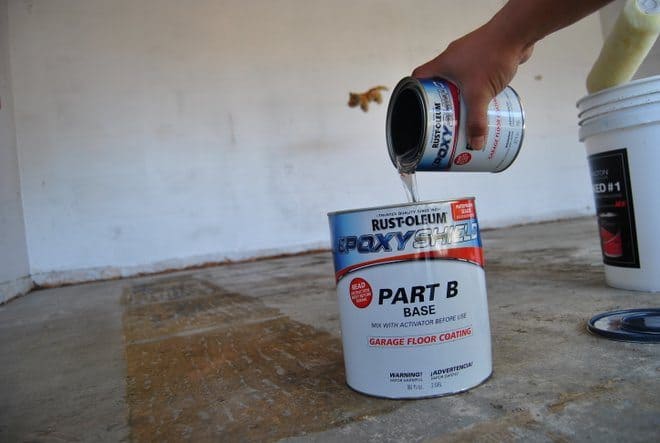
Start by trimming the outer edges and apply coating in 4′ x 4′ sections. Only one coat is required.
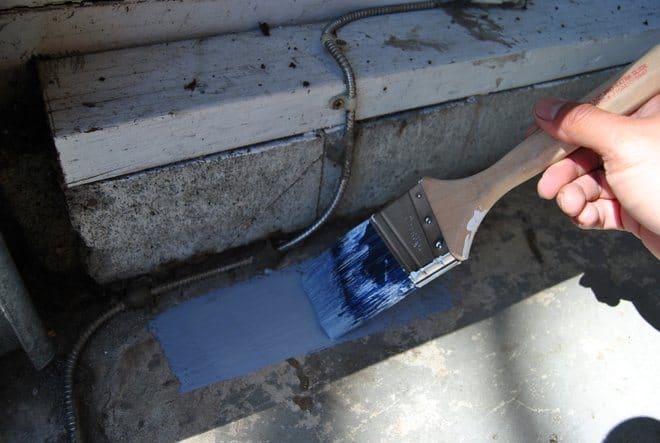
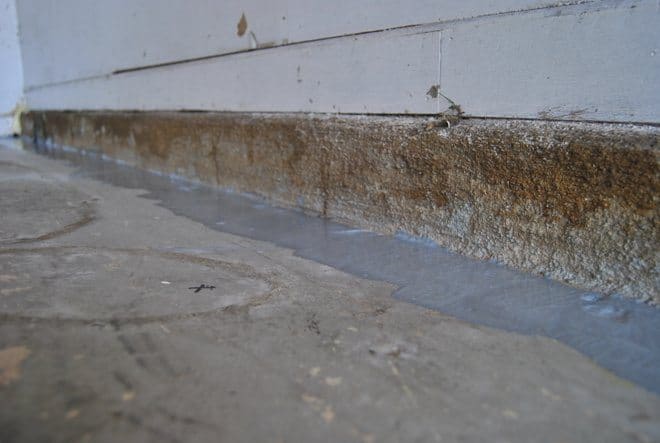
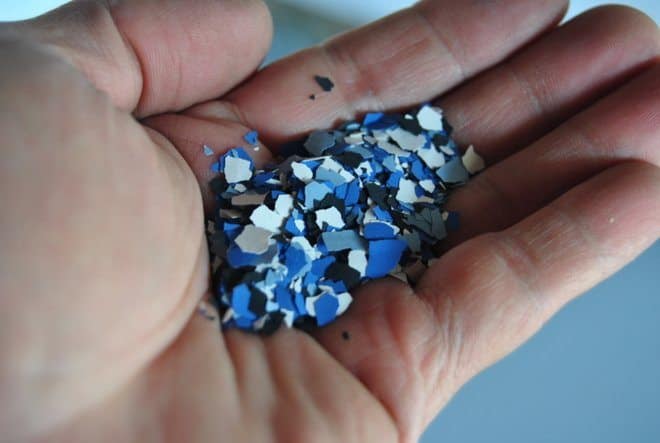
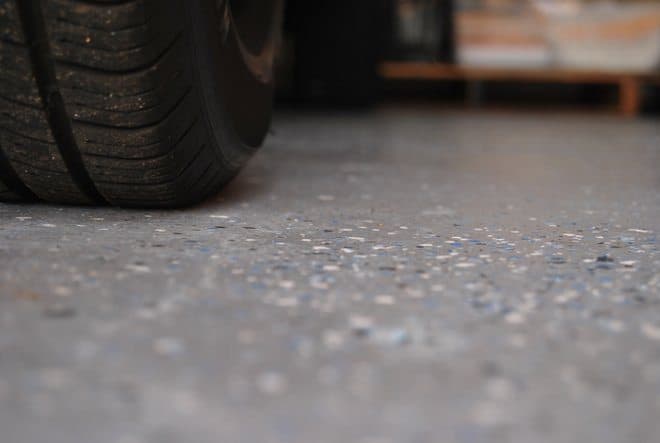
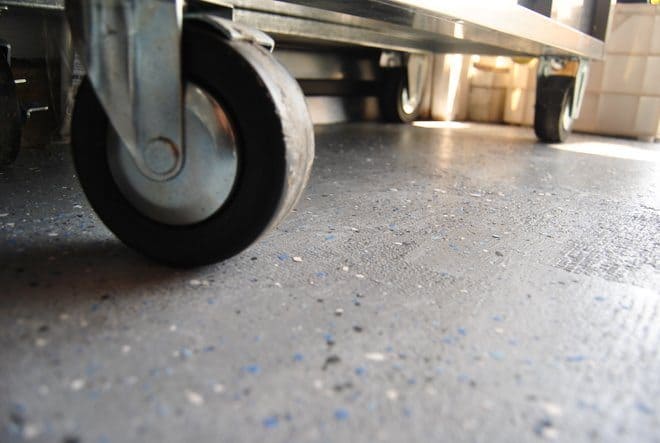
We liked the look of the decorate chips so we also tossed those on the floor just after painting so it would dry in place.
We recommend choosing a day that’s not windy for applying the EPOXYSHIELD so leaves and debris don’t blow into your garage while you are painting and as the paint is drying. If you leave your garage door open it should dry faster. Rust-Oleum recommends waiting at least 3 days before driving on the floor but we were walking on it after 24 hours. It shouldn’t be tacky to the touch and drying times vary based on humidity and thickness of coat.
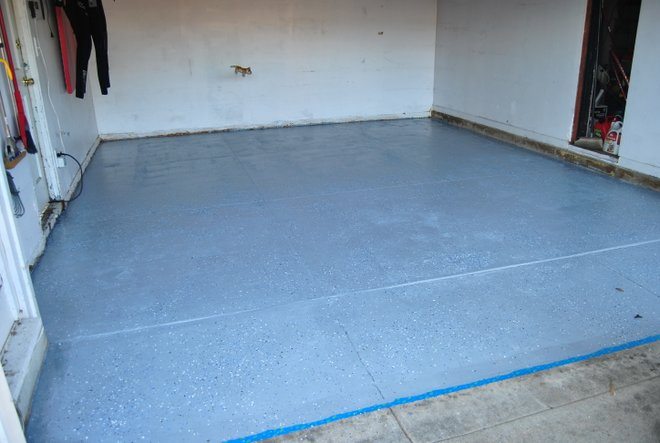
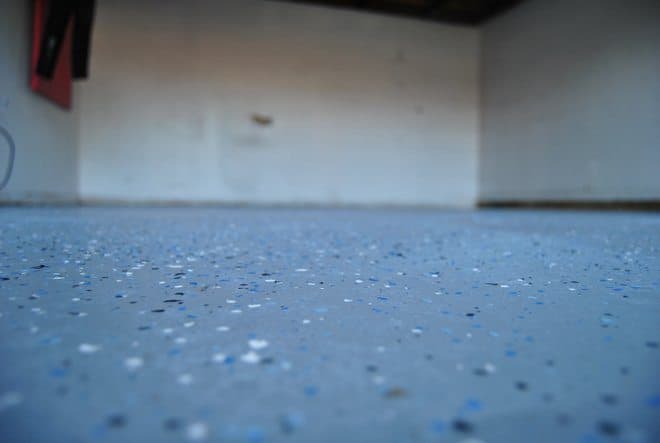
We’ve since had a few weeks with the EPOXYSHIELD and have been very impressed. Now when our car leaks we can simply wipe it up quickly with no trace of the oil residue and we can also see any other dirt much easier on the floor which makes it easier to clean. Having a new garage floor is actually exciting and makes us think of our garage in whole new light. Less storage area and more an extension of our home.
Rust-Oleum has provided this helpful video for installing EPOXYSHIELD.
For more information visit Rust-Oleum.
[box type=”shadow”] Disclosure: This article is sponsored by Rust-Oleum. All opinions expressed are those of Timothy Dahl of Charles & Hudson. Rust-Oleum’s policies align with WOMMA Ethics Code, FTC guidelines and social media engagement recommendations.[/box]

No Comments