You spend a weekend on a shop knife. The grind is clean, the profile is exactly what you wanted, and the steel came out of the stock with good geometry. Then you run a file across the edge after heat treating, and it cuts right in. The blade is soft. All that work, and it’s basically a butter knife.
It happens more than anyone admits. Heat treatment is the step that most DIY metalworkers either skip entirely or handle with such confidence that they get into real trouble.
A piece of high-carbon steel that’s been hardened wrong won’t just underperform – it can fail in ways that are genuinely dangerous. A glass-hard chisel with no temper will shatter when struck. A blade with uneven hardness will flex and snap under load.
What follows is an honest walkthrough: what heat treatment is actually doing to your steel, how to get it right at home for the jobs a home setup can handle, and a clear-eyed look at where the backyard forge reaches its limit.
What Heat Treatment Actually Does to Steel
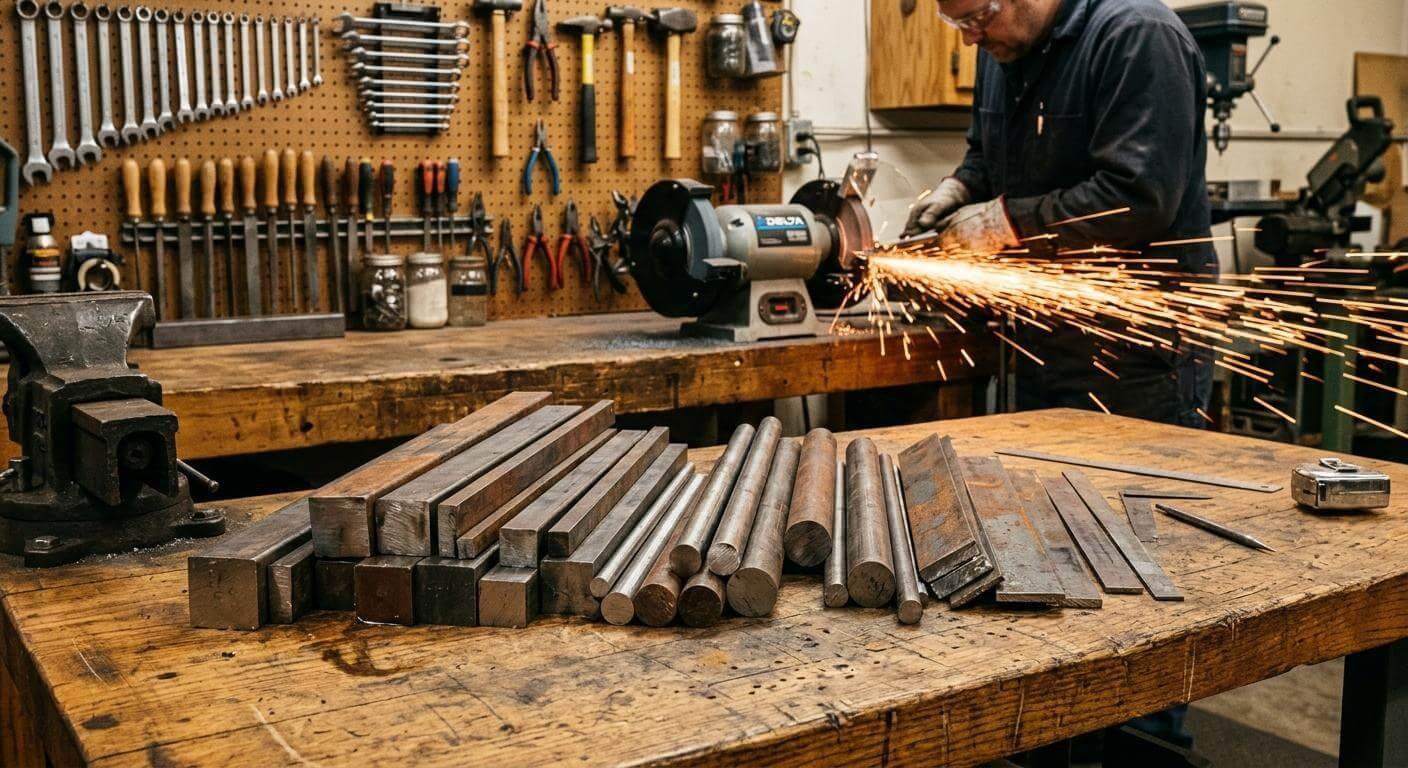
Heating high-carbon steel to the austenitizing range – the point where the metal becomes non-magnetic and ready to quench.
Heat treatment isn’t magic. It’s the controlled manipulation of a metal’s internal grain structure. When you heat steel to the right temperature range – called the austenitizing range – the carbon atoms that give steel its hardness dissolve evenly into the iron matrix.
Quench the steel fast enough from that temperature, and you lock those carbon atoms in place in a structure called martensite, which is hard and wear-resistant. Leave it in the air to cool slowly instead, and you get soft steel.
That hardened martensite is also brittle. Tempering – reheating to a lower temperature – lets some stress out of the crystal structure, trading a bit of hardness for toughness. A properly tempered blade won’t shatter on impact. A properly tempered chisel will hold an edge without crumbling. Get the tempering wrong, and you’re working with a tool that behaves like glass.
Steel accounts for 79.9% of all heat-treated materials globally as of 2024, according to Grand View Research, which suggests this process isn’t a niche pursuit. It’s foundational to everything from automotive parts to hand tools.
Understanding what separates professional heat treatment services from a home setup starts with knowing what the process does at the molecular level. The gap between “I heat-treated it” and “it’s properly heat-treated” is wider than it looks from the outside.
Choosing the Right Steel for Your Project
Different steel grades respond very differently to heat treatment – matching steel type to your setup is the most important decision you’ll make.
Not all steel hardens. Mild steel, the stuff used in most structural applications, has too little carbon to respond to a quench-and-temper cycle. If you try to harden it, nothing useful happens. You need steel with a carbon content above roughly 0.4%, and preferably 0.6% or higher, for cutting tools.
For home heat treating, stick to simple high-carbon steels: 1084 and 1095 are forgiving and well-documented, O1 tool steel is a reliable performer, and W2 gives excellent results with the right setup. These steels have a wide enough hardening window that small temperature variations don’t ruin the result.
The steels that cause trouble at home are the high-alloy grades. D2, M2, H13, and the CPM powder-metal variants require much tighter temperature control, precise soak times at the hardening temperature, and often atmosphere-controlled furnaces to prevent decarburization. Decarburization is when the carbon near the steel’s surface burns off during heating, leaving a soft skin right where you need the hardness most.
According to AZoM’s coverage of tool steel heat treatment, decarburization is one of the primary failure modes in improperly controlled heat-treating environments – and a home forge is almost always an improperly controlled environment for anything beyond basic carbon steel.
A quick field test: hold the steel to a bench grinder. Lots of bright, bursting sparks mean high carbon. Fewer, duller sparks mean mild steel that won’t harden. It’s not scientific, but it’ll save you from wasting an afternoon on the wrong material.
The Home Heat Treating Process: Step by Step
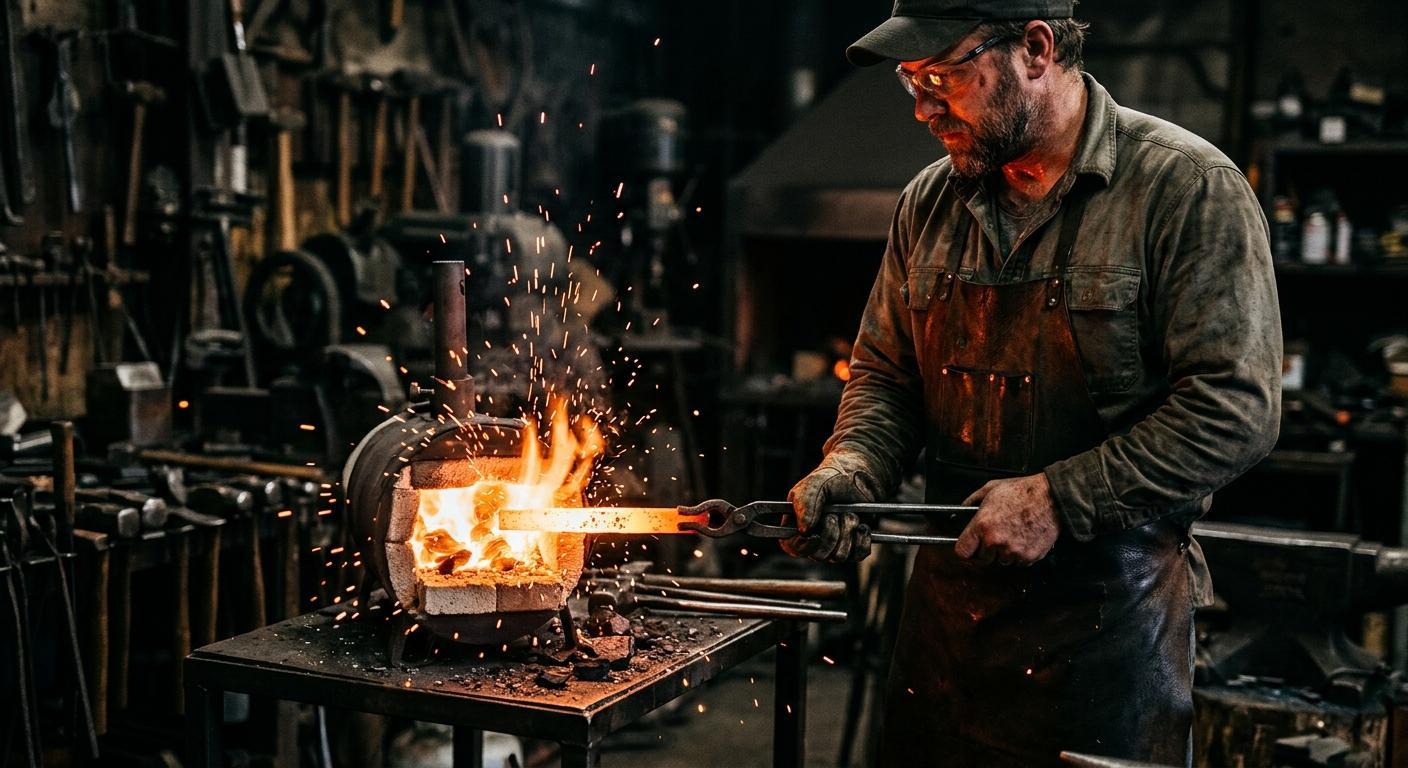
A home metalworker austenitizing high-carbon steel over a propane forge – the first step toward a properly hardened tool.
The setup for home heat treating doesn’t have to be expensive. A propane forge or a MAP-Pro torch, a quench tank (an old steel pipe section works), canola or park 50 quench oil, and a kitchen oven for tempering will handle most simple carbon steel projects.
Start with a preheat. Bring the steel up to 300-400°F before pushing it into the austenitizing range. This prevents thermal shock, especially in thicker stock. Then heat slowly and evenly to the austenitizing temperature – for 1084, that’s around 1475-1500°F. The non-magnetic test is your friend: once the steel loses its magnetic attraction (a handheld magnet just slides off), you’re in the right ballpark. Hold that temperature for a minute or two – don’t just heat and immediately quench.
Quench in oil for most high-carbon steels. Move the piece up and down in the oil, never side to side, to keep fresh oil in contact with the steel and prevent warping. Water quenching works faster and can be used for simpler steels, but it’s much harsher and significantly increases the risk of cracking.
Temper immediately. Don’t let the steel sit overnight in the hardened state – do it within an hour. A kitchen oven at 375-450°F for two one-hour cycles (with a full cool to room temperature between) gives good results for most knives and chisels. Color is a rough guide only: straw color around 400°F, blue around 580-640°F. An oven thermometer is worth the ten dollars.
If you’re putting this all together in your garage, a well-organized space matters more than you’d think. A cluttered bench with flammable material nearby is a real hazard when you’re working with oil quench and open flame. Setting up a dedicated garage workshop with fire-safe surfaces and clear work zones makes the whole process safer and more repeatable.
The Honest Limits of a Home Setup
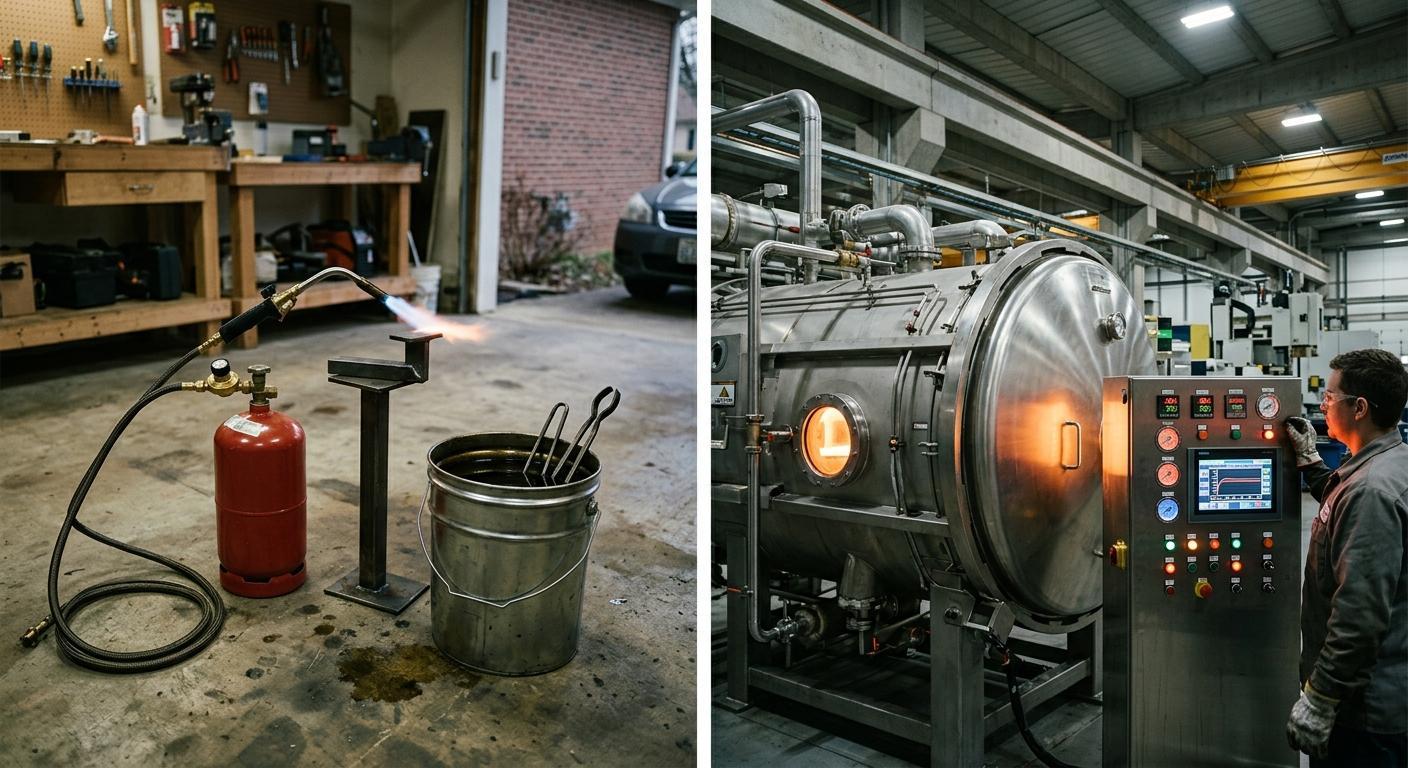
A backyard propane torch works for basic carbon steels, but high-alloy tool steels demand the temperature uniformity and atmosphere control of commercial furnace equipment.
Here’s what nobody wants to say: a propane forge has hot spots. The tip of the flame hits 2,000°F while the back of the fire pot might be 200°F cooler. For simple 1084 steel, that variation doesn’t matter much. For D2 or M2, it’s the difference between a properly hardened tool and a piece of soft or unevenly hardened metal that fails on the bench.
Commercial heat-treating furnaces maintain temperature within ±5°F throughout the entire part. They also use controlled atmospheres – either neutral gas or vacuum – that prevent the oxidation and decarburization that happens every time you expose hot steel to open air. That soft skin I mentioned earlier? A commercial furnace doesn’t produce it.
Soak times matter too. High-alloy steels need to be held at the hardening temperature for specific durations to allow the carbides to fully dissolve. At home, you’re guessing based on color and feel. In a professional furnace with a calibrated controller, it’s a timer.
The gap is getting wider, not narrower. According to Fry Steel’s 2026 heat treating industry overview, commercial heat treating has moved to AI-assisted furnace controls and precision sensor arrays as standard practice. The professional operations aren’t standing still while home setups catch up.
Knife Steel Nerds published detailed coverage of salt pot heat treating for high-alloy steels in 2024 – and the precision described there is frankly not achievable with a propane torch and a can of canola oil. That’s not a criticism of home setups. It’s just an honest assessment of what they can and can’t do.
When to Send Your Steel Out
The decision to outsource heat treatment isn’t an admission of defeat. It’s a practical calculation.
Send steel out when you’re working with high-alloy grades like D2, M2, or any stainless – these steels don’t forgive imprecision, and a failed heat treat means starting over from scratch with expensive stock. Send it out when you have a batch of blanks, because the economics shift fast when you’re running ten or twenty pieces.
Send it out when the part has critical tolerances – a drill press spindle or a precision gauge that can’t tolerate warping. And send it out whenever the cost of the material and the labor already in the piece makes a failed DIY attempt genuinely painful.
What to ask a service before you commit: What furnace type do they use – vacuum, atmosphere-controlled, or salt bath? Do they document the process with time-temperature records? Do they Rockwell test parts after treatment and share the results? What’s their experience with your specific steel grade? A reputable commercial heat treater will answer these questions directly.
Cost-wise, outsourcing a batch of blanks is often cheaper than two failed DIY attempts on expensive steel. Factor in your time and material honestly before you decide your propane setup is “good enough” for a high-alloy project.
For anyone building out a shop and trying to manage costs on both tooling and equipment, working through a garage workshop budget exercise can help you see where outsourcing actually saves money versus where in-house capability pays off over time.
Tempering Is Not Optional
The single most dangerous mistake in DIY heat treating is hardening without tempering. Glass-hard steel – steel in the fully hardened state with no tempering – will shatter when struck. A glass-hard punch hit with a hammer can send fragments across the shop. This is not hypothetical. It happens.
Tempering temperatures aren’t universal. Chisels and plane irons do well around 400-450°F, which gives a light straw color and leaves enough hardness to hold a keen edge. Knives for most cutting tasks run 350-400°F. Struck tools like punches, drifts, and hammer faces need to be heated to 475-550°F to withstand impact without fracturing.
Do two tempering cycles instead of one. Two one-hour cycles with a full cool between them relieve stress more evenly than a single longer cycle. According to ASM International’s heat treating education resources, process control during tempering is just as critical as the hardening step itself – it’s not a “good enough” step, it’s where you set the final properties of the tool.
Let the piece fully cool to room temperature after the second temper before testing or using it. Patience here isn’t optional.
Building the Heat Treating Habit Into Your Shop
Good heat treating is a practice, not a one-time skill. The difference between a maker who gets consistent results and one who doesn’t usually comes down to record-keeping.
Keep a log for every heat treat: steel grade, stock thickness, austenitizing temperature, soak time, quench medium, temper temperature, number of cycles, and any observations (warping, surface scale, color). After a few months, you’ll have your own reference sheet for the steels and setups you actually use. That information is more useful than any online chart.
Start with forgiving steels – 1084 and O1 – before you move to high-alloy grades. Build confidence with materials that have a wider process window. When you do move to tighter-tolerance steels, you’ll have a solid baseline to work from.
Once you’ve got heat-treated tools coming out of the shop, taking care of them matters as much as making them. Moisture is the enemy of finished steel – surface rust can take hold on even a tempered tool in a damp shop. A good system for keeping your tools organized and accessible also means keeping them off concrete floors and away from humidity, which extends the life of every piece you’ve put time into.
Design your projects around your equipment. That means choosing steels your setup can actually handle, outsourcing the jobs it can’t, and being honest about the difference.
Final Thoughts
Heat treating is the invisible step between raw stock and a tool that works. You can get the geometry perfect, the grind perfect, the handle perfect – and then ruin it entirely with a bad quench or a skipped temper. Or never temper at all, and go to the emergency room.
The good news: home setups are genuinely capable for the right materials and the right projects. Simple high-carbon steels like 1084 and O1 will give you excellent results with a propane forge, oil quench, and a kitchen oven. The technique is learnable, the equipment is affordable, and the results are real.
The honest news: knowing the limits of your setup is what separates a maker who improves from one who keeps repeating the same failures. When a job needs a controlled atmosphere, a precision furnace, and documented Rockwell results – send it to one. That’s not a weakness. That’s how experienced people work.