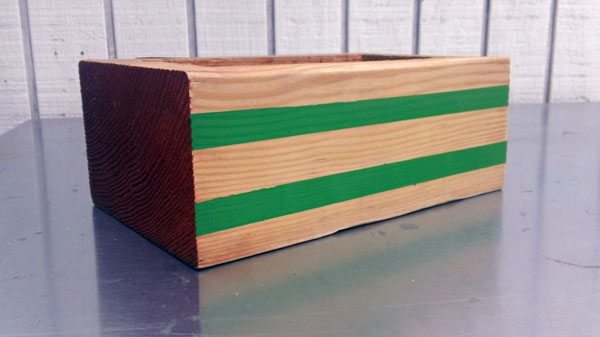
Our wood block planters turned out well for a basic DIY project that used reclaimed wood and some various drilling techniques. But we felt they needed a bit more pizazz since the wood used wasn’t a pretty redwood or other beautiful natural wood.
We wanted to dress up our planter without going overboard so we decided to paint to horizontal green stripes that add a subtle touch of color to a very angular and simple piece.
To accomplish this we used some bright green paint we had leftover from a step stool project, our Purdy brushes, some 3M sandpaper and ScotchBlue™ Painter’s Tape.

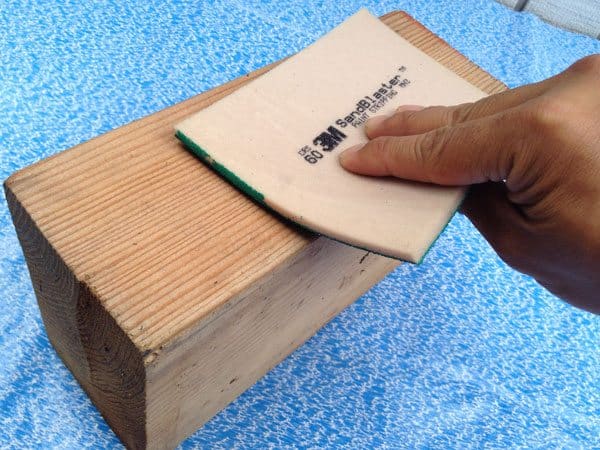
We removed the succulents from the planter and because we were painting it we needed a smooth and clean surface for the paint to adhere to so the 3M SandBlaster pads from 3M Advanced Abrasives worked perfectly to smooth down this rough surface.
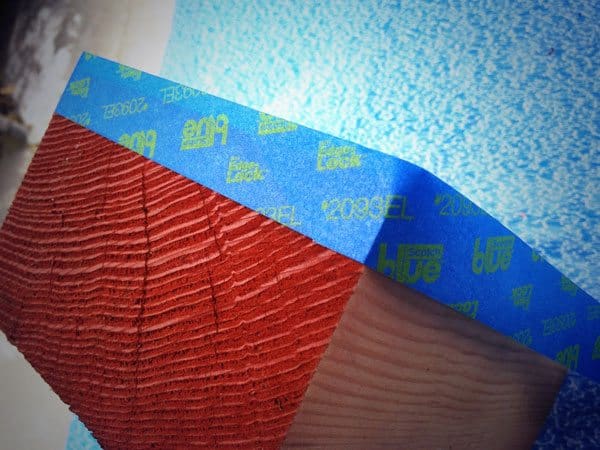
To paint the two stripes we needed to apply three bands of ScotchBlue™ Painter’s Tape around the planter. The EdgeLock system secured the tape firmly and alleviated our concern of paint dripping behind the tape or the tape slipping.
We were surprised how well the tape held even around the rougher edges on each end of the block.
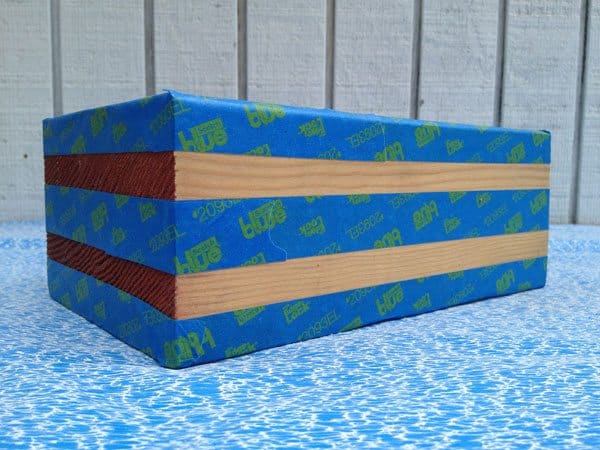
After we finished wrapping with tape we could start painting and we used only as much paint as needed to apply a nice thick coat but one that didn’t drip.

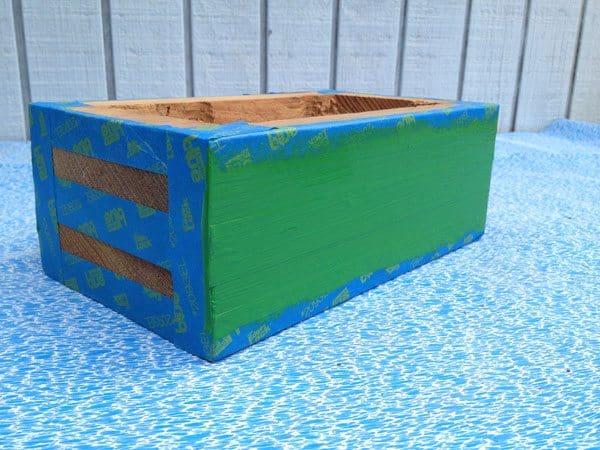
We let the paint dry overnight then removed the tape to reveal or newly colored wood block planter. The tape held firm even after it was wet and there were no drips behind or through the paint which created sharp lines all around.
We can’t wait to add the perfect mix of succulents.
3M DIY wants to encourage more summer projects and and is offering a $200 Home Depot gift card to one of our lucky readers.
To enter please leave a link to your favorite summer DIY or painting project in the comments below and in two weeks we’ll select a winner!


Ready, Set, Paint Blog Hop
This post was brought to you in partnership with The Home Depot and ScotchBlue™ Painter’s Tape.


 .
. worked perfectly to smooth down this rough surface.
 around the planter. The EdgeLock system secured the tape firmly and alleviated our concern of paint dripping behind the tape or the tape slipping.


