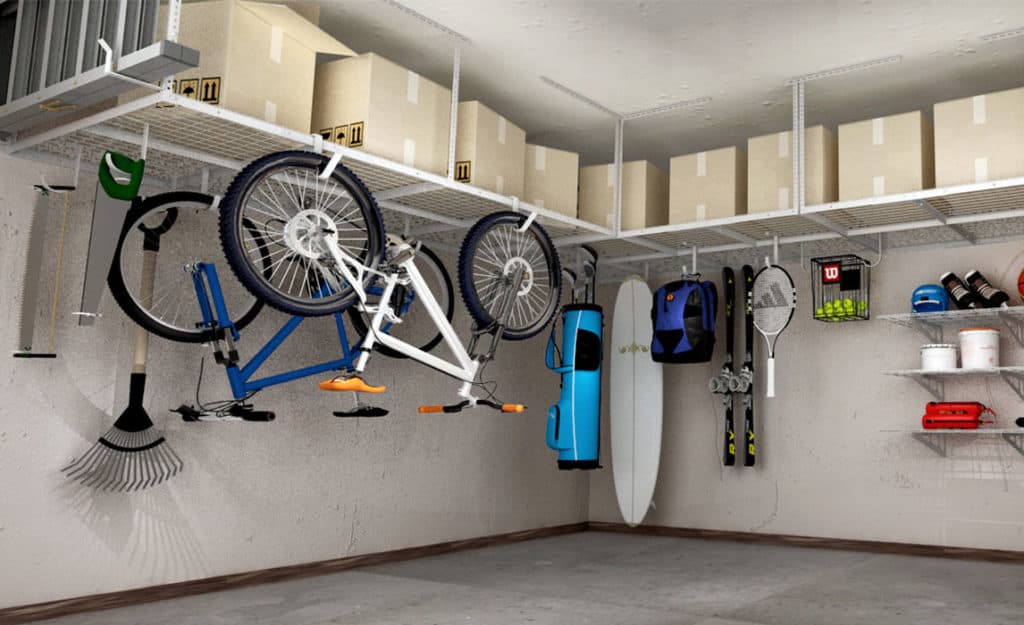
During our move into our new home we used our garage as a staging area as we brought boxes and furniture into the house. Unfortunately, our home filled up before we completely emptied the garage. We moved into a larger space, but we didn’t want to clutter the inside with gear and stuff that we only used once a year. The simple solution was an overhead garage shelving system that would keep our valuables sheltered and protected, but up off the floor and not stuffed in closets.
We first saw Fleximount overhead garage shelving on the Kim Six Fix, and realized it was the exact storage solution we were looking for. The shelving did wonders to declutter her space, and her garage ceiling was even lower than ours. We reached out to Fleximount and they sent over three of their overhead storage shelves for us to use. We went with two of their 3 x 6 shelves and one 3 x 8 shelf.
Our two-car garage is really only large enough for one car, but with all of our tools, tool cabinets, camping gear, and sports equipment, just squeezing in one car was going to be a tight fit. Fortunately the ceiling in the back of the garage is raised 5 feet, which dramatically increases the volume of the garage space, and makes it ideal for overhead storage.
We started by first installing the 3 x 8 foot shelf. The instructions were simple and all of the necessary hardware was included. The hardware was all very heavy duty. From the bolts to build the shelves as well as the hanging brackets, everything was solid.
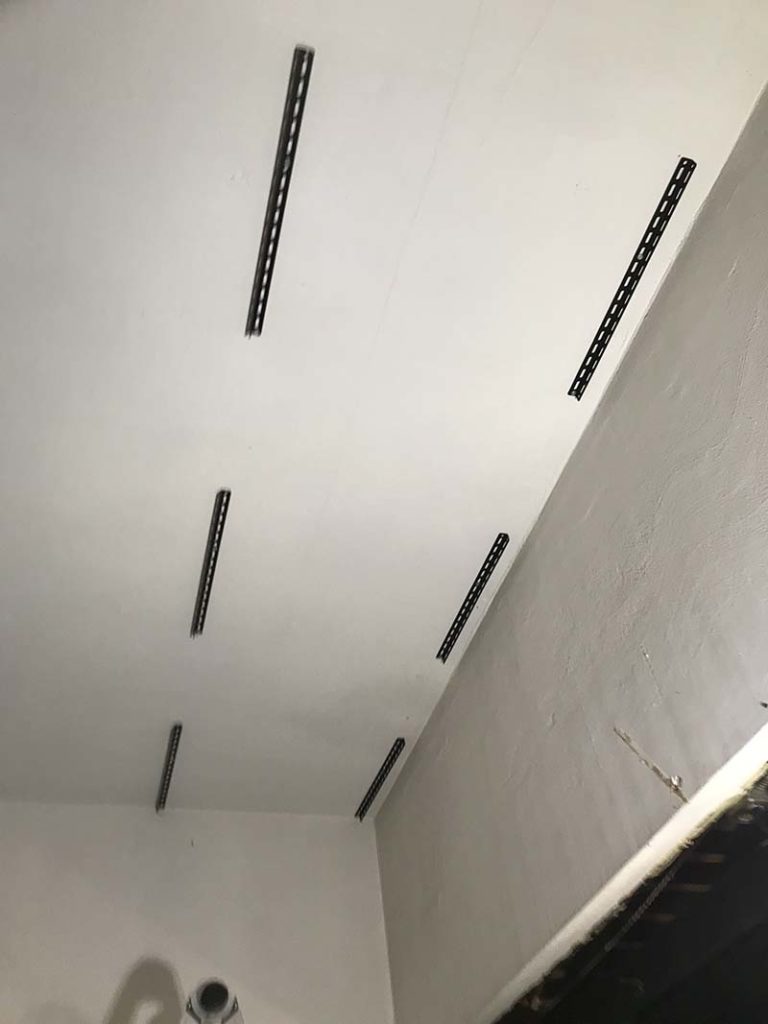
The first step was to mark where the ceiling brackets would be installed. They require wood studs, so we used our RYOBI stud finder to locate them, and then measured 16-inches to find each subsequent stud. The Fleximount racks can also be installed into concrete ceilings as well.
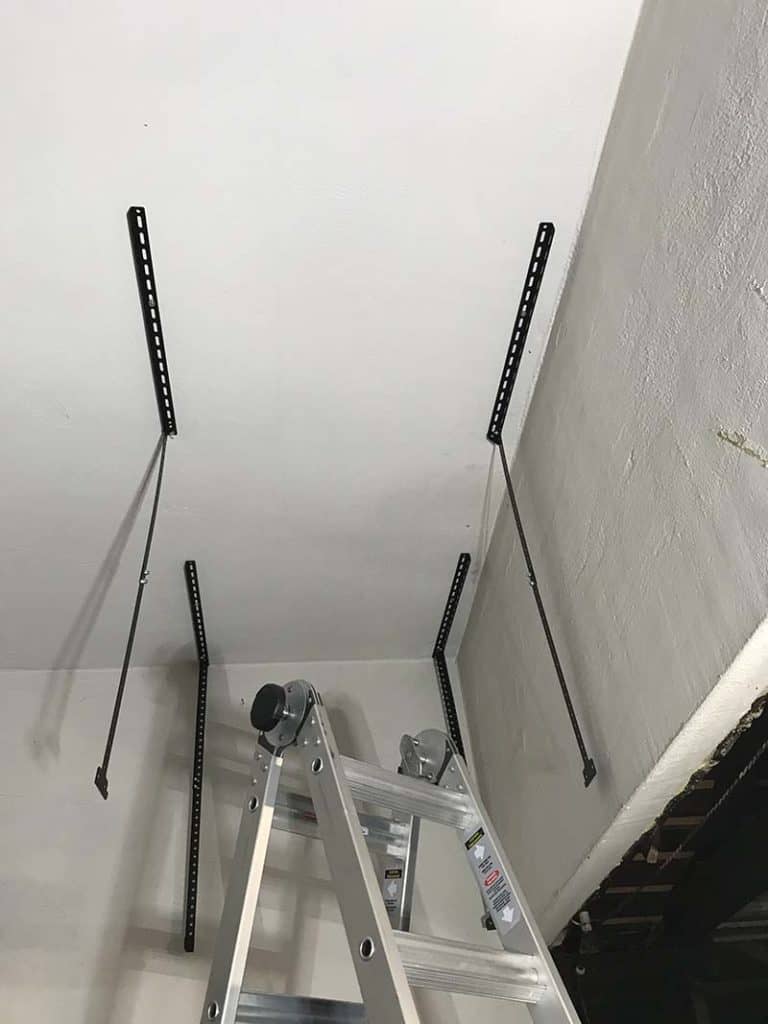
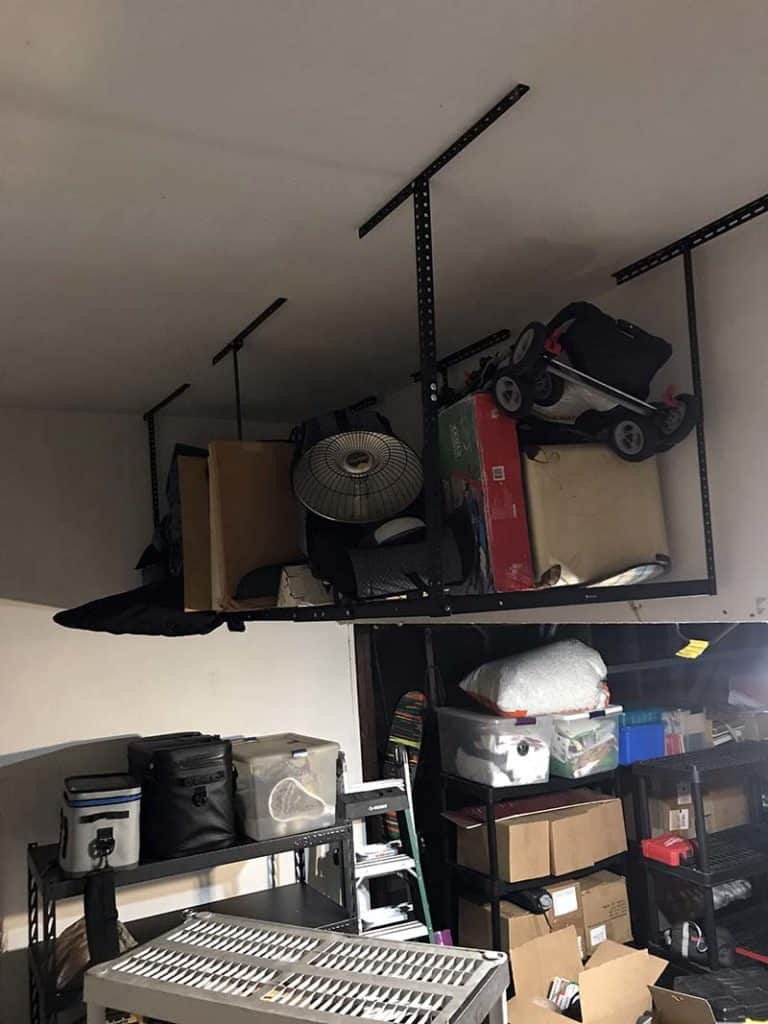
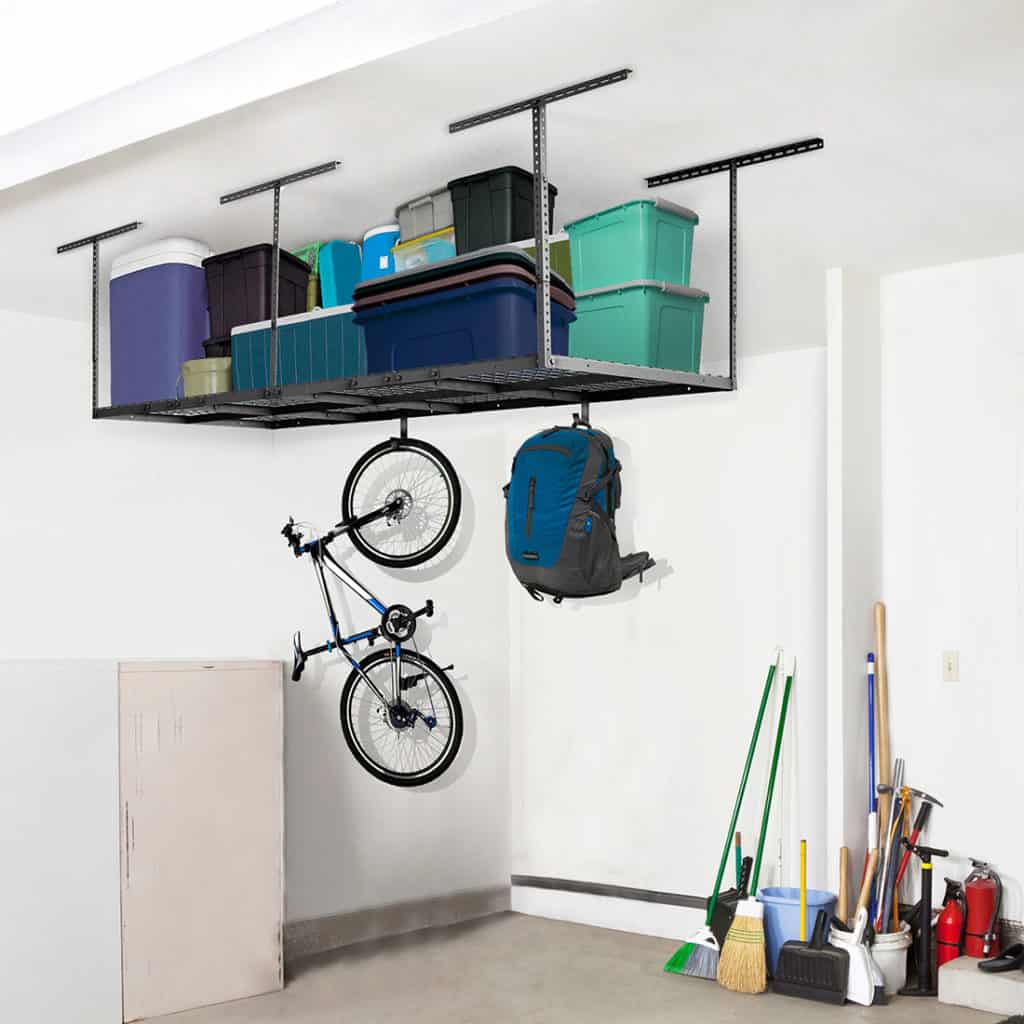
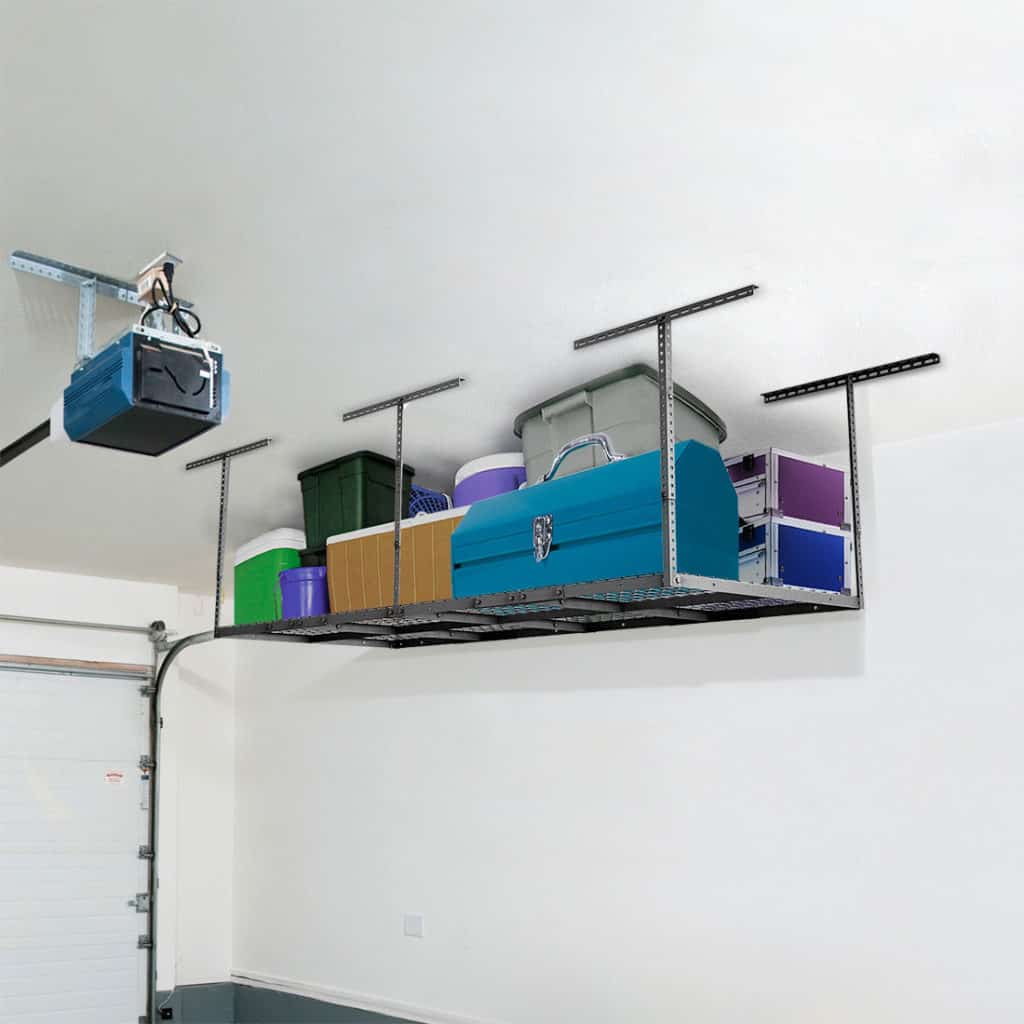
We then used a drill to pre-drill holes for our bolts to bit into and used an impact driver to secure the bolts through the brackets and into the ceiling. Once the brackets were determined how low we wanted the shelf to hang. We decided to keep it flush with the lower section of the ceiling which maximized the amount of storage and also looked the best. The height can be adjusted from 22″ to 40″, which is plenty of room to customize your space.
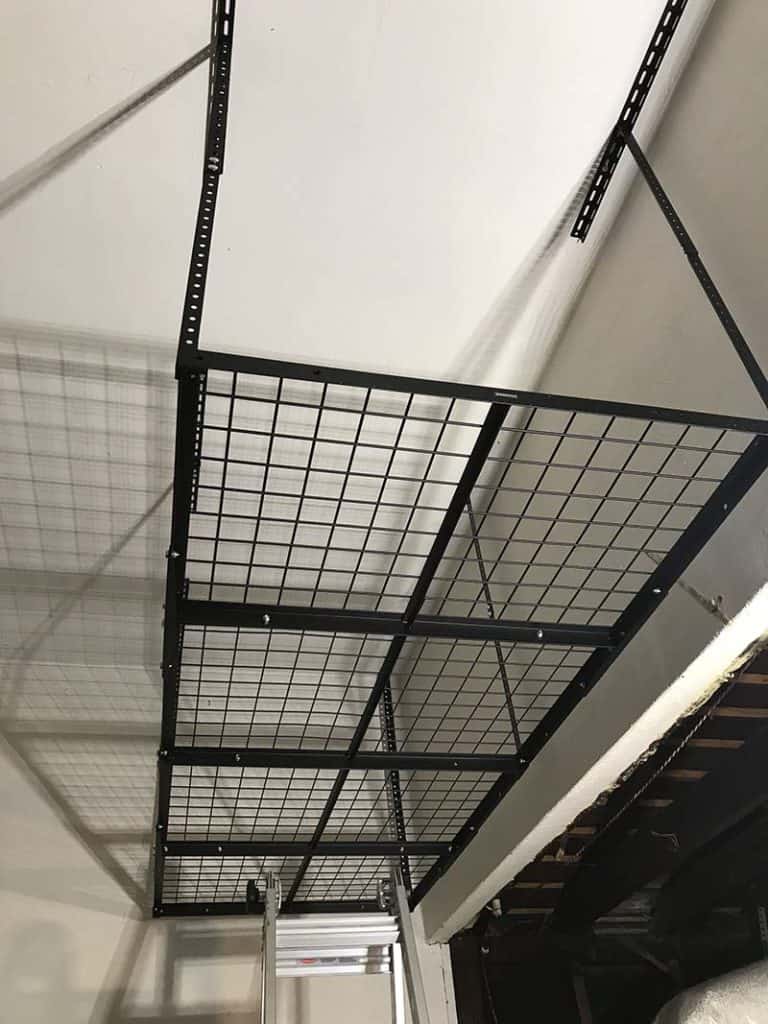
Once the brackets were attached to the ceiling the shelf easily fit onto the bottom of the brackets and was then secured from there. The entire unit felt extremely stable and we had 100% confidence that it was securely installed.
We then loaded it up with camping gear, fans, and baby stuff. The possessions that we wanted to keep and know exactly where they were, but was also not vital to using on a weekly or even monthly basis.
The alternative to using the Fleximount was to build our own overhead garage shelves, but that DIY process seemed to long for the limited amount of time we had to get our garage organized. These ready to install shelves can be installed in a couple hours and honestly look better than anything we could have done.
If you need to organize your garage, then look no further than the Fleximount garage storage shelves.

