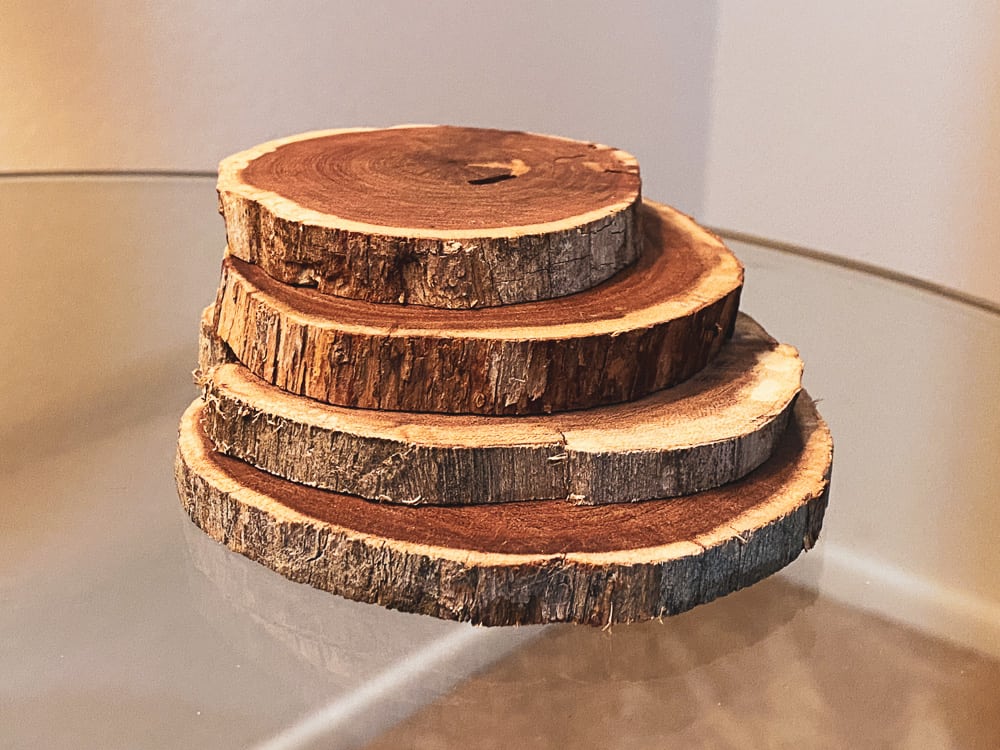
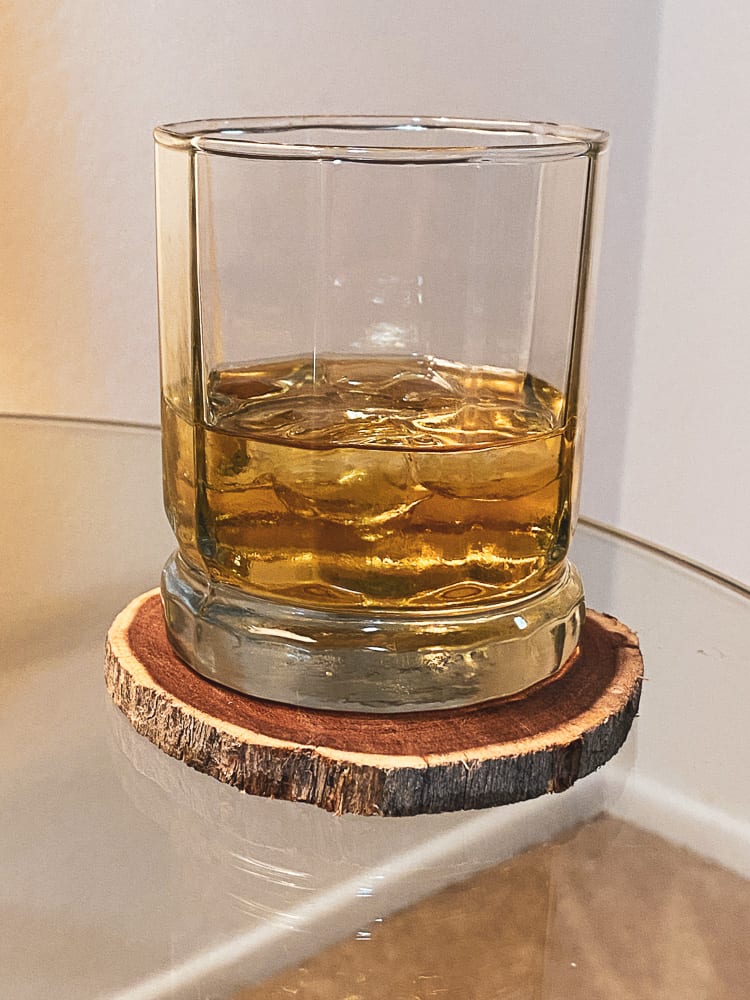
I’m always seeking unique ways to reuse our Christmas tree and my favorite project has been making wood coasters or wood ornaments. Any type of tree or branch of the desired diameter will work, but Christmas trees are the best and for most people the easiest to obtain.
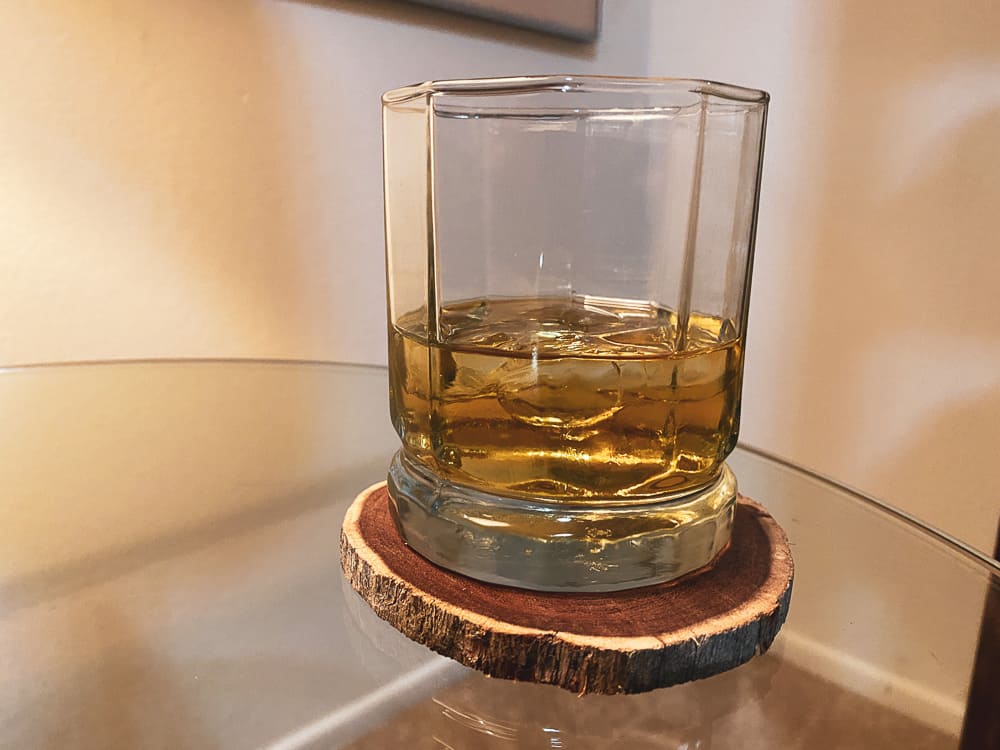
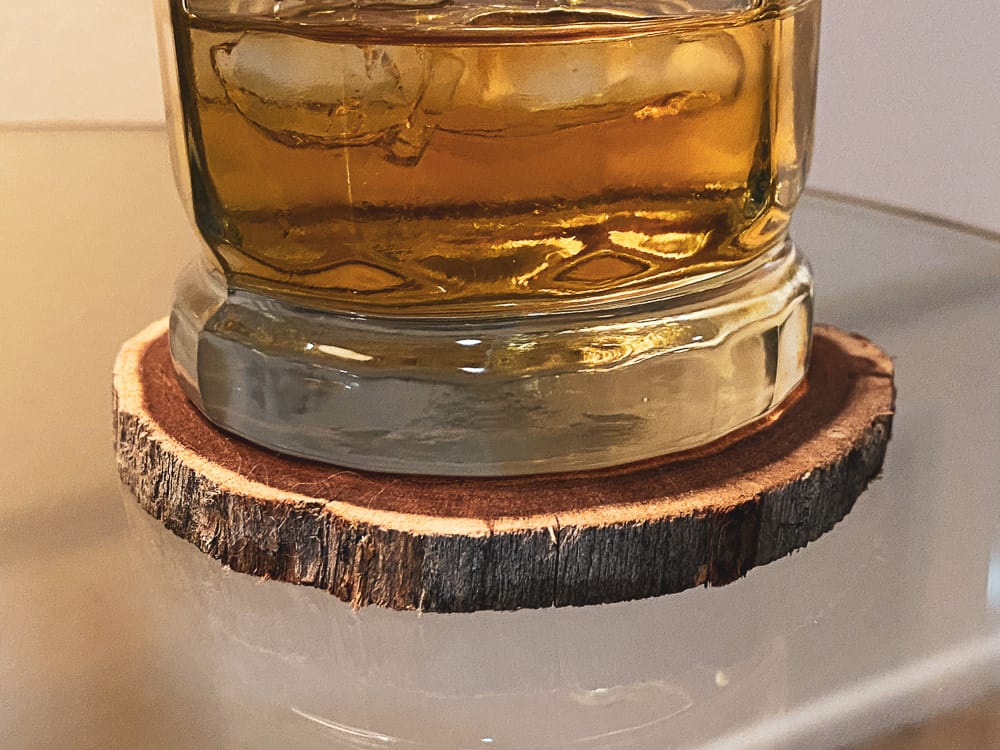
Wood coasters are a decorative way to protect your wood furniture from water ring stains as well as add a nice touch to any place setting. Custom DIY wood coasters are the best as each one is unique and you can decorate them in a variety of ways.
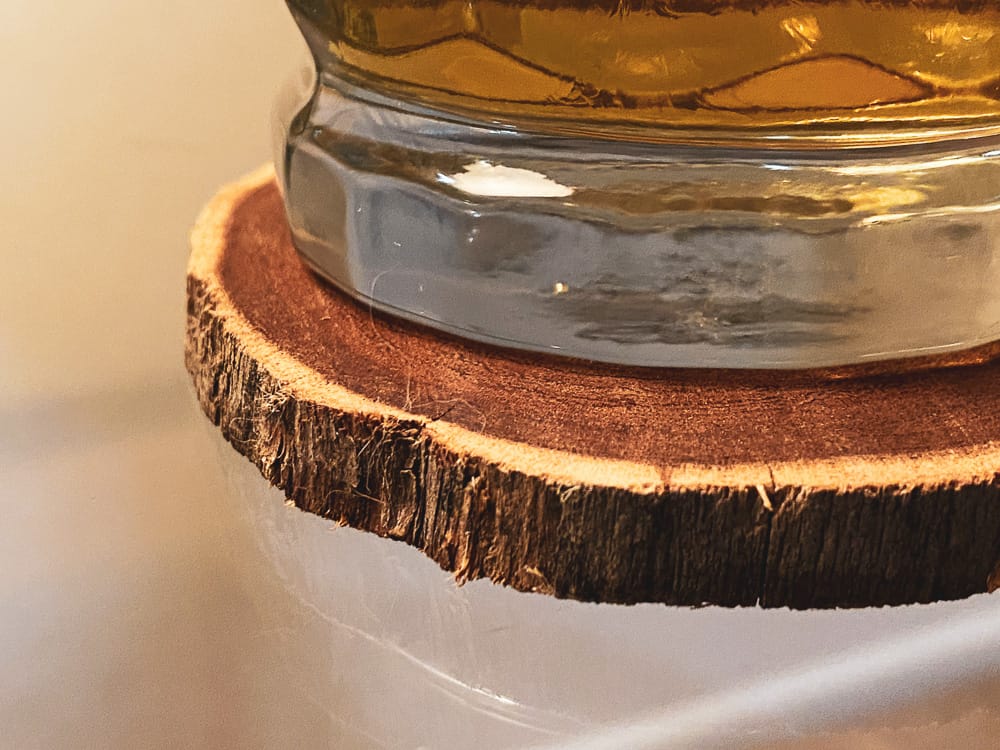
Tree Selection
The ideal diameter for a wood coaster is about 3 to 6-inches. Too small and your glass might tip over, too large and you’ll have an awkwardly large coaster taking up table space.
Christmas trees are usually the perfect size for coasters. For a large tree, you may need to work up from the base to get the right size.
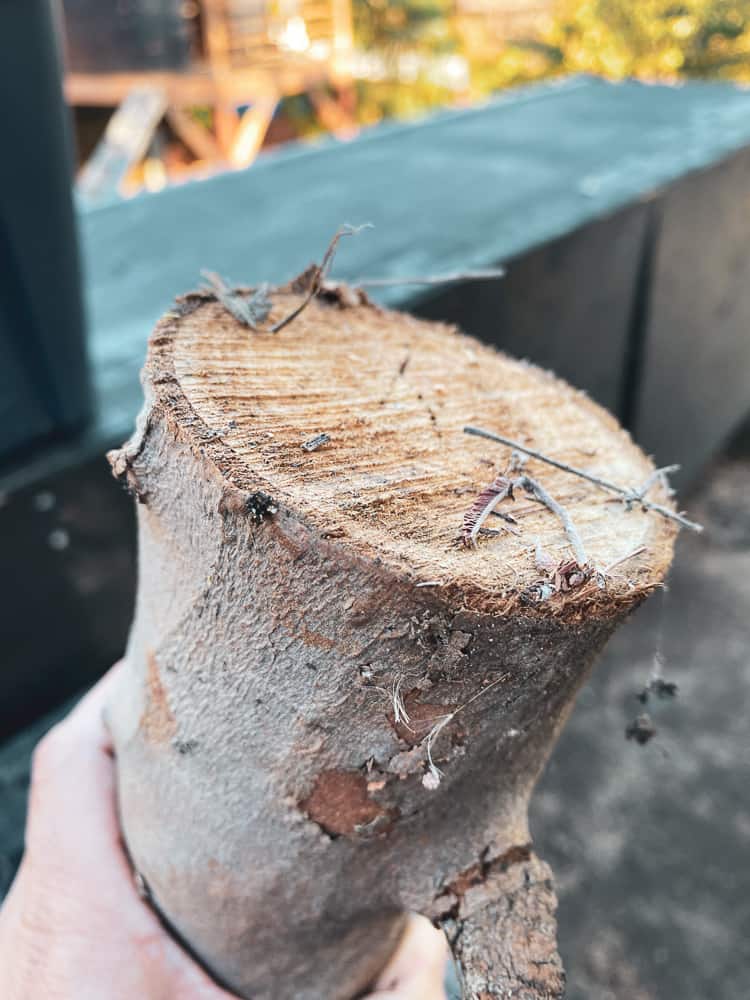
Branches trimmed from larger trees also work. I recently had our eucalyptus tree trimmed and I kept a lot of eucalyptus leaves and branches as they smell great and have therapeutic properties. I also held onto some of the larger branches for making wood coasters.
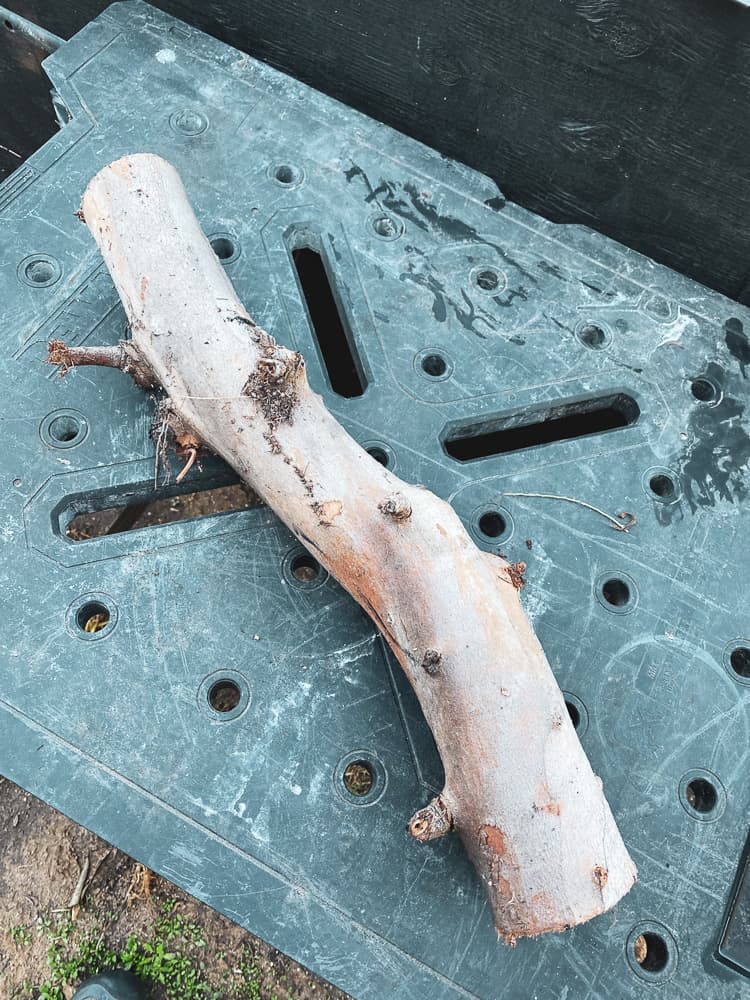
Tree Cutting
The cheapest way to make coasters is by using a tree that has already been cut down. All you need is a hacksaw to trim coasters from the end.
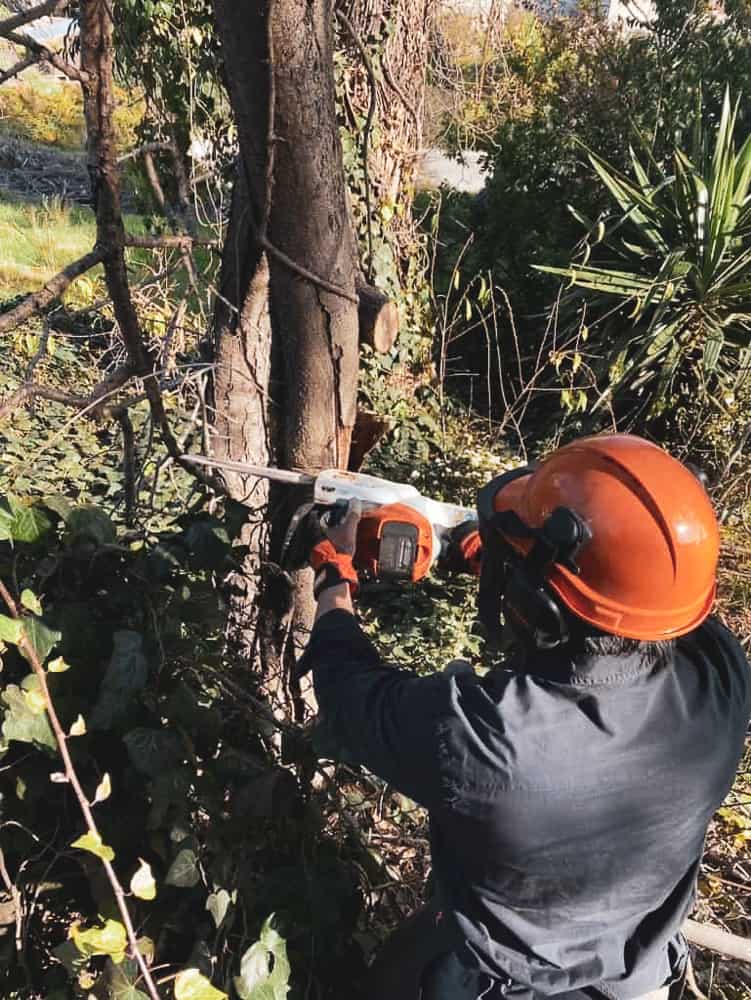
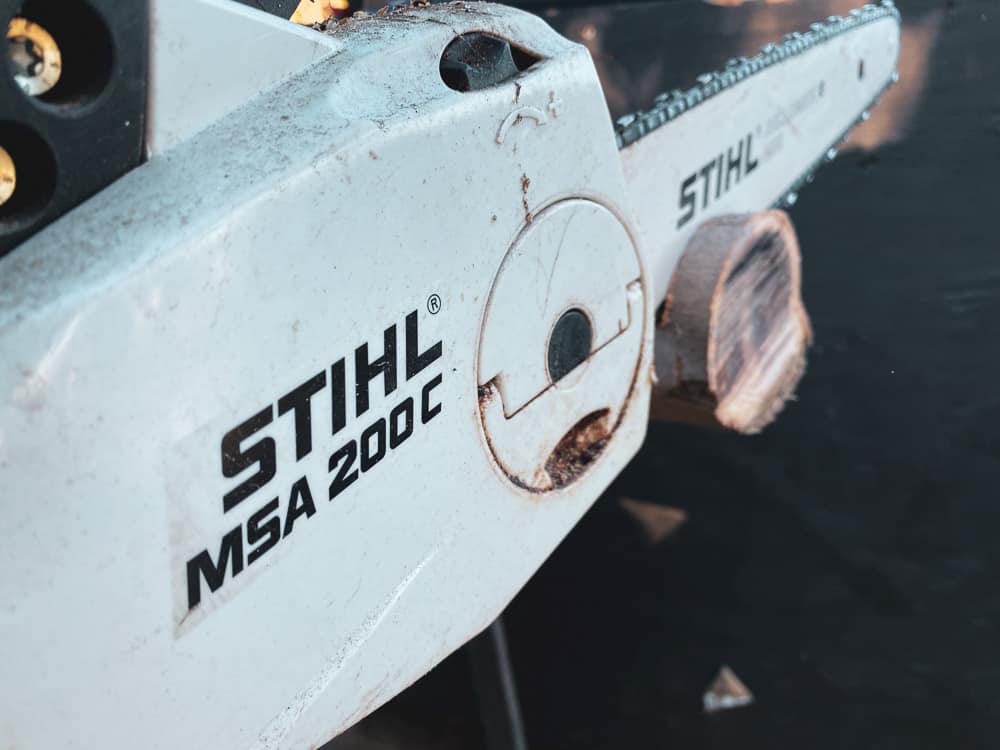
But, the easiest and most accurate way to do this is by using a cordless chainsaw.
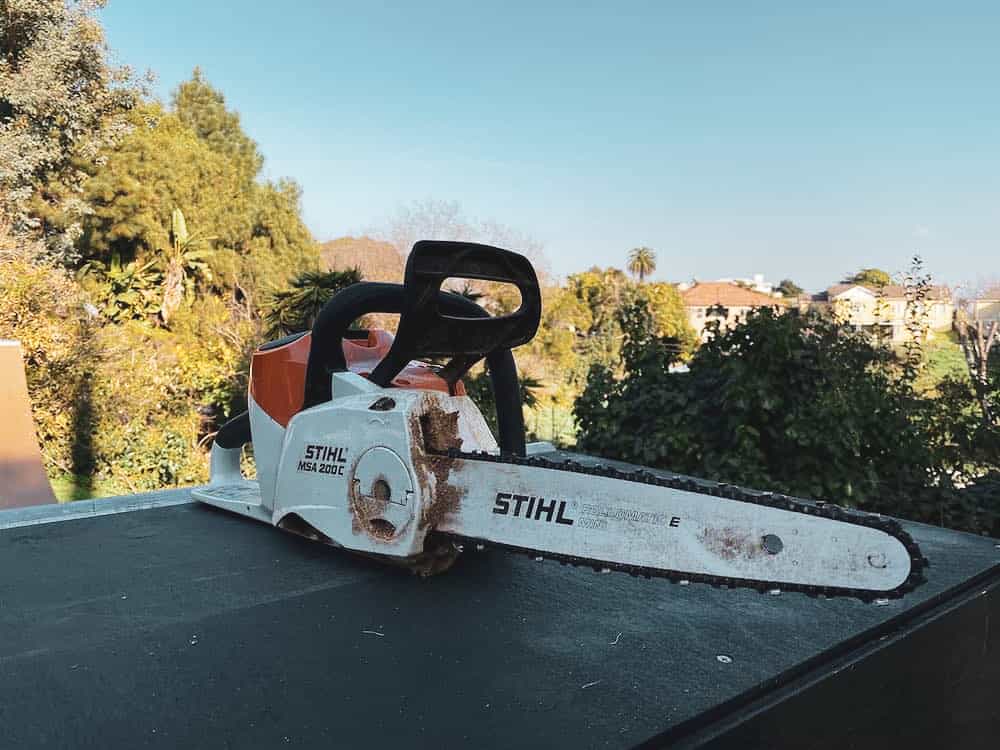
My go-to battery-powered chainsaw has always been a Stihl. From the MSA 160-C to my current MSA 200-C, Stihl has proven to be the best performing and has the longest-lasting battery of any cordless chainsaws I’ve used.
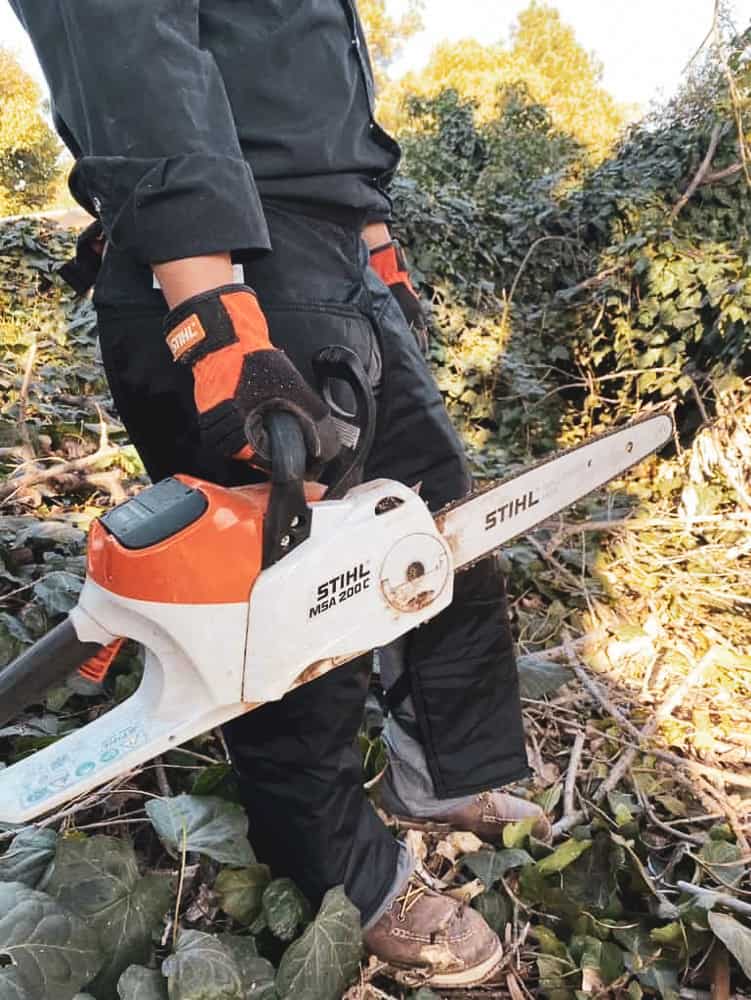
If you own a property with trees, it’s always a good idea to have a chainsaw on hand to help keep it trimmed and healthy, as well as to cut up fallen branches.

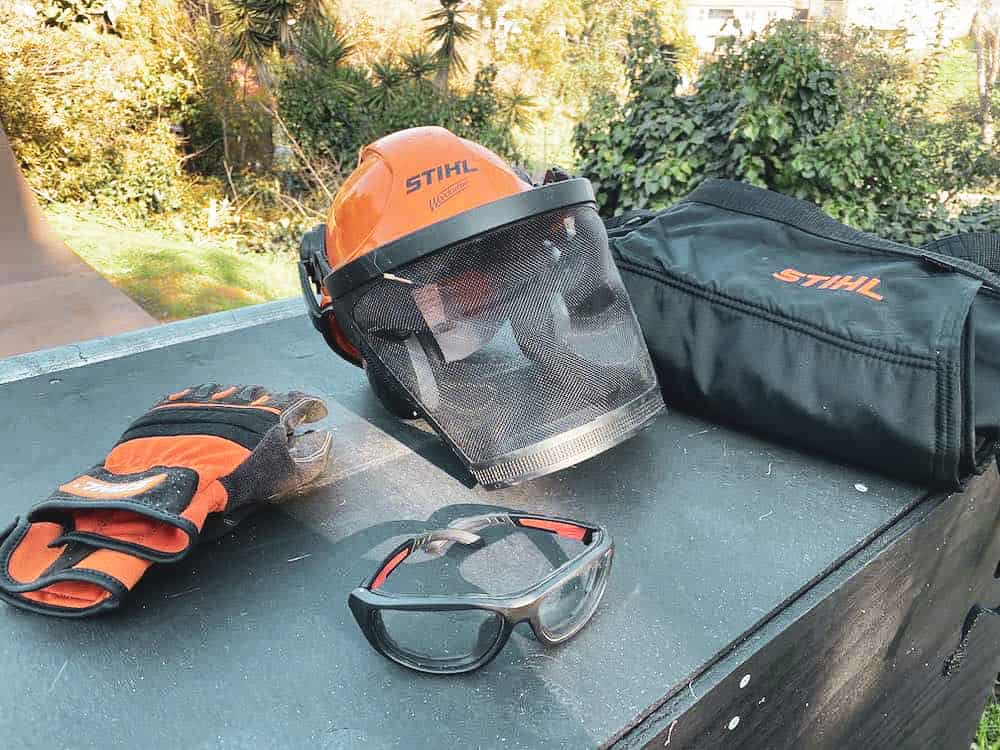
Always make sure you use the proper personal protective equipment when using a chainsaw. This includes gloves, eye protection, and chainsaw chaps. I also highly recommend a face shield and good solid work boots.
Cutting Coasters
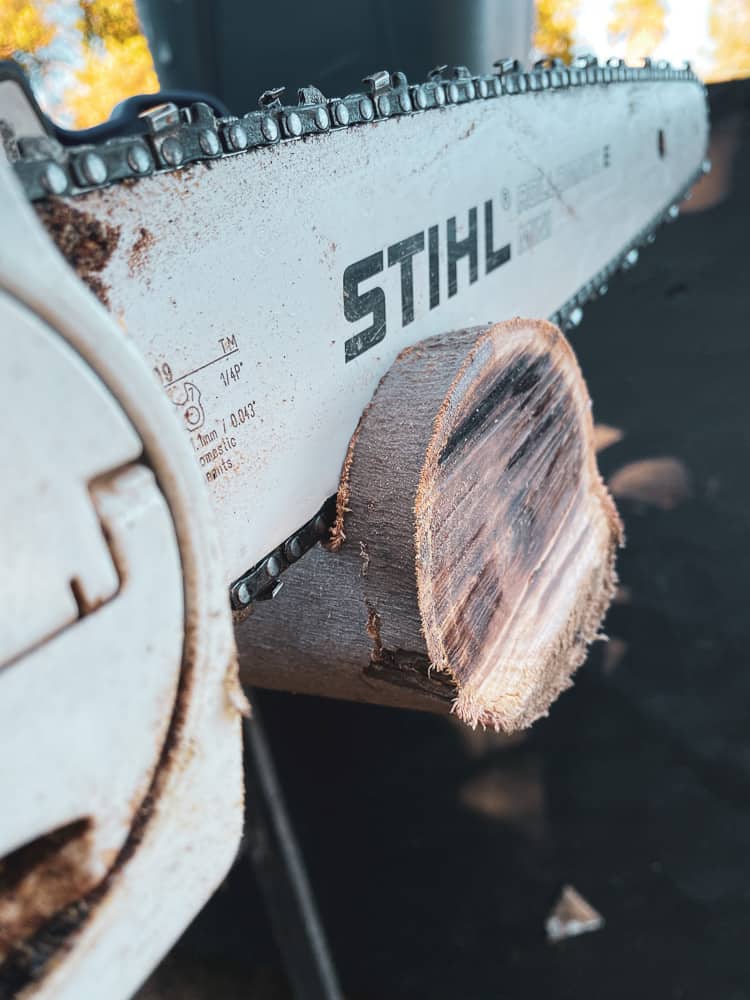
Coasters should be about a ¼-½” thick. If you are using a chainsaw to make these cuts, I’ve always found it helpful to cut a smaller section of the trunk and secure it with clamps to a work table as opposed to cutting the trunk from the ground at an angle.
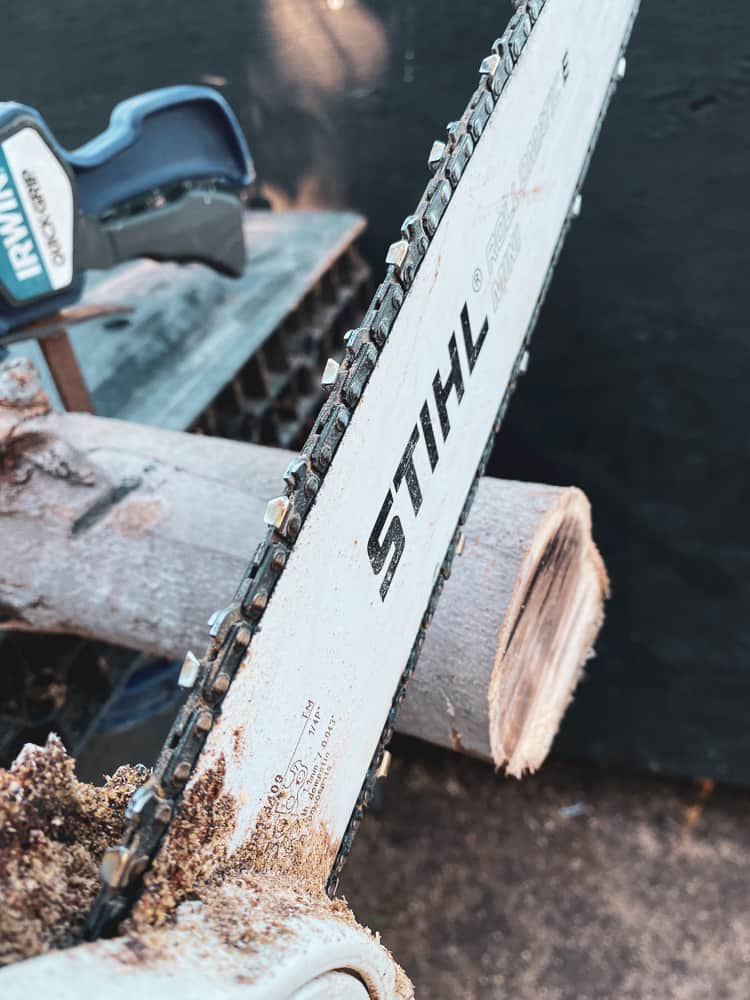
For even more precise cuts a miter saw is great.
Final Wood Coaster Prep
I prefer the look of a live edge to my wood coasters, so I leave the bark on if possible. If you want a cleaner look then just peel it off.
The most important steps to preparing your wood coasters for use are sanding and applying wood finish.
If your coasters are a bit rough start with 150 grit sandpaper and work your way to fine sandpaper of 300-400 grit. This will make a nice smooth surface that will take to a finish.
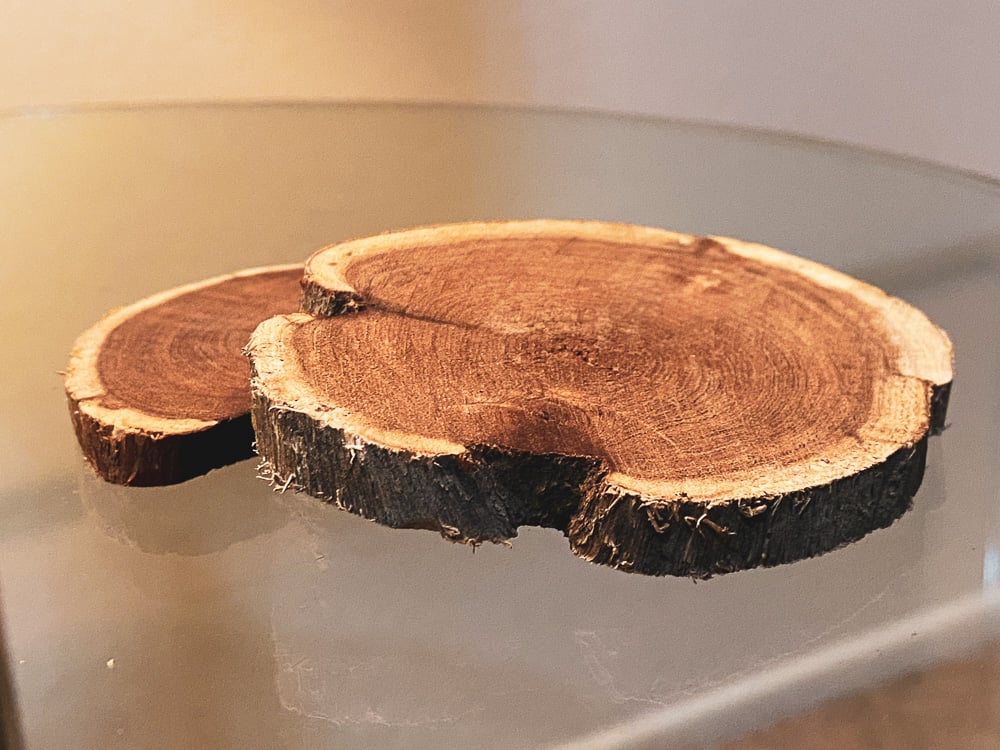
There are a variety of wood finish options to choose from, but from my experience, tung oil works best. It’s non-toxic and non-VOC. It usually dries clear and is very water-resistant, which is important for a coaster.
Other non-toxic finish options include linseed oil (flaxseed oil) and mineral oils. These both work great if that’s what you’ve got. You can always periodically reapply as needed.
Custom Decorations
If you want to add a bit more flair to your coasters, you can stamp, carve, draw, or burn the wood for a custom look. Make these modifications after sanding and before applying a wood finish, which will seal your designs in place.
It’s also easy to turn these coasters into Christmas tree ornaments by simply drilling a hold through the top and tying string through it.
Wood Coaster Gifts
So, before you toss out your Christmas tree, give it a new purpose by making these wood coasters. They make great gifts year-round and are also easy to pack and ship.
