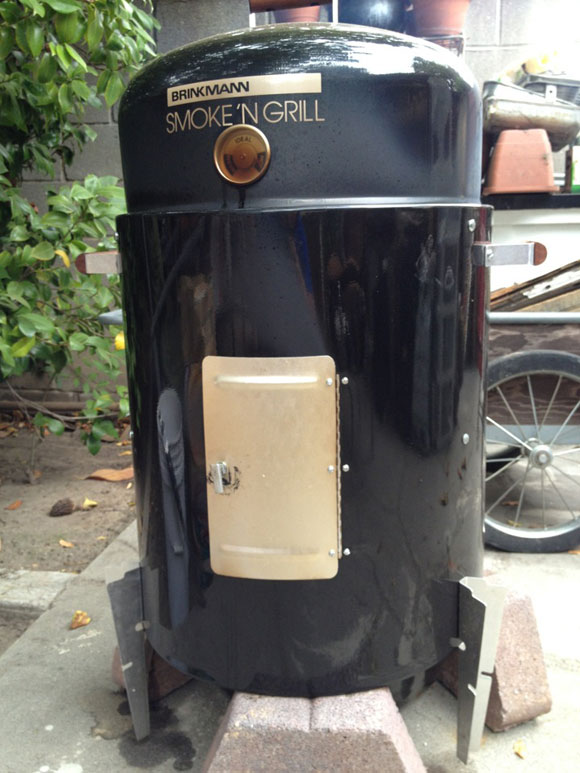
Brinkmann makes one of the cheapest smokers around. For about $40 you’ve got a decent charcoal smoker that can also be used as a grill and is large enough to handle pork butt, chickens and ribs (maybe not all at the same time).
For the 4th of July we picked up the Brinkmann Smoke n’ Grill from Home Depot and after consulting with a Brinkmann rep (who didn’t endorse mods but said they have helped some customers) we decided we needed to make some modifications that would make this grill perform better than it does out of the box.
With a few tweaks this little smoker can handle big jobs. Here’s what you need to get your smoker up to the task.
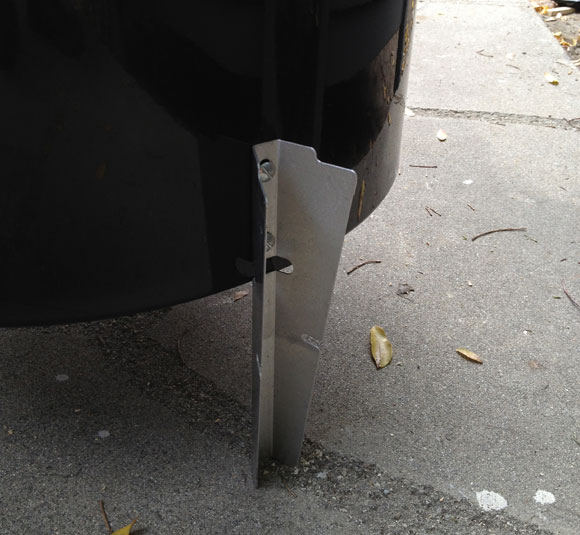
Install Feet on the Outside of Smoker
The instructions say put the feet on the inside. This will hold the charcoal pan and make the smoker have a nicer look but by moving the feet outside of the smoker we can take the charcoal pan and place it some pavers or bricks and then place the smoker on top of it. It’s then much easier to access the charcoal during the 10 or so hours you need to smoke a pork butt.
Just lift the entire smoker off the charcoal and add charcoal or wood as needed.
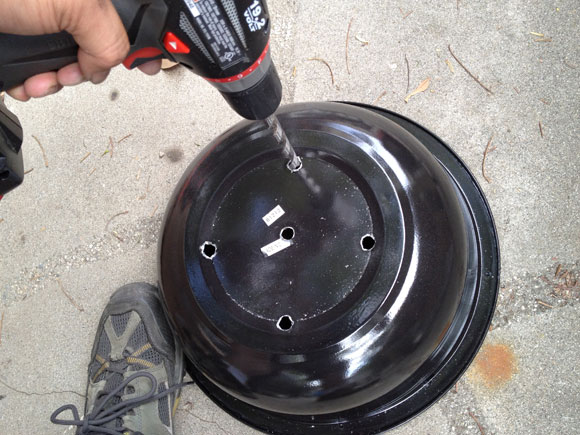
Aerate the Charcoal Pan
I drilled 5 holes in a star pattern in the bottom of the charcoal pan. This will allow the ash to fall through and give the charcoal more air to breathe which promotes hotter and longer burning.
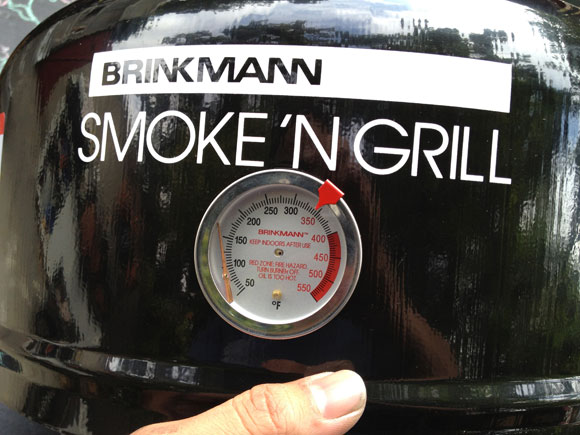
Replace the Thermometer
The included thermometer doesn’t have numbers only “warm/ideal/hot”. You and purchase an aftermarket thermometer and replace it so you can have an accurate reading.
Add a Vent
The only way to really vent the smoker is with the side door. By adding a vent in the top you’ll have better control of the smoke and heat.
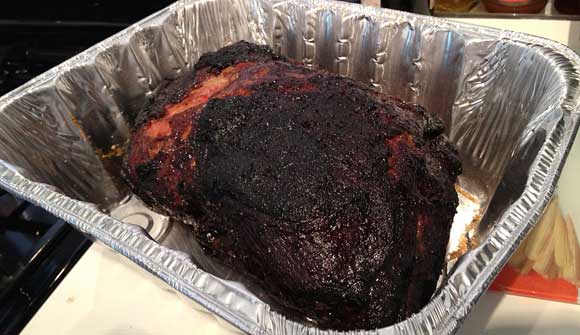
With our first attempt at smoking meat we went with a pork butt and threw an occasional piece of cherry and hickory on top of the charcoal. We ended up with a nice “bark” covering on the pork butt and it pulled apart wonderfully.
The bone slide right out and we had a great meal for the 4th as well as sandwiches for the next few days.

