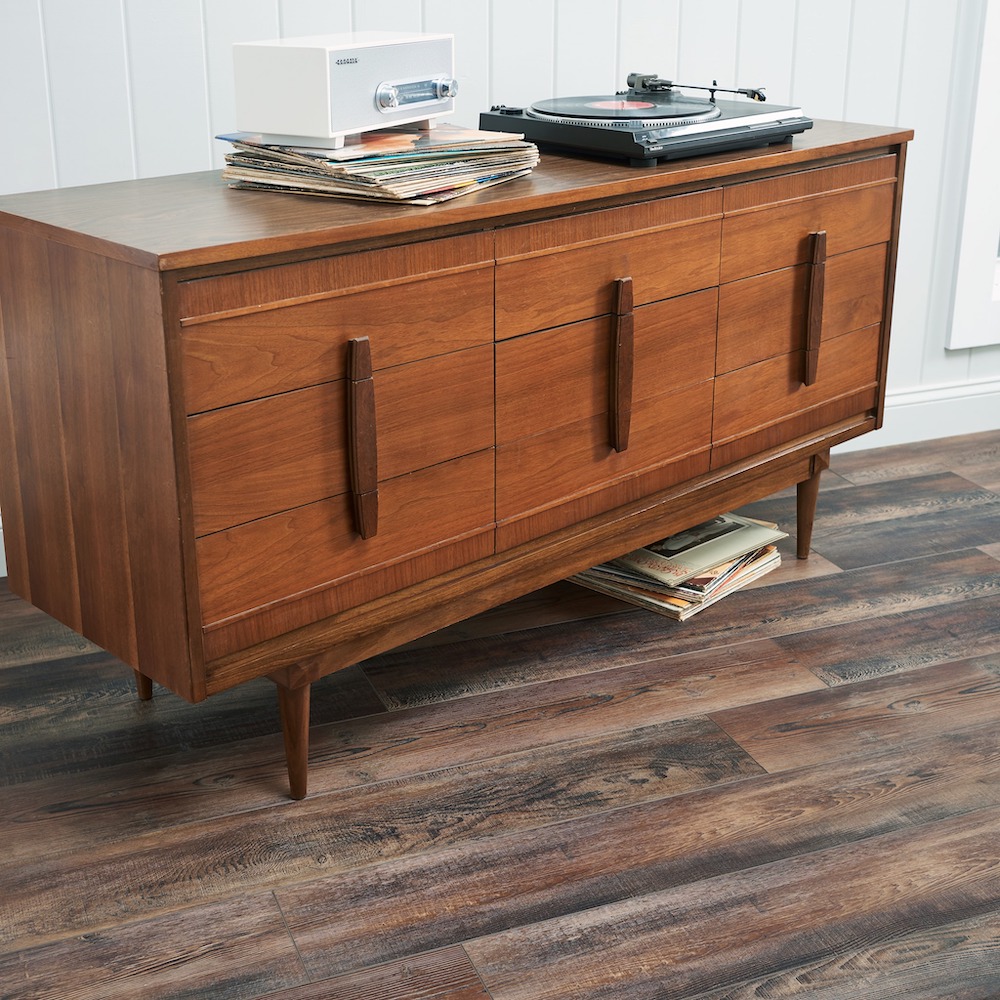
Forget everything you know about vinyl flooring. The next generation of luxury vinyl flooring offers high performance, lots of color and texture options, and a great price for the product and installation.
Our 100 square foot stand-alone studio space has ugly and worn out square plastic floor tiles. They are dirty and stained beyond repair, so we never cleaned our floors as they would just remain dirty looking. We’ve always wanted to update the floors in the studio, but the costs and time involved always kept us from doing it.
A couple months ago Shaw Floors reached out to us about their Floorte luxury vinyl flooring line and asked if we were interested in checking it out. Immediately we thought of our studio space and how we’d love to upgrade the floors and give the room a makeover.
The space needed a fresh coat of paint and a reorganization that just wouldn’t work without new floors, so we jumped at the opportunity to try Shaw’s new flooring.
We chose a floor from their luxury vinyl flooring line called, Floorte, which offers 63 different styles and colors.
We requested three different samples and quickly settled on Mantua Plank in Elba. Mantua Plan is available in 9 different colors and we wanted a light neutral color that would work well with our white walls and light colored furniture. The wood pattern and color would add more depth to our room and a touch of sophistication our space has been lacking.
In addition to finding a design that we loved and could both agree on (that can be tough), we were really sold on the ease of installation and waterproof feature of the floor. Its Fold-N-Go Locking system is precision-engineered with the most advanced technology possible-making it easy to use, strong, and durable.
Floorte’ is also flexible and is installed as a floating floor. It conceals imperfections of the floor beneath-so less floor prep is needed.
Our floors were in pretty good shape but not completely smooth, but Floorte covered them up nicely and the install left no gaps. The waterproof feature is a huge one, as we’ve spilled drinks on occasion and don’t want to have to freak out about stains or other issues.
Preparing the Room
The first step before installing the new flooring was to remove everything from the space. We’ve been in the space for 8 years so stuff has piled up. But this gave us an opportunity to purge and only keep what we really needed.
Once we removed all of the furniture and office supplies, we chose to paint the room before laying down the new tile. We went with a Behr paint and primer and give the room two coats of fresh paint. Because we were roing to be pulling up the old tile we didn’t need to put down drop clothes.
The walls are in rough shape but we’ll have to save any serious remodeling for another time. The next step was to pull up the old tiles, which was easier than expected.
The glue hold the tiles to the floor had mostly dried up, so by using a demolition bar we were easily able to pull up all of the old tiles and there was very little residue left on the bare concrete floor.
We used a broom and a Shop-Vac to clean the floors as much as we could. It felt so good to remove years of dirt that had built up and know that we were going to be putting down fresh new floors.
Check back soon to read about how we installed the Floorte luxury vinyl flooring, which ended up being one of the easiest DIY projects we’ve ever tackled.

