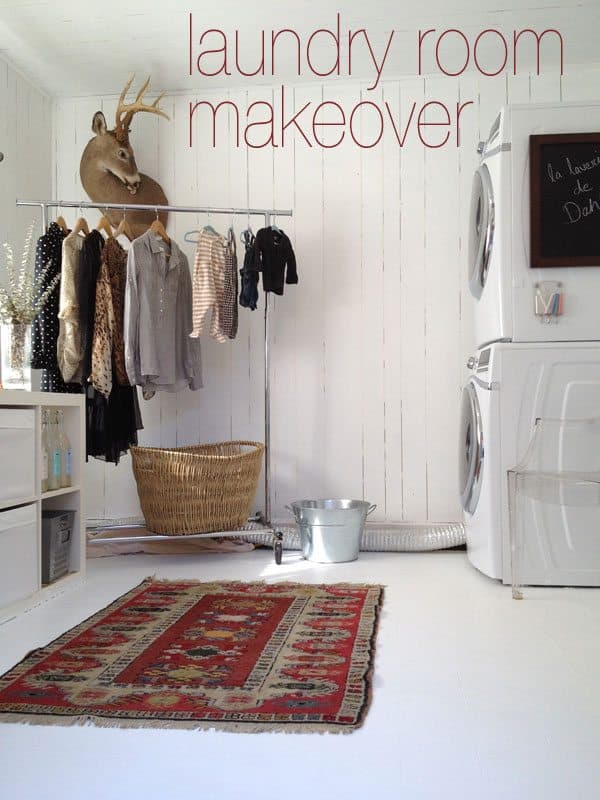
Our little guy is now four months old and one of the best things we did to prepare for parenthood was upgrade our laundry room. We are renting a home and fortunate enough to have the space for a separate laundry area. After living in NYC it was important that we had our own washer and dryer and with a baby its even more vital for comfort and convenience.
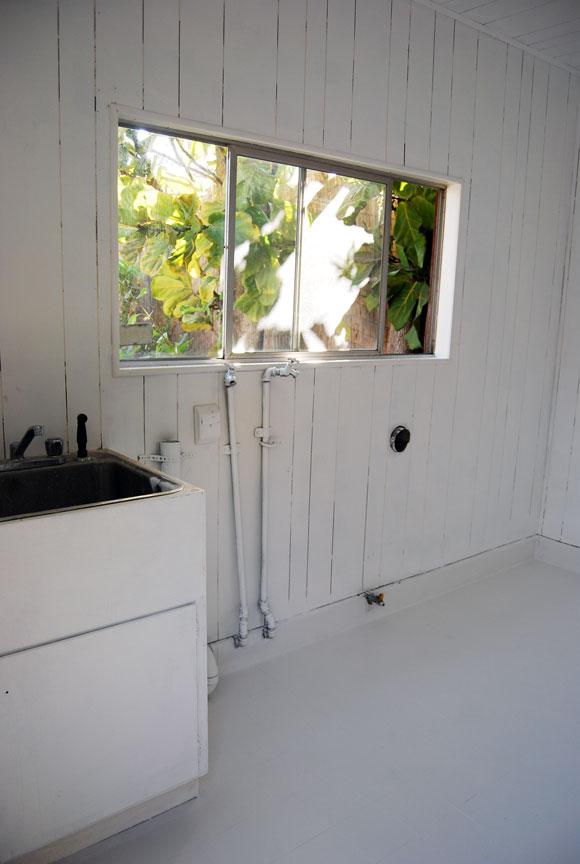
Old Utility/Laundry Room
The old laundry room was functional but it was ugly and washer/dryer units we had were at least 10-15 years old. We are all for solid appliances that last a long time but we are also into saving water and energy and the old units did neither. You just set a wash size or dryer time and thats it. Most new washers and dryers are energy star rated and have a lot of built in features to save you energy. We knew we’d be doing a lot more laundry with the little one on the way so it was a no brainer to consider upgrading our units.
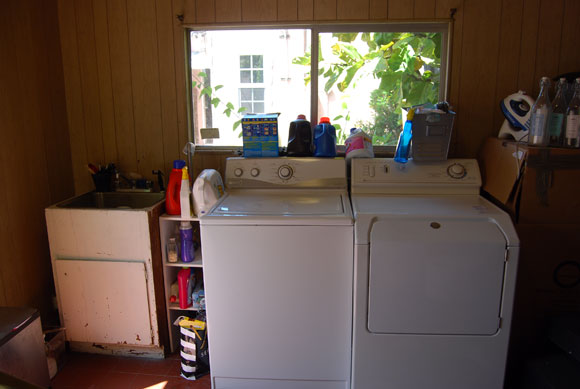
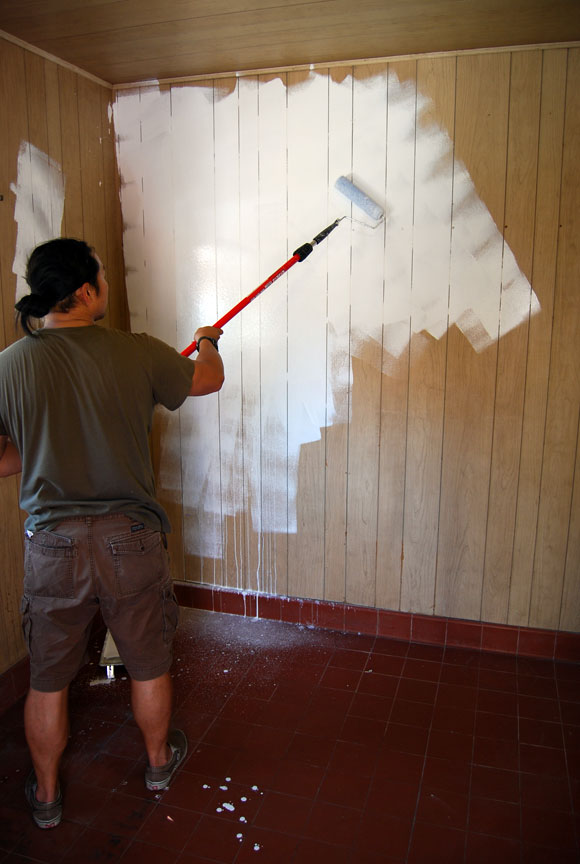
We also had a problem with the red tile and faux wood walls. They were just ugly and had to go.
The room itself had also become a bit of a storage area and “catch-all” for stuff that we really had no other place for. This would have to change as baby stuff takes over and is more important so we knew we’d have to reorganize everything to make it work.
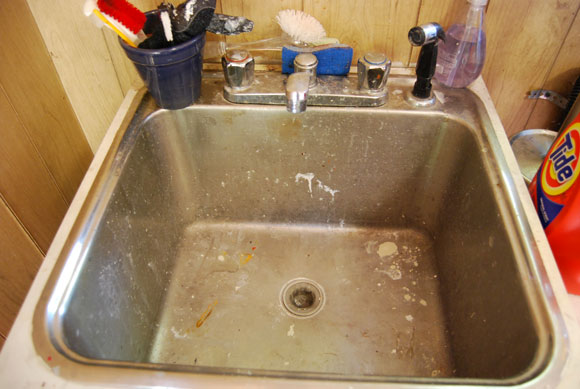
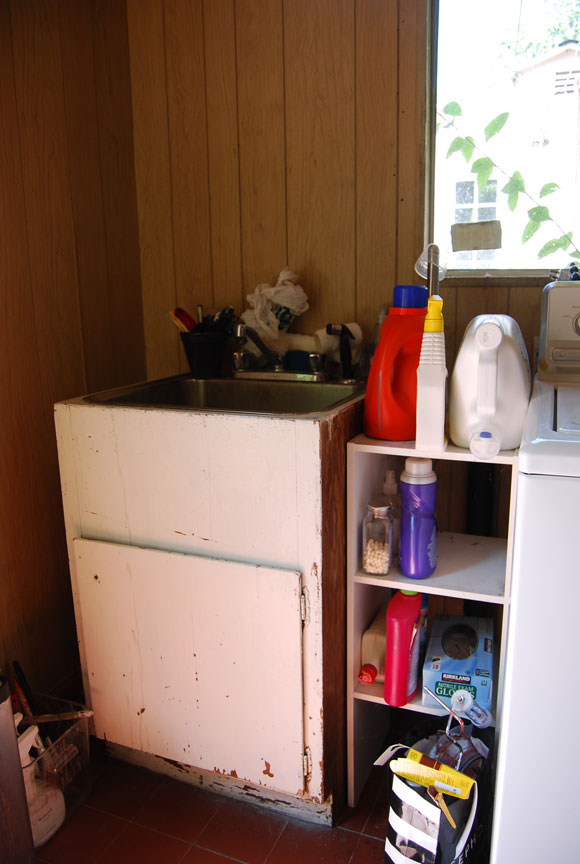
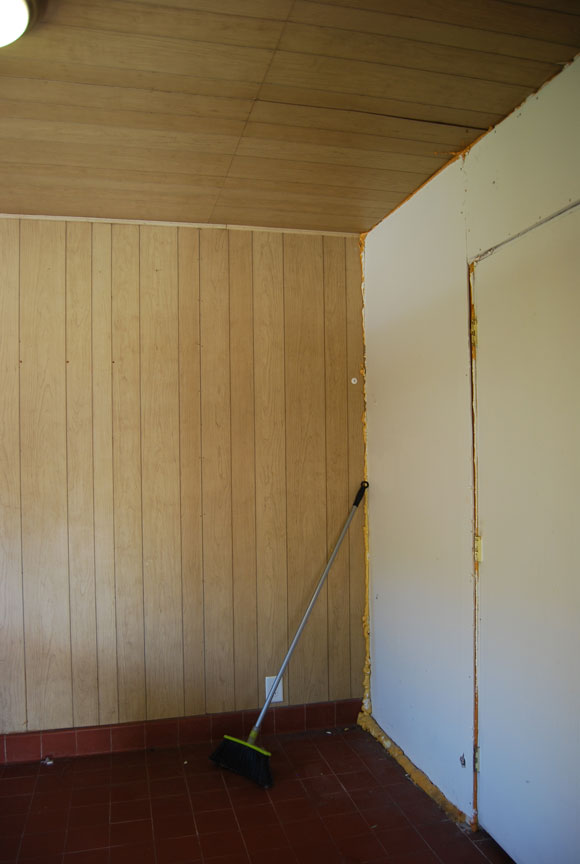
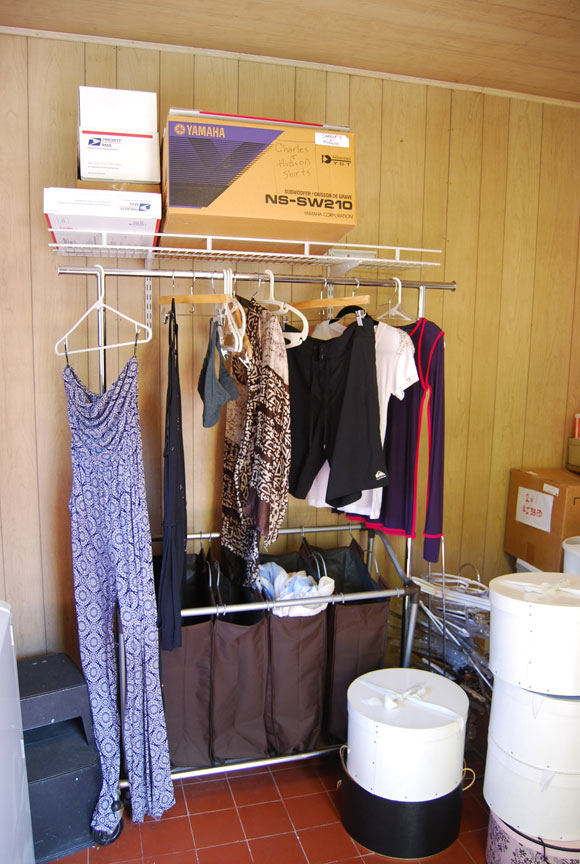
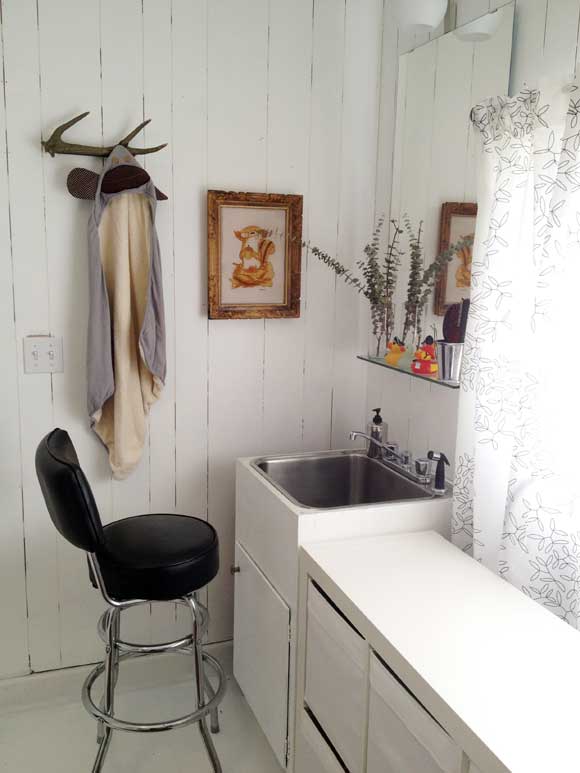
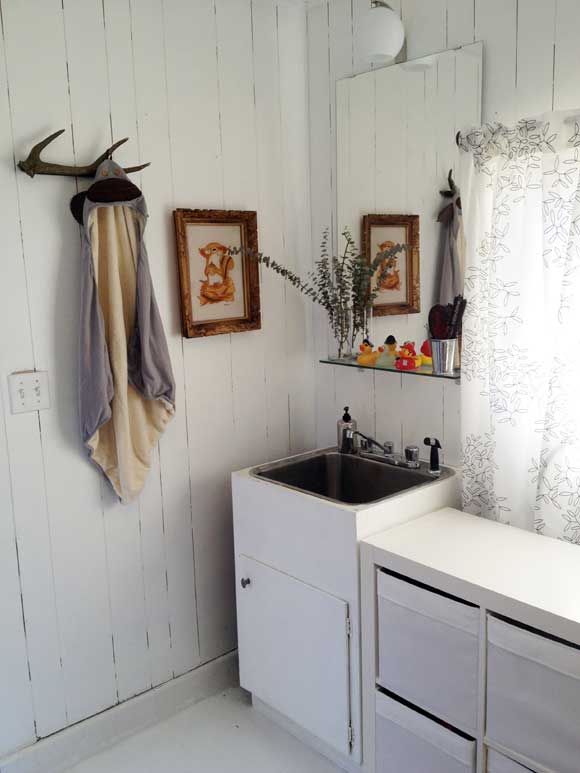
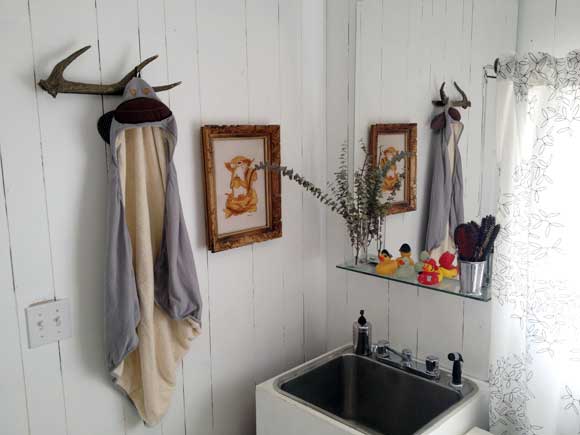
The utility room portion has a nice deep sink and we used it often for cleaning our hands, rinsing out brushes and a lot of other home improvement projects. But we wanted to also use this sink to wash our baby in and in it’s current state it wouldn’t fly because of the dirt and grime that had built up.
We also desperately wanted to add a toilet to this room. We knew we’d be having a lot more house guests with the baby and our 900 sq ft home has only one bathroom which is tiny so it’s already a bit cramped.
What We Did
Since we’re on the subject of toilets here is what didn’t happen. The plumbing to the utility room was only sized for washing machine and sinks and standard toilets need a larger outlet for going direct to the sewer line. We chatted with a couple of plumbers and they would have to dig up the yard and run a line and after all was said and done we’d be out at least $5,000. We toyed with the idea of a shower in this room but that brought the cost up even more.
So our dream of adding making this utility room a proper bathroom was squashed. One path we could have taken was a mascerating toilet. These toilets don’t require the larger fittings as waste is “churned” up and will clear existing pipes but there are only a couple companies that sell these toilets and we weren’t totally sold on them. They are often used in basements where it’s tough to dig into a foundation and if we find the right one we still may add it.
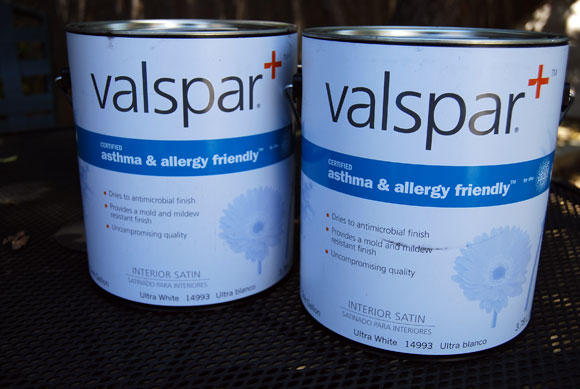
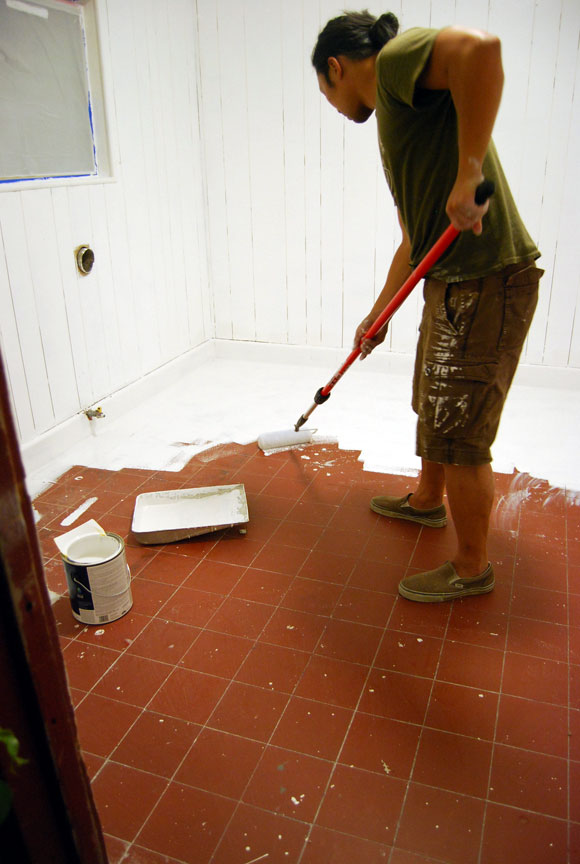
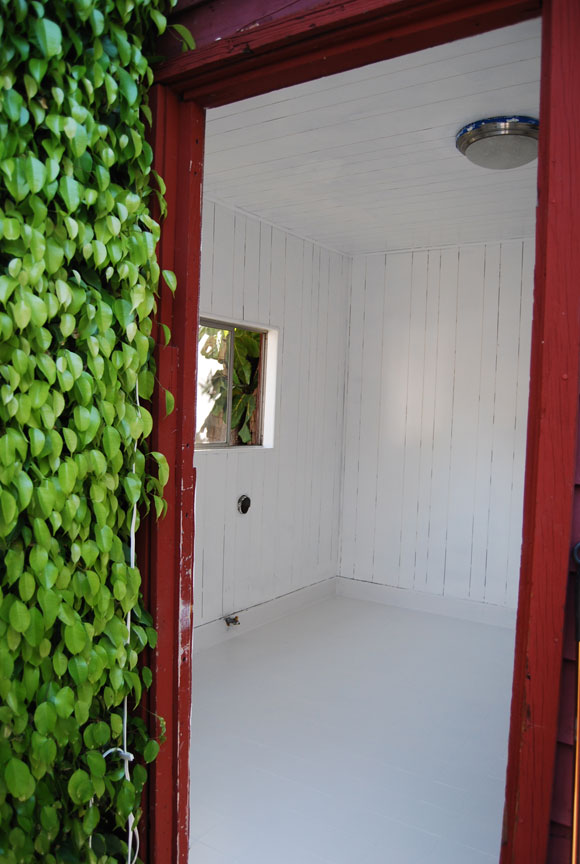
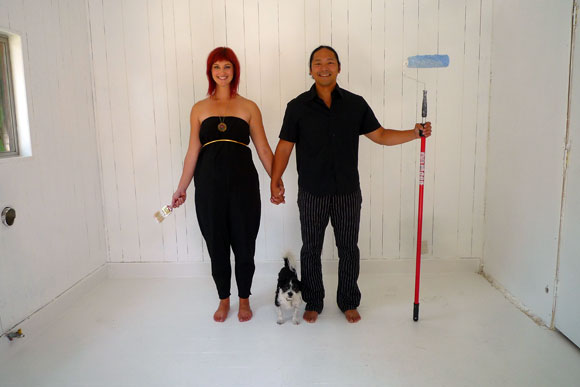
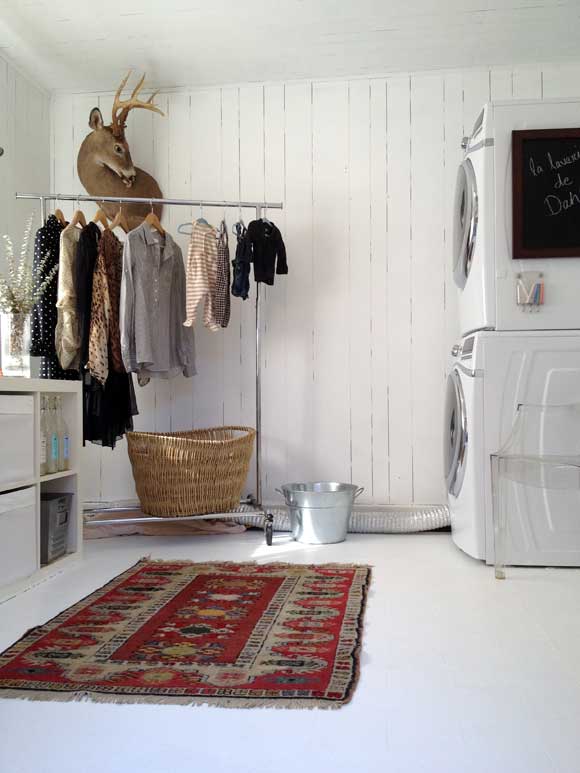
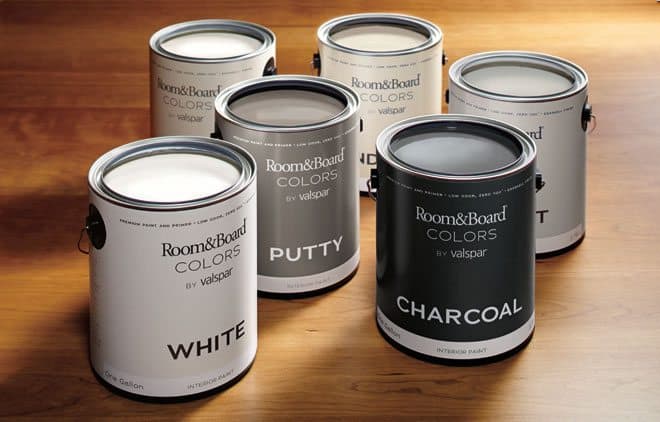
We did paint the room which gave it an instant transformation! We decided to whitewash the room and do the walls, floors and ceiling in white. For the walls and ceiling we went with the new Valspar + Asthma/Allergy friendly paint available at Lowe’s. It’s the most kid friendly paint we’ve seen. It’s Zero-VOC, low odor and dries to an antimicrobial finish. It is also mold and mildew resistant. At this point I don’t think we would use any other paint now that we have a little one.
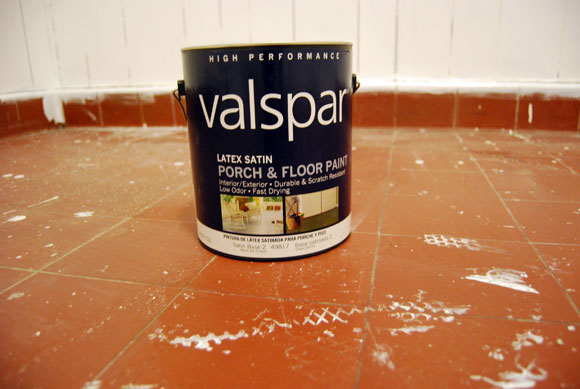
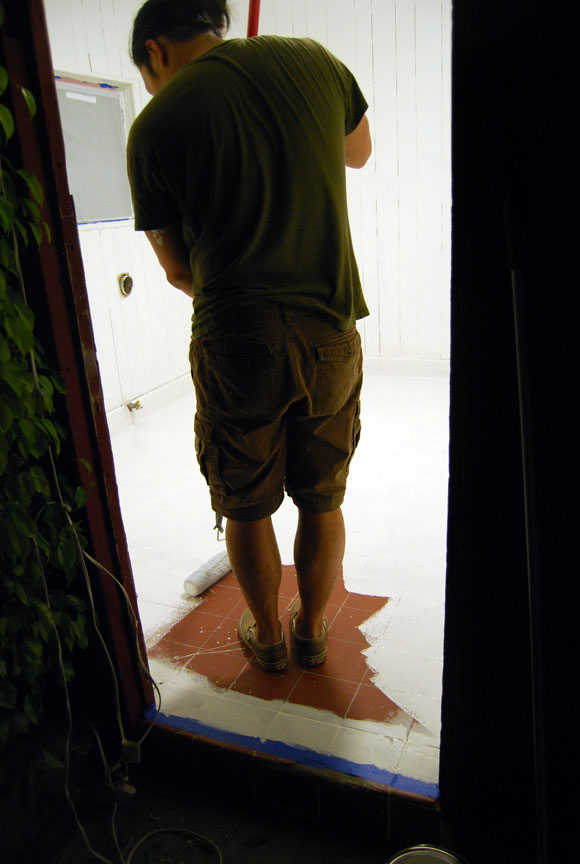
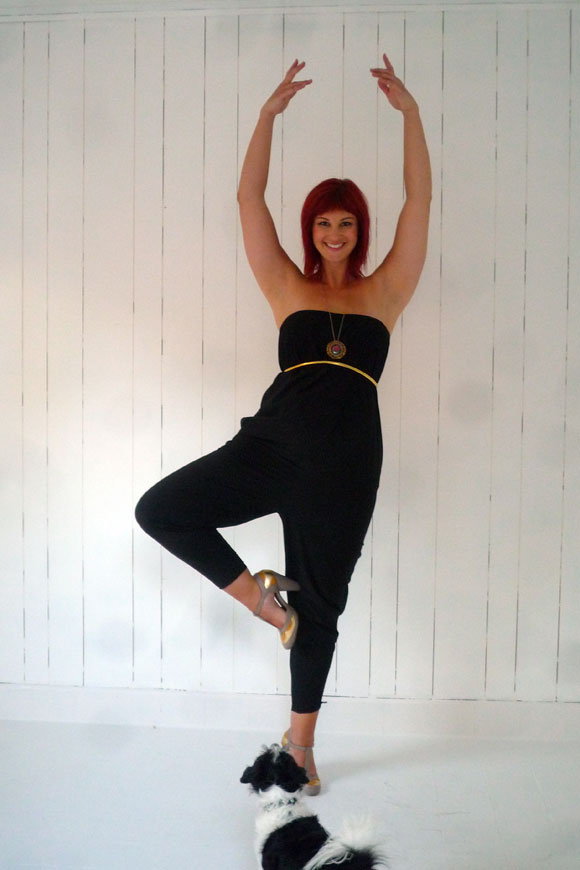
The floors required a different type of paint and we stuck with Valspar and went with their floor and porch paint which was also low-VOC and low-odor. To be safe Laura still stayed far away from the painting but we did have time to goof around and take some fun photos before we painted the room.
We let the room dry for a couple days and were amazed at how much the room opened up with the white. We were really happy with our choice and also knew that white is about the easiest color to decorate with.
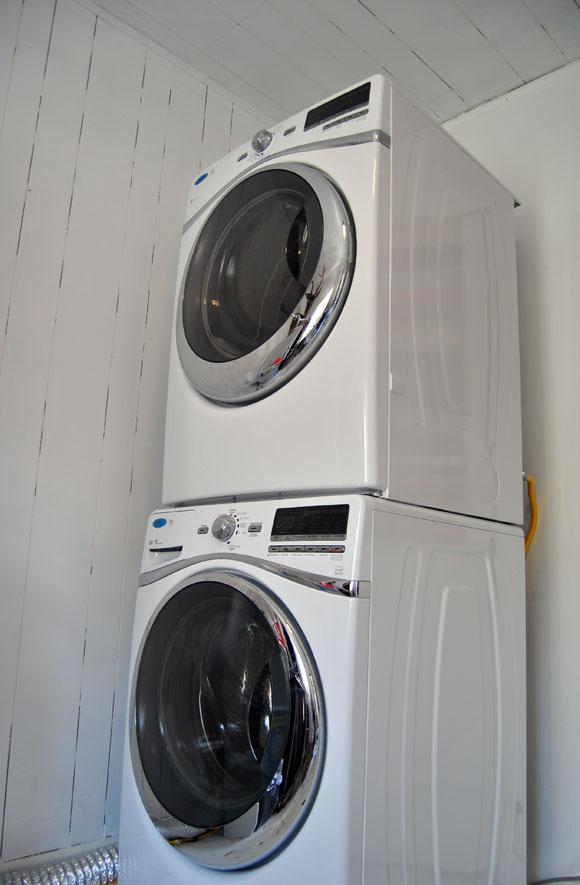
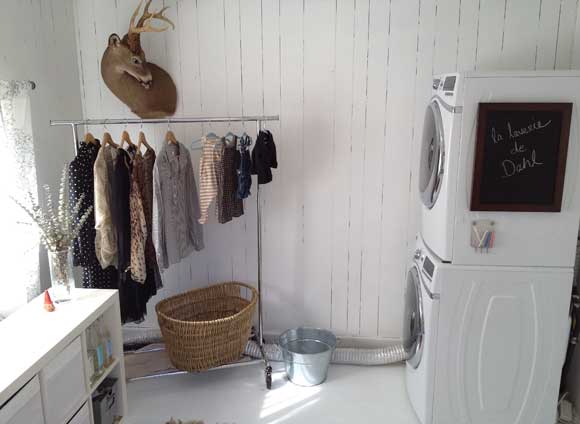
The last piece of this makeover was the most important and this involved upgrading our washer and dryer. We knew we wanted an energy efficient replacement that we could stack to save space so they would have to be front loading.
We wrote up another article sharing our experience in choosing and using the Whirlpool Duet washer and dryer.
For now we are sticking with our sink which is nice and deep but we did a very thorough deep cleaning and since baby is so little Laura has been bathing him with her which also creates a nice bonding time.
Final Touches
Before this all came together there were a few things we needed to do.
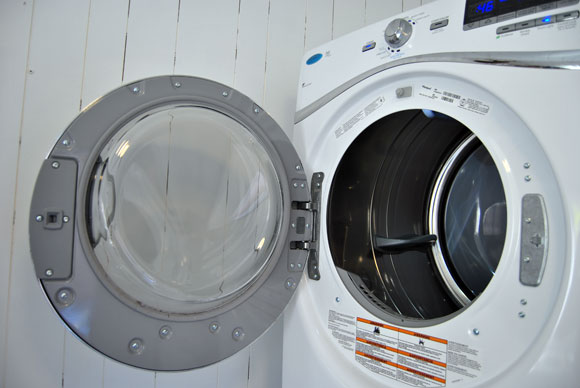
The door on the dryer unit needed to be reversed so it swung in the same direction (towards the wall) that the washer did. I found some basic directions online and it took me about 20 minutes to figure it out but it just takes a few simple tools and I switched the door around. There have been no problems with it sealing and it’s like it came from the factory.
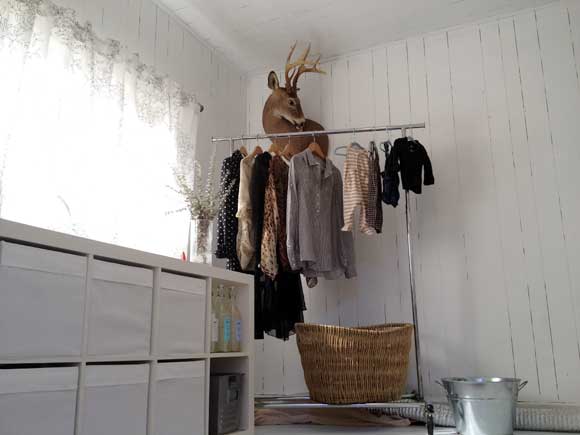
We needed more storage so we made a quick stop to IKEA and grabbed their EXPEDIT bookcase unit in white and laid it down on it’s side. We already have this bookcase in brown and use it in our son’s nursery and for an IKEA product its very solid.
We had a clothing rack and hampers that we had already purchased from Bed, Bath and Beyond and it still fit perfectly in this space.
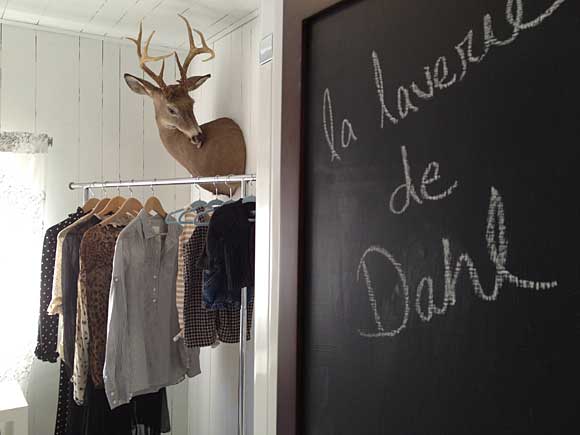
We also made our own chalkboard using Valspar Chalkboard paint and a picture frame from Target. We needed a simple message board that we could attach to the side of the dryer and this worked perfectly. Here’s a step-by-step tutorial on how we made a chalkboard.
Finally we acquired a 10 point deer mount over the holidays and it seemed like the laundry room was the best place for it. We have no other art or decoration so a little taxidermy adds a bit of quirkiness to the space.
We are extremely pleased with our new laundry room space and we feel that the time and effort was worth it. As with any home improvement project its all about balancing your budget and expectations and although we really wish we could add a 1/2 bath to this space we know that sometimes its best to wait and just focus on what is really important to our day to day living.


No Comments