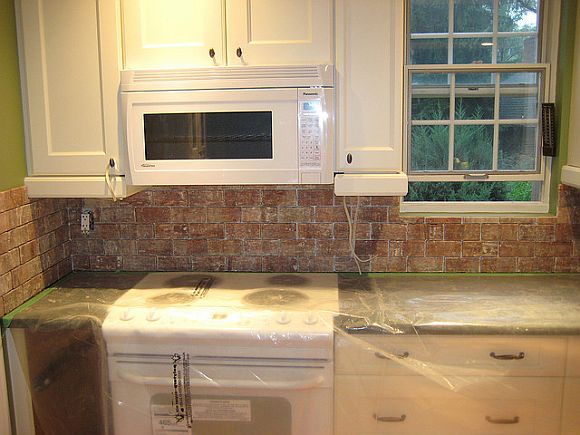
Whether you’re needing a new backsplash, wall or floor, tiling is often consider a DIY project. And with some experience, tiling can be relatively easy to get the hang of. But if you’re just starting out, there are some tips to keep in mind to help ensure your project’s success–and prevent you from calling in a professional for a repair job!

In this week’s “The Pragmatist” column in the New York Times, Bob Tedeschi details his own experience with learning to tile. His most important piece of advice? Start small with something like a backsplash. That way, you can familiarize yourself with the materials and the process without having to overcome the daunting size of a larger project, like a floor.
Next up? Be sure you have the right tools. Tedeschi recommends buckets, a large sponge, rubber gloves, cheesecloth, safety goggles, a dust mask, caulk, sanding stone and tile spacers. He also recommends specialty tools like a notched trowel, margin trowel, grout float, tile nipper and tile cutter.
You’ll also need thinset mortar, grout sealer and grout, but Tedeschi advises against shopping for grout until you’ve selected your tile. Why? Grout comes in a variety of colors, and you want to make sure it matches your tile.
If you’re just starting out, try ceramic tile, which is the easiest to work with. And just as you budget about 20 percent over when you’re financially planning for a project so that any unexpected occurrences are covered, buy 15 percent more tile than you need so that you have extras on hand if pieces break.
When you’re ready to tile, make sure the area is clear and the counters are covered. Don’t forget your tile spacers, and make sure the room is a moderate temperature, Tedeschi says–preferably between 65 to 75 degrees to make sure the mortar and grout are at ideal consistencies.
When you mix the thinset mortar, make sure it’s the consistency of peanut butter. Then apply it to the backsplash area, about four feet at a time–any more than that and you’ll risk the mortar drying out before you can attach the tile. Have the tile laid out with spacers on the counter, so you can easily pick it up and place it in the backsplash area. Once you have all of the tile in place, wipe the excess thinset mortar from the tiles and leave overnight to dry. The next day? Grout the tiles, and voila–your very own tiling masterpiece!
Have you completed any DIY tiling projects? Feel free to add your tips to the comments!
Photo: flickr.com/photos/garyjwood/2807768141

No Comments