I’ve recently started doing my own upholstery, but since I’m a beginner I need to start acquiring the proper upholstery tools to do the job right. My small collection of vintage upholstered furniture has great lines and awesome construction, but my five cats have found such furniture to be their favorite scratching surfaces.
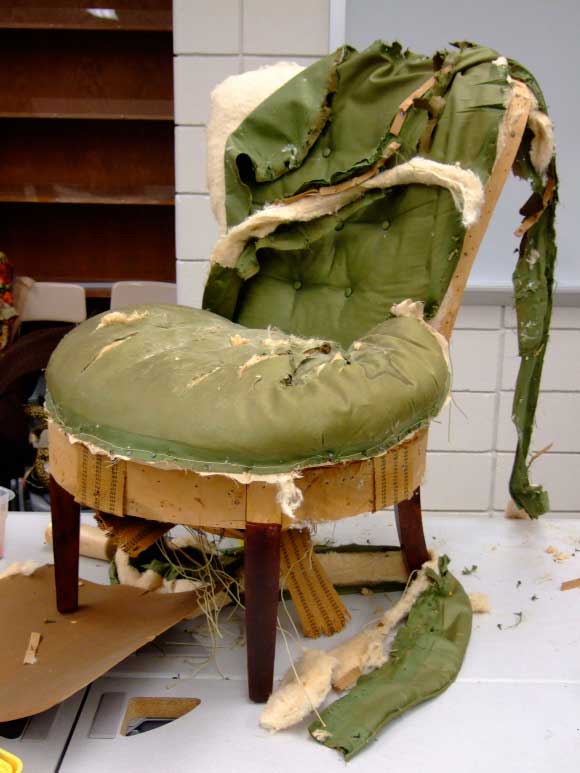
These pieces of furniture are in desperate need of reupholstering. Always up for a challenge (aren’t we all in the DIY realm?), I’ve started researching how to reupholster them myself.

The first step in my research has been the discovery of upholstery tools. Call me naive, but it never really occurred to me that you would need separate, special tools for covering furniture in fabric.
I’ve found that several tools are actually very similar (though not identical) to carpentry tools, but since I didn’t know, I thought perhaps other aspiring re-upholsterers might also benefit from my little revelation.
Upholstery Tools
Here are the basic tools (and how they’re used) for the brand-new beginner:
Needle-Nose Pliers
These are used for pulling out the ends of broken staples. Yes, just like the one you have in your toolbox.
Rubber Mallet
Every home needs a rubber mallet. These are used instead of a hammer for knocking wood frames apart. A regular hammer will damage your furniture frame, so opt for a small rubber mallet instead.
Straight-Blade Sewing Scissors
Best for cutting fabric, thin foam, batting, and thread. These are easily purchased at any craft store and at most mass retailers. Note: NOT pinking shears — those are the ones that make the zing-zag cuts.
Upholstery Needle
A must have. Used to create rolled edges and sew on buttons. It’s much longer and heavier gauge than your regular sewing needle and also made of steel. If you have heavy-duty fabric you’re using, it’s advised to go with a mattress needle.
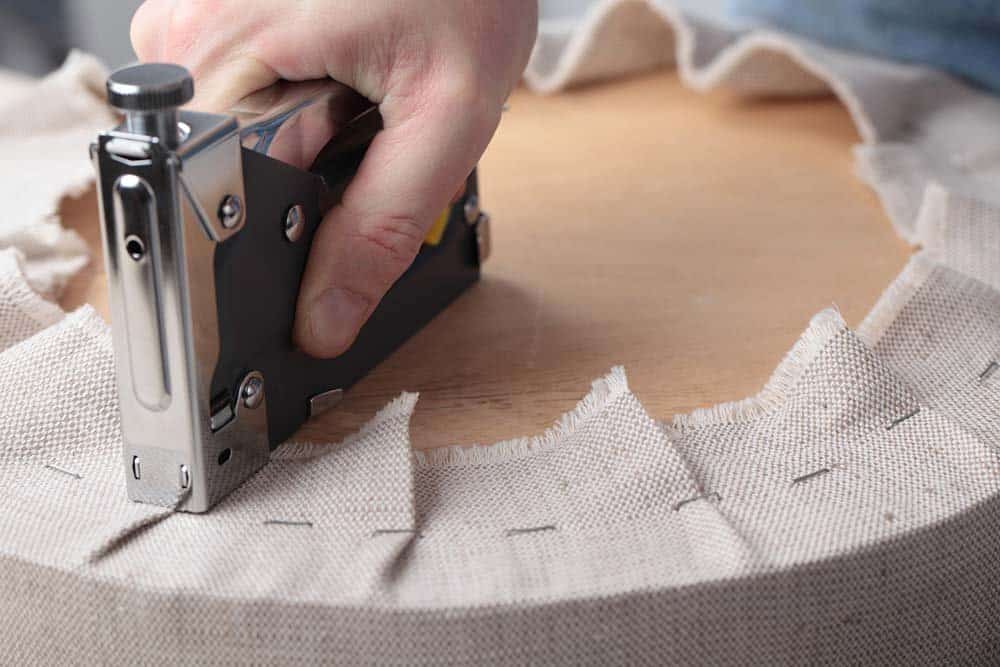
Stapler or Tack Hammer
These are necessary for adhering materials to furniture frame. Pneumatic or electric staplers are preferred, but a high-quality staple gun can also be used. A tack hammer has a very small magnetic head to help keeps tacks in place while you hammer them in — either for utilitarian or decorative purposes.
Claw Tool
Better than a hammer claw. Used for pulling out tacks and staples carefully (and hopefully without damage to the wood) when removing old or worn fabric. It looks remarkably like a screwdriver with an itty bitty v-shaped prong instead of a phillips or flathead end.
Webbing Stretcher
Used to stretch and tighten seat webbing. It has spikes on the end of an hourglass-shaped handle that grip and pull the webbing tight, allowing you to tack or staple the webbing and fabric in place properly.
As someone who sews, I have more from this list than I think the average DIYer might in their toolbox, but there are still a couple of items I’ll have to procure before I move forward, as well as things like…fabric.
Which means I’ll have to make up my mind about how I want these pieces to look in the long run, beyond “not clawed to death.”
Upholstery Books and Classes
I also recommend my friend Shelly Leer’s book, The Little Upholstery Book: A Beginner’s Guide to Artisan Upholstery. Shelly has been teaching upholstery classes in her community for years, so she’s an expert at explaining the finer details to beginners as well as intermediate DIYers. If you can find a local class in your area, that would also be a great way to learn.
I recently chatted with Shelly on the Tool Crave podcast, where she shared more insights on the art of upholstery and the tools you need.
Best of luck on your journey, and I hope you enjoy your newly covered furniture.


