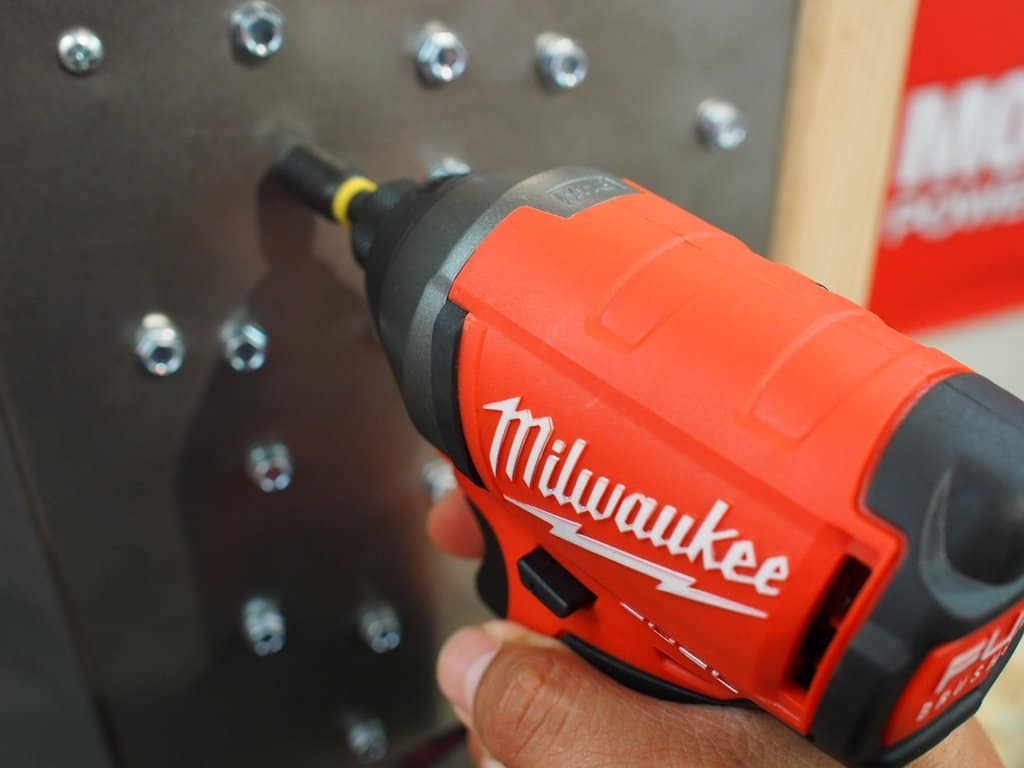
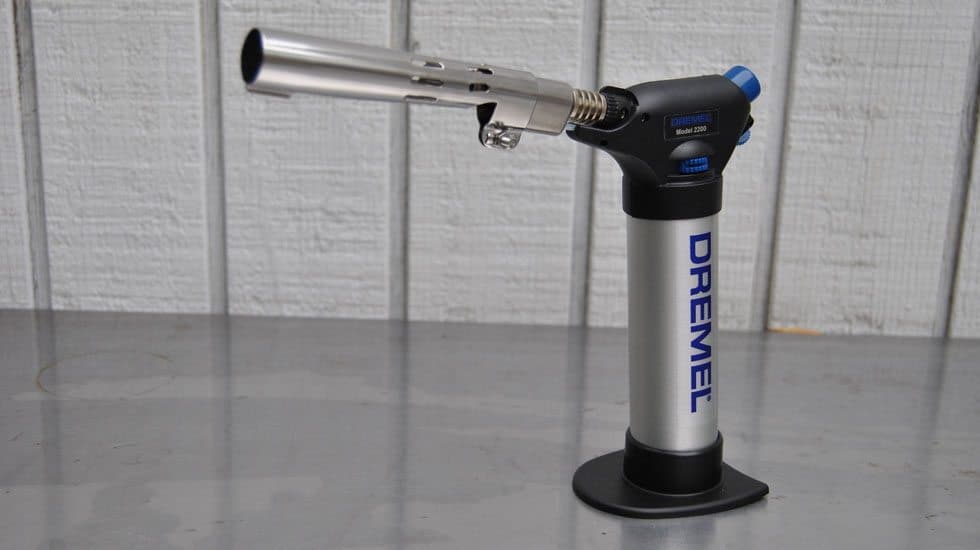
Home improvement projects can be exciting, but they can become chaotic if you can’t find your tools when you need them. Whether you’re a DIY lover or a professional, you want your power tools to be easy to access. A messy workspace can waste time and cause frustration during a project.
How can you create a system for your power tools that makes your work easier and faster? Let’s look at how to simplify the process and organize your space.
Space Allocation
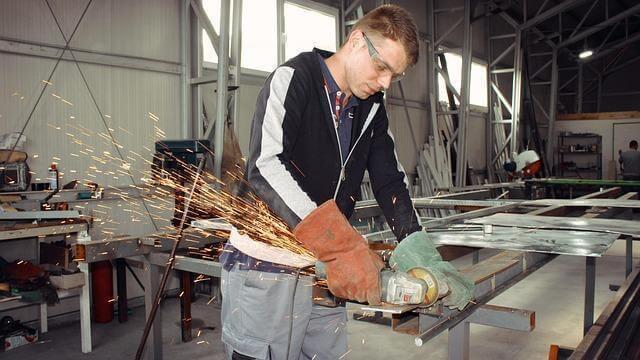
First, find a place for your power tools. This could be a workshop, a storage shed, or a corner of your garage. Choose a spot that fits your workflow. A clean area allows for safer and more focused work. Consider important factors, such as electrical outlets and lighting, as they can affect how well your workspace functions.
After you pick a dedicated area, plan the layout. Make sure frequently used tools are easy to access. Place items based on your typical projects. For example, keep saws and drills close to your workbench. The organization should feel natural, saving you time searching for what you need.
Storage Options
Now that you have a space, choose the right storage options. Shelving units are great for keeping tools visible and easy to reach. Use bins for small items like screws and drill bits, and label each one for quick identification. A pegboard is also a smart choice. It lets you hang power tools so you can always see where they are.
If you want a solid solution that is both portable and durable, consider the Milwaukee Packout system. It offers great modular storage for power tools. With rolling toolboxes and stackable organizers, this system fits any workspace. You can customize it to keep your most-used tools close and easy to move when you change project sites. Enjoy a well-organized tool management system that gives you control.
Tool Categorization
Grouping your tools can greatly improve your organization. Sort your tools into categories like drilling, cutting, and fastening. This helps you quickly find the right tool for each job. You can even create subcategories, such as grouping all drill bits and accessories.
Labelling is important. Clear labels help you return tools to their places after use. Create a visual guide, such as photos on your pegboard, showing how you categorized your tools. This not only makes it easier to find what you need but also reminds you to keep everything tidy.
Cable Management
Dealing with tangled cords is a common frustration with power tools. Good cable management can help. Use cable ties or reels to keep cords neat. There are also cable management systems designed for tools, which keep your workspace looking clean and prevent tripping over cords.
Another great option is a tool chest with built-in cable management. Many organizers have compartments for managing cords and leads, helping to keep your workspace safe and tidy.
Maintenance and Cleanliness
Keeping your tools organized is important for regular maintenance. Clean and well-maintained tools last longer and work better. After finishing a project, wipe down any tools that are dusty or dirty. Use this time to check if any tools need repairs.
Set up a maintenance schedule to make your DIY experience more enjoyable. You might find it helpful to set a calendar reminder to review your tools every few months. This way, you can ensure everything is in good condition and organized.
Flexible Solutions
Having a system for your tools is great, but flexibility is key as well. Your collection of power tools can change as you take on different projects, so make sure your organization allows for new tools. Whether you find a new tool you want or need one for a project, being able to adjust your setup is important.
Consider leaving shelf space open or using modular storage options, such as the Milwaukee Packout system. This allows your storage to grow as your tool collection expands. Keeping things adaptable makes your organization’s system work better.
Tool Inventory Management
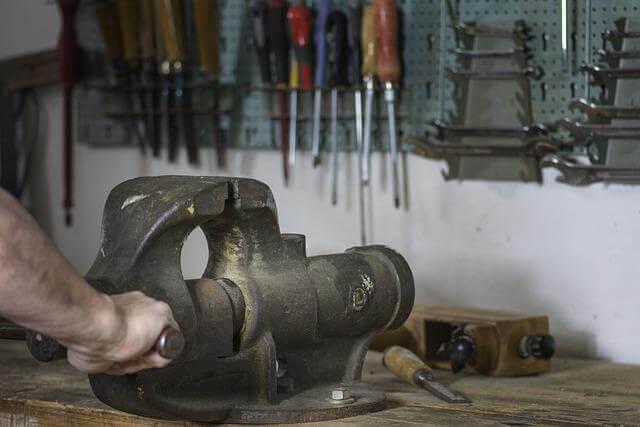
Keep track of your tools to stay organized. Make an inventory list that includes each tool’s name, category, location, and condition. This way, you can easily see what you have and what needs to be replaced or repaired.
Use digital tools or apps to make this easier, allowing you to update your inventory from your phone or computer. You can also note purchase dates to track warranties and set reminders for when tools need servicing or replacement.
When you create a clear way to store and organize your power tools, you make your workspace more enjoyable and efficient. You can tackle projects with confidence, knowing you can easily find what you need.
An organized workspace not only makes you safer but also boosts your creativity and productivity. So, choose your space wisely, invest in the right storage solutions, and enjoy the benefits of being organized. Happy building!
Safety First
Always prioritize safety when using power tools. Keep your workspace organized. Clutter can cause accidents. Get into the habit of wearing personal protective equipment (PPE), such as goggles, gloves, and ear protection, when working with power tools. Also, have a first-aid kit available in your workspace. Organize your tools by how often you use them or by project type to save time and reduce the risk of injury.
Sharing and Collaboration
If you share your workspace with others, create an easy-to-understand organization system. Set up common storage areas for tools and materials, and encourage everyone to follow the organization methods you’ve created.
Consider having a “tool organization day” where everyone can help sort and label tools. This teamwork fosters a better environment and ensures that everyone benefits from an organized and safe workspace.
By following these strategies, you’ll improve how you organize your power tools, making your projects easier and more enjoyable. Enjoy building and enhancing your workspace!