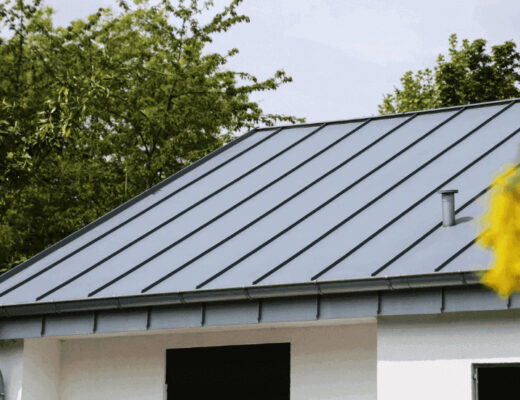
Most roof problems can be spotted long before anyone sets a boot on the shingles. The trick is letting tools do the climbing. A good roof inspection kit, built around binoculars, a small drone and a flashlight in the attic, will tell you more than a nervous walk across a pitched roof.
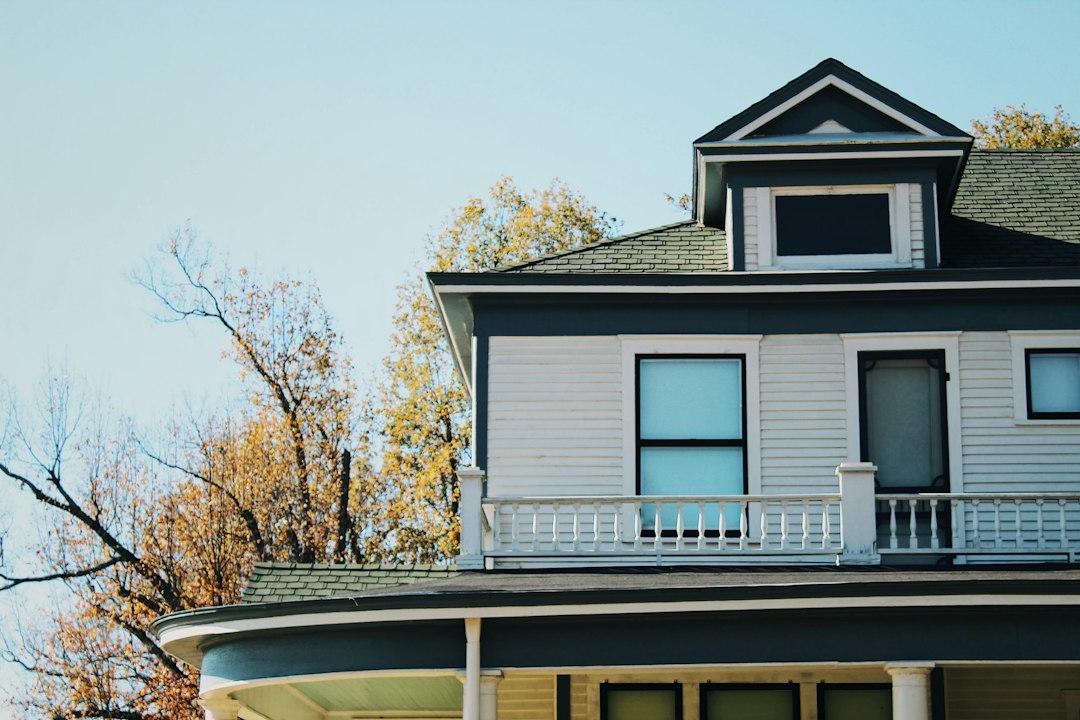
Photo by Heather Doty on Unsplash
For DIY homeowners, the most useful approach is to document potential roofing problems and determine when professional help is needed. If you notice lifted flashing, damaged shingles, or signs of soft decking, take photos from a safe location and avoid climbing onto the roof. Homeowners in Lancaster County, for example, can share these findings with a roofer Lancaster PA for further assessment. This allows you to stay involved in the inspection process while leaving potentially hazardous repairs to a professional.
Why Inspect a Roof Without Walking On It?
Because walking on it is the risky part, and it rarely shows you more. Foot traffic also scuffs granules off asphalt shingles, especially on hot days. Older or brittle shingles can crack under a knee.
An inspection is a data job, not a repair job. You want photos, notes and a list of questions. All of that can be collected from the ground, the eave and the attic.
Which Tools Belong In a DIY Roof Inspection Kit?
Six tools cover nearly everything a homeowner needs to see. Most of them are already in a well-stocked garage.
- Binoculars, 8x or 10x. These are the cheapest way to read shingles, ridge caps and chimney flashing from the yard.
- A phone or camera with zoom. Photos let you compare seasons and show a roofer exactly what you saw.
- A small drone. A drone is a flying camera that sees the back slopes and valleys you cannot reach from the lawn.
- An inspection camera. A borescope on a flexible cable can peek into soffits, vents and tight attic corners.
- A pin or pinless moisture meter. It confirms whether a stain on the attic decking is wet now or an old mark.
- A bright headlamp. It keeps both hands free on the attic joists.
What does the kit cost? The phone and flashlight you likely own already. For the rest, a beginner drone typically runs $100 to $350, a consumer inspection camera about $40 to $220, and a moisture meter from roughly $39 to over $300. A professional roof inspection typically costs $125 to $357. A bare-bones set of all three tools can add up to less than one average pro visit ($236).
Tool reviews on this site are a good place to start. The write-up on the DeWALT inspection camera shows what a compact borescope handles.
What Can Each Tool in Your Inspection Kit Tell You?
Each tool answers a different question. Binoculars and photos show the surface: missing or curled shingles, bare patches where granules have washed off, and cracked rubber boots around vent pipes. Look hard at valleys and at every spot where the roof meets a wall or chimney.
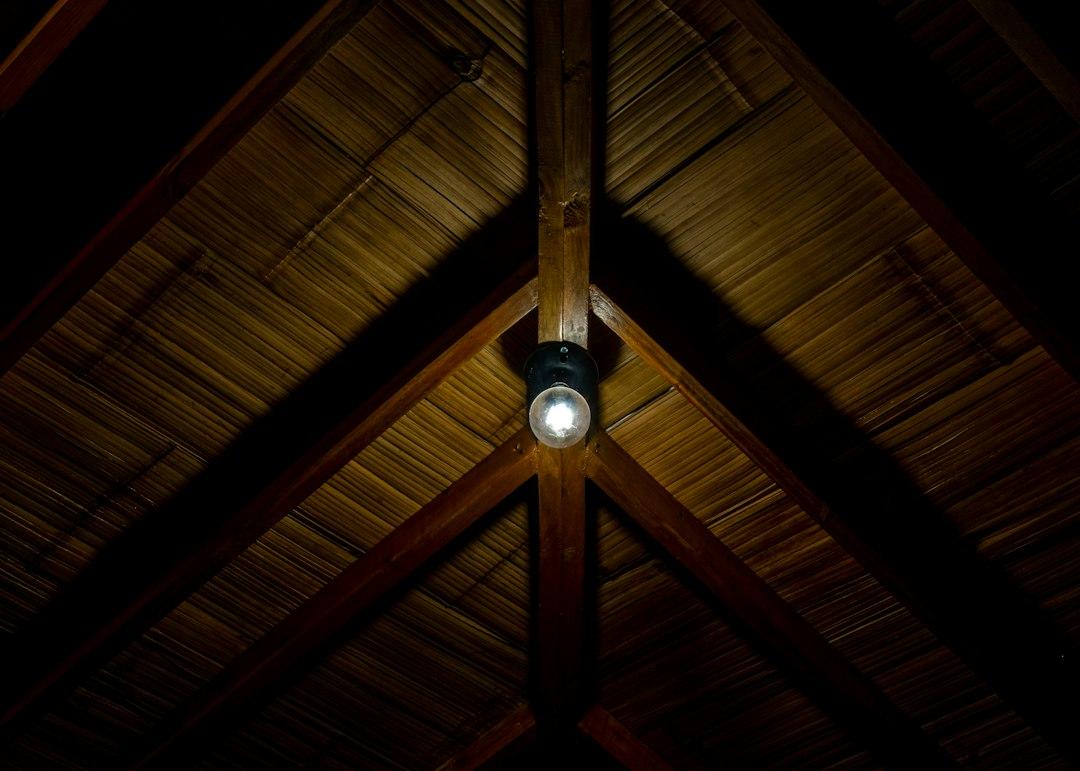
Photo by Jaime Maldonado on Unsplash
The drone adds angles. It shows the upper slopes, the ridge line and the condition of flashing on the far side of a chimney. Fly it on a calm day and keep it well clear of power lines.
Inside, the headlamp and moisture meter do the real work. Daylight showing through the boards, dark rings on the decking and damp insulation all point to water getting in. Readings mean more as comparisons than as raw numbers, a point covered well in this guide to using moisture meters. Check a dry board first, then the stained one.
How Do You Use a Ladder Safely at the Eave?
A ladder at the eave gives you a close look at gutters and the first few courses of shingles. It is also where most homeowner roof injuries begin. The ladder safety guide from the American Academy of Orthopaedic Surgeons sets out simple rules worth following every time:
- Use the 4-to-1 rule: 1 foot out from the wall for every 4 feet of rise.
- Never stand above the third rung from the top of an extension ladder.
- Have someone nearby to spot you.
- Move the ladder instead of overreaching.
Dress for the ladder, too. Non-slip boots, work gloves and a ladder stabilizer on uneven ground cost little and cover the basics. In the attic, add safety glasses and a dust mask, since insulation fibers drift down fast.
Look, photograph and climb down. Do not step from the ladder onto the roof to “just check one thing.”
Are There Rules for Flying a Drone Over Your House?
Yes. The FAA’s page for recreational drone flyers says a drone weighing 250 grams or more must be registered. Recreational flyers must also pass the free TRUST test and carry proof when flying.
Rules differ for flights that are not purely for fun. Read the FAA guidance before you fly, and check whether your property sits near an airport.
Where Should DIY Stop and a Roofer Take Over?
Stop at diagnosis whenever the fix involves the water path. A homeowner can clear a gutter or reseal a loose vent boot from a ladder. Anything that means lifting shingles or working on the roof surface belongs to a pro.
Hand the job off when you find:
- Flashing that is lifted, rusted or pulled away at a chimney or wall.
- Soft or sagging decking, or daylight through the boards.
- Active drips or wet readings that return after rain.
- Storm damage across more than a small patch.
- Any roof steeper than you can stand on comfortably.
Roof Duck, a local roofing, siding and gutter company serving Lancaster County, is one example of a firm that offers roof inspections. A pro can confirm what your photos suggest and price the repair. Bring your images and meter readings so the estimate starts from facts.
A Field Checklist for Your Next Inspection
- Inspect twice a year and after major storms.
- Shoot the same angles each time so changes stand out.
- Check the attic on a rainy day, with the meter in hand.
- Keep a written log with dates, photos and readings.
- Call a pro for flashing, decking or recurring leaks.
Dated photos do more than show change over time. After hail or a windstorm, they show an insurer what the roof looked like before and after. Save each set in a dated folder, and ask your insurer how soon after a storm a claim has to be filed.
Reading the Roof From the Ground Up
A roof inspection rewards patience more than nerve. With a basic roof inspection kit, much of it tools you already own, you can know the roof’s condition without risking a fall. The ladder stays at the eave, and the hard work goes to someone insured for it.
Frequently Asked Questions
When Is the Best Time to Check a Roof?
Twice a year is a sensible rhythm, usually in spring and fall. Add a check after any hail, high wind or heavy snow. A quick look is better than a long gap.
Can a Drone Replace a Professional Roof Inspection?
No. A drone finds visible surface problems but cannot test the decking or lift a shingle. Use its photos to decide whether you need a pro.
What Moisture Meter Reading Means a Leak?
There is no single magic number. Compare the stained area with a dry board nearby. A clearly higher reading after rain points to an active leak.
Is It Safe to Walk On an Asphalt Roof?
It is risky for most homeowners, especially on steep or wet slopes. Walking can also damage shingles. Inspect from the ground, the eave and the attic instead.