An easy way to help guide your plants up a wall is to make a wire trellis. Here’s how we did it using just a few pieces of hardware and a drill.

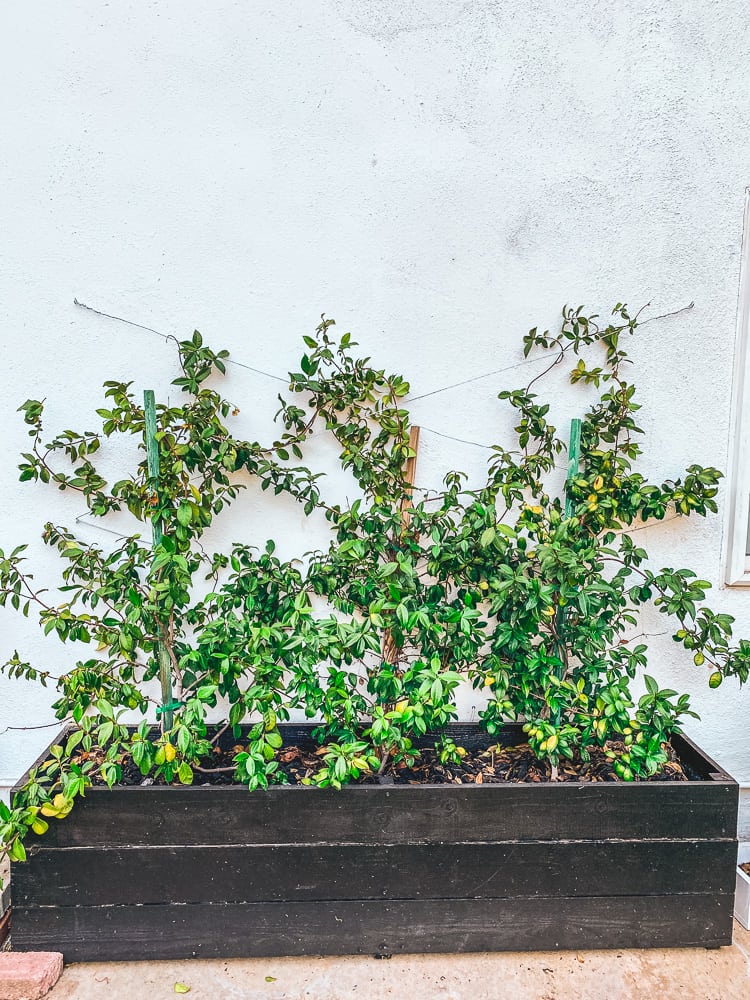
We recently planted three jasmine plants into our raised planter box. They have been thriving placed against the wall in our back yard. They seem to be getting just enough sun, and aren’t getting burned at all by the heat.
The jasmine vines are spreading out in all directions and we’d like to train the plant to grow against our wall with the help of a trellis and some delicate pruning.

To guide the vines we know we need a trellis, but a wood frame trellis just seems too heavy looking for our needs. We were inspired by some wire wall trellis’ that we saw in downtown Culver City, so we attempted to replicate that here.
Tools and Materials
The tools and materials for this project are minimal and everything is available at your local home improvement store.

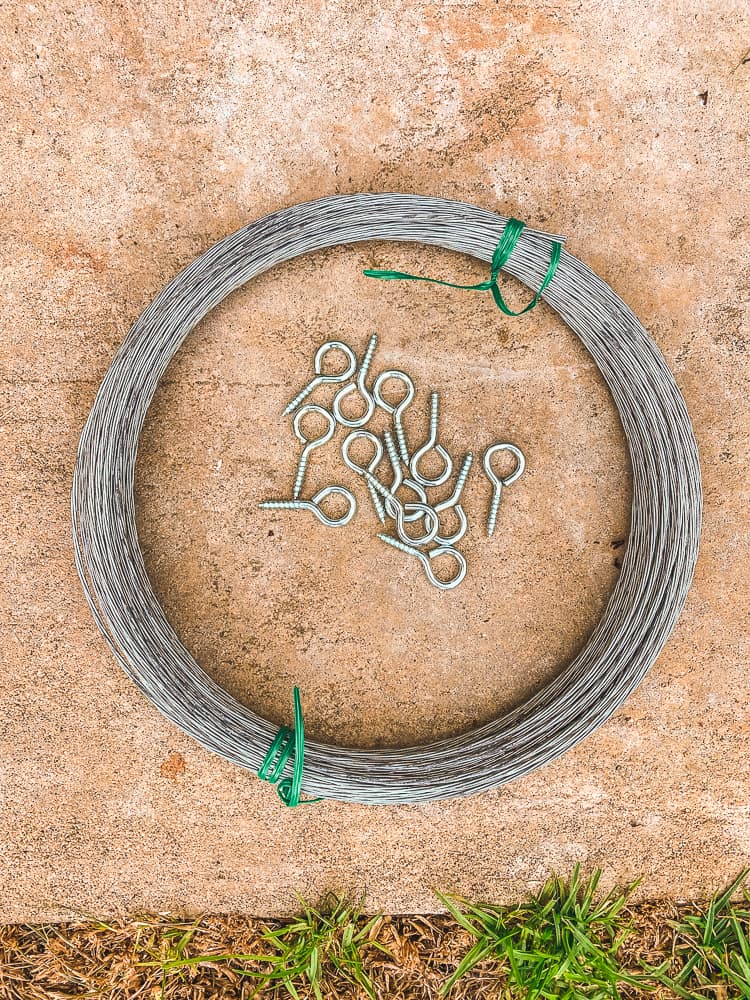
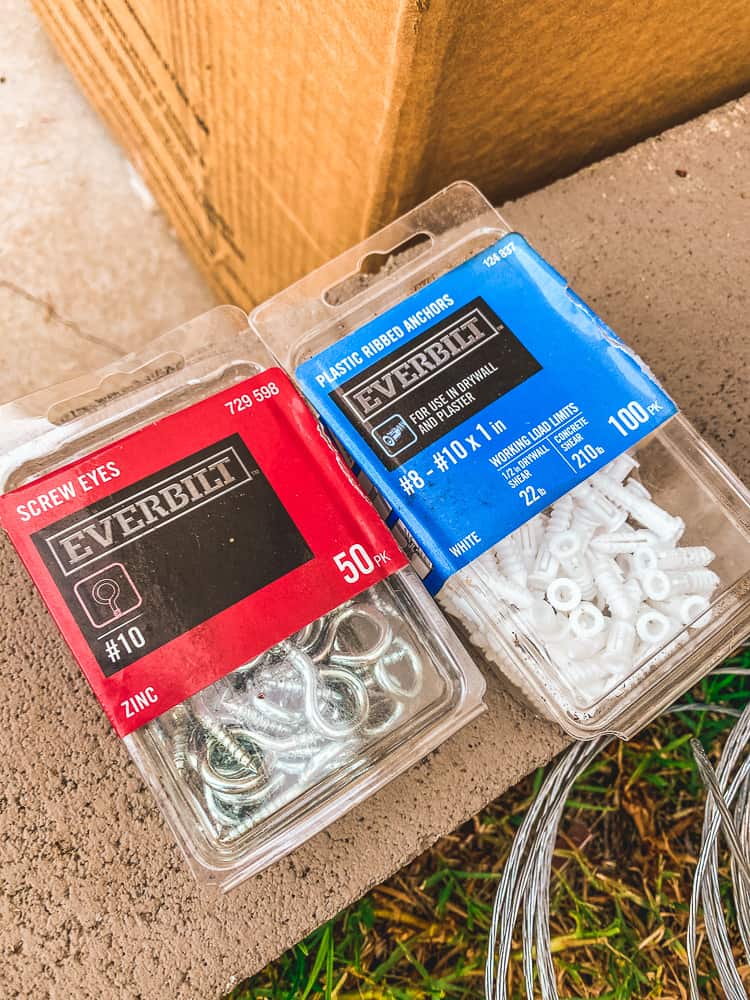
- #10 Zinc Screw Eyes
- #10 1″ Plastic Anchors
- 14-Gauge Galvanized steel wire
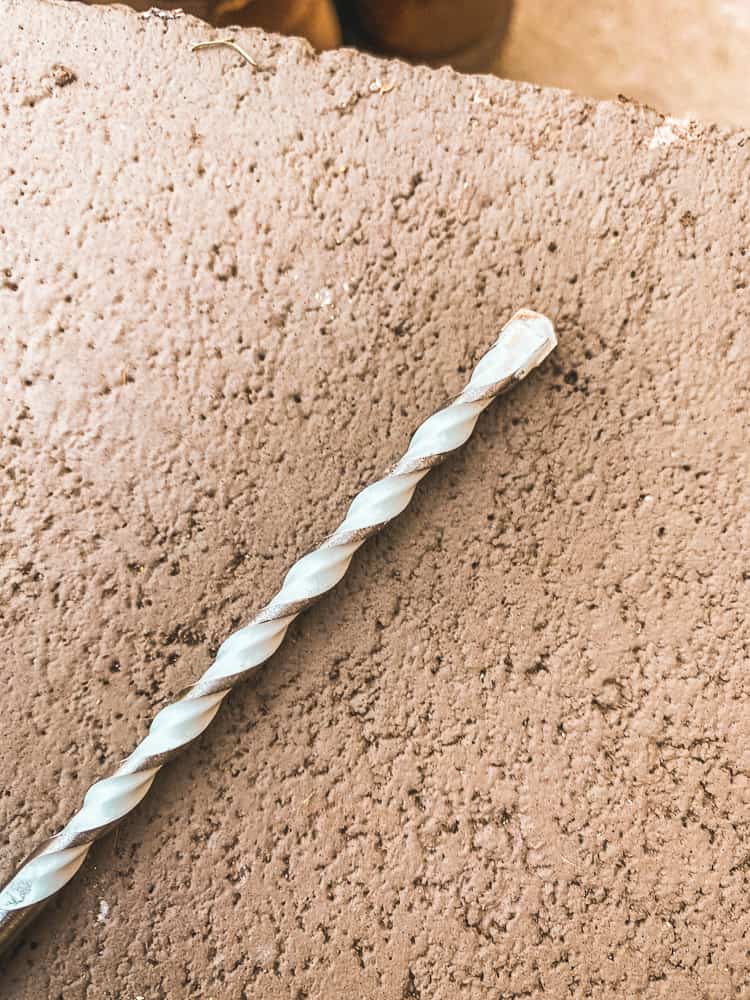
- Masonry bit for brick or plaster walls
- Cordless Drill
- Wire cutter


Trellis Design
The great thing about this project is that you can design it however you want it. We knew we wanted a criss-cross design that was as wide as the planter box and going up every two feet.
This design provided enough wire for us to weave the jasmine branches through and would be easy to expand on as the plant grows.

You could double the criss-cross by placing eye screws in the middle, but we felt going all the way across in one pass would be sufficient.
How to Make a Wire Trellis
Start by drilling a pilot hole for the anchor. Our exterior wall is hard plaster so we needed to use a masonry bit.
The bit made quick work of the hole and then we simply lightly tapped in the plastic anchor. We want it snug enough to not fall out, but not too tight to crumple the anchor.
Next, we hand screwed in the screw eye. They went in easily.
We did this in two-foot increments up to four feet. Our jasmine plant isn’t very tall and we didn’t want the wire trellis to go beyond the height of the plant.

Once we got all of the screw eyes installed we wrapped one end of the wire at the bottom of one screw eye and criss-crossed it up to the top. We did this a second time on the other side. We tied up the wire at the top screw eye but didn’t make it too tight as we wanted to leave a bit of wiggle room to maneuver plants behind.
With the wire trellis installed we started gently pulling the tallest branches up and behind every other wire.
It will take a few weeks, but we should immediately start to see the plant gravitate towards the trellis and begin climbing it.
To help the process along we can prune the front of it, so all of it’s energies can go towards the trellis side of the plant.
This is a simple project that took less than 30 minutes and we are pleased with the results.


